Download
1 / 13
140 likes | 236 Views
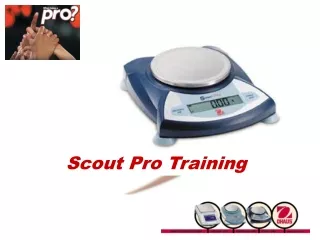
Magnus Pro Training Presentation. Image analysis Software. Note: The contents of this presentation are only showing the procedure for calibration, counting & generating reports. The dummy data have been shown just for training purpose. Calibration.

E N D
Magnus Pro Training Presentation Image analysis Software Note: The contents of this presentation are only showing the procedure for calibration, counting & generating reports. The dummy data have been shown just for training purpose
Calibration • For any measurements calibration is required to be performed through standard stage micrometer. • Formulae : Micrometer scale 1mm = 1000 Micron (e.g. 0.01mm= 10 micron) • It should be performed on all objectives of microscope where digital camera or MIPS are installed. • In case of readjustments or new replacement of any part of microscope or camera, the calibration should be done again. (contd.)
Select Magnification before calibration Before going to measurement, one has to select appropriate magnification of calibration
Calibration (contd.)procedure • Focus stage micrometer under the first objective of microscope in X direction. • Capture image with proper names. • Focus stage micrometer under the first objective of microscope in Y direction. • Capture image with proper names. • Repeat above procedure for any other objectives like 10X, 40X, 100X etc. (as per availability) (contd.)
Screen Dumps (calibration) For objective 100X in X and Y direction
Give the suitable name of calibration and save If line is for e.g.. 60 pixels Then write down same reading in the Scale X value Load image captured in X axis for 100X obj. Move line slowly with the help of Zoom Preview and release the line once it reaches to the other line Zoom Preview Calibration Procedure for X direction
Give the suitable name of calibration and save Move line slowly with the help of Zoom Preview and release the line once it reaches to the other line If line is for e.g.. 60 pixels Then write down same reading in the Scale Y value Load image captured in Y axis for 100X obj. Zoom Preview Calibration Procedure for Y direction
Measurement • The measurements can be obtained after pixel calibration. • The units of measurements depends on the currently selected spatial calibration (for e.g. micron or inches or millimeter etc.)
Measurements of selected images Images on which measurements are calculated. Selected calibration
Count • Used to automatically identify objects in an image. • To get the several feature of the measurements.
Click Count to count the no. of objects Automatically identified objects in an image obtained the several features of the measurements
Select File for report to be generated Click Report data and select appropriate data on which report is to be generated