Download
1 / 15
160 likes | 284 Views
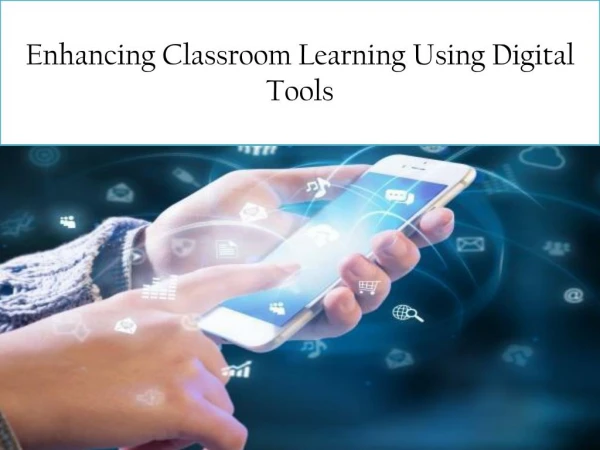
Explore effective strategies for utilizing basic classroom tools and programs to enhance student learning by creating digital products. This guide provides step-by-step instructions for recording student work and photographing projects, all aimed at minimizing mistakes and fostering creativity. Learn how to set up recording devices, manage student recordings, and integrate visual elements into presentations. These techniques not only support impactful storytelling but also aid in documenting student progress and creating engaging portfolios.

E N D
Using Basic Classroom Tools and Programs To Create Digital Products By: Jean Dolling http://www.davis.k12.ut.us/Page/18377 Oak Hills Elementary 2nd Grade Teacher
SOUND SET-UP • First, plug the stereo headphones into the microphone jack. • Then, right click on the speaker icon at the bottom right by the time. • Next, click on recording devices. The computer should recognize there’s a recording device such as the headset with a built in mic. It will have a green check by it. • Right click on the recording device marked with the green check and then click on properties. • Click on the Levelstab. Find the Microphone Boost tab; click and hold it while sliding it all the way to the right.
STUDENT RECORDINGS • Have students practice reading their work aloud to minimize mistakes. • Down in the bottom left corner there is a Windows Start button. Click on it and place your cursor over All Programs without clicking. • Find the Accessories Folder and open it. • Now, open Sound Recorder by clicking on it. • You are ready to begin recording. • Be sure to have the student read into the side of the headphones that is connected to the cord. • Click on Start Recording and wait for the clock to begin timing. • Once student is done recording they hit Stop Recording. The computer will then prompt them to save their recording. Name it and save it to your designated storage spot: H drive, Dropbox, SkyDrive, flash drive, etc.
PHOTOGRAPHING STUDENT WORK • Take pictures of desired student work with your digital camera. An I-pad works great too. • Save images in the desired location such as a flash drive, Dropbox, SkyDrive or H drive along with student recordings. There are two ways to do this when using a digital camera: using the camera cord or a USB SD Memory Card Reader .
PUTTING IT ALL TOGETHER • Open PowerPoint creating a new file. • Set-up each child’s slide using the two content layout inserting photos and recording. I found that the blank page worked well too.
Do you ever feel like this when new programs or technology are presented? Hopefully, this is NOT the case today.
Other Uses • Documenting Reading Fluency • Documenting Speech and Interventions • Student Portfolios • Educator Portfolios
http://www.youtube.com/watch?v=KdxEAt91D7k Do you get it NOW?