Download
1 / 37
370 likes | 706 Views
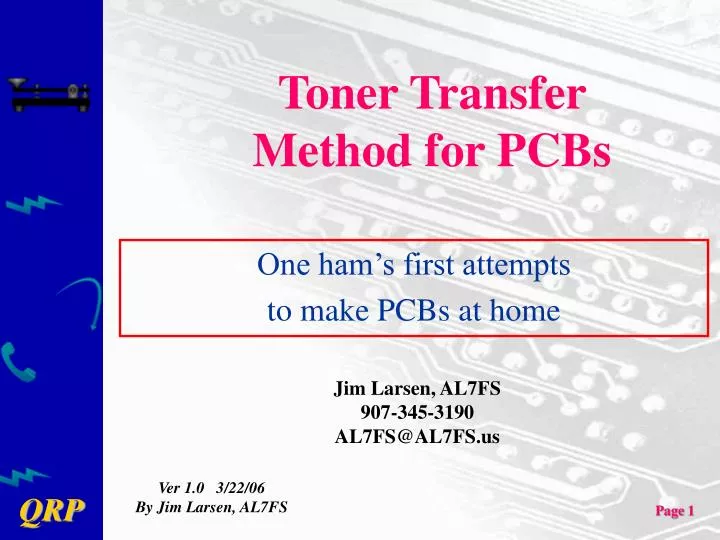
Toner Transfer Method for PCBs. One ham’s first attempts to make PCBs at home. Jim Larsen, AL7FS 907-345-3190 AL7FS@AL7FS.us. Ver 1.0 3/22/06 By Jim Larsen, AL7FS. Overview of Toner Transfer PCBs. First attempts at Printed Circuit Boards What is toner transfer method?

E N D
Toner Transfer Method for PCBs One ham’s first attempts to make PCBs at home Jim Larsen, AL7FS 907-345-3190 AL7FS@AL7FS.us Ver 1.0 3/22/06 By Jim Larsen, AL7FS
Overview of Toner Transfer PCBs • First attempts at Printed Circuit Boards • What is toner transfer method? • My approach to toner transfer • Drawing the Schematic • Converting to a PCB layout • Preparing the Board, Laying down the Toner • Removing the Paper; Leaving the Toner • Etching the Board, cleanup and solder coat • Drilling, shearing and building • Comments and Suggestions
First Attempts at PCBs • Early years – sticky labels cut with a sharp blade • Sharpie permanent ink pens for resist • Results worked but were pretty simple and crude
PCBs via Toner Transfer (TT) • Why even build my own boards? • Seemed like fun. • Cost can be low. • For over 40 years complex Boards stopped me. • Manhattan Style building is good but I never seem to get started. • Front-end load the hard work; finish with fun. • So What is Toner Transfer Method??
Toner Transfer Method • A method of creating a printed circuit board (PCB) using a copy machine or a laser printer to make apply the etchant resist pattern • Software now available to create schematic and PCB layout • No expensive equipment is required but can be helpful in the home • A simple process once the basics are mastered
AL7FS Approach • Equipment in the Toner Transfer Process • A computer • Free Demo Software – Up to 250 pins • Laser Printer or Copier • Various dishes for soaking or etching • A household iron or a laminator • Tarn-X, soap, scrubber, Acetone cleaner, surgical gloves, • Drill Press • Carbide drill bits • Shear or other method for cutting PCB
AL7FS Approach • Equipment in the Toner Transfer Process • A computer – Already had a computer • Free Demo Software – DipTrace demo version • Laser Printer or Copier – Decided to Buy Printer • Various dishes - Already had on hand • A household iron or a laminator – Laminator-eBay • Tarn-X, soap, scrubber, Acetone cleaner, surgical gloves – Had all but the scrubber • Drill Press – Decided to buy a small one • Carbide drill bits – Bought via eBay • Shear or other method for cutting PCB – Will use a friend’s shear
Lets build a simple circuit: • Zapper circuit schematic. • From Dr. Clark's book "The Cure For All Diseases“ • Only the schematic is provided from web source • What to do……?? • http://www.members.aol.com/mas1911/index.html
Dip Trace – Draw the Schematic http://www.diptrace.com/ Diptrace has a Free Version: Freeware edition does not support export to DXF, Gerber and N/C Drill, max. number of pins — 250.
Diptrace Convert to PCB –Step 1 Next Step is to move the components to the layout you would like.
Run AutoRouter Scale 400%
Print to Transfer Paper • Tried Inkjet Photo Paper with zero success • Plain Costco bulk white paper worked
Clean PCB Board • Tarn-X First • Board was old with fingerprints • Dishsoap and hot water • Scrub down with rough green scrub pad from Carrs • Don’t touch surface from here to the end
Transfer Toner to Board Or Use a Clothes Iron
Remove Paper from Toner Soak 20+ Min. Warm, Soapy Water
Choices at This Point • Etch all Four circuits • Need to touch up traces and Pads • Cut the best board free of others • Needs No touchup – 3 good 1 bad • Uses less toner • Cut with hack saw, finish w/file • Find a shear for cleanest cuts
Etching the Board • I used old Etching Solution – 15 years old (Not a good idea) • Temperature of solution was only about 68 degrees (Not warm enough) • Bottle says up to two hours • I took 65 minutes – That’s too long
Etching the Board • Used a throw-away brush to gently wipe the surface and keep fresh solution on the copper
Etching the Board • Copper slowly is eaten away • Only the circuit will remain
Etching the Board • The Etching is complete • Some circuits are good, others not good
Etching the Board • This one looks pretty good but with some pitting
Cleaning off the Toner • Acetone was used to clean off the Toner from the circuit pattern • Left black smudges on the board – No answer for this yet
Cleaning up the Traces • My etch process undercut the toner in places • I inspected each circuit with a magnifying glass • In places I added a jumper to assure continuity
Cleaning up the Traces Solder Wick = solder brush Solder Paste rubbed on circuit Temp. – 750 F Paint the traces with Solder
Cleaning up the Traces • Solder on traces protects the copper from corrosion
Additional Cleanup • Poor traces repaired with small wire and soldered into place
Additional Cleanup • Poor traces repaired with small wire and soldered into place
Finishing touches • Small drill press is a requirement • Small diameter drill bits need drill press • Drill bits need to be carbide tip drills • Don’t breath the dust from drilling
Final Touches • May Use toner transfer method again to add component outlines on the top of the board. Can usehousehold ironor laminator to fix the toner • Solder in the components • Test the circuit • Install in a chassis as desired
Final Comments • This is my first attempt at toner transfer. • I offer my observations as a learning tool • I plan to keep trying new techniques • There are Many variations on this technique • Board cleaning methods used by me not best. (e.g., the acetone black smears) • My etching technique undercut some traces (Needs major improvement) • Great potential with this technique • Give it a try Yourself !!
Links for Toner Transfer • http://www.diptrace.com/ HomePage for DipTrace software • http://groups.yahoo.com/group/diptr/ Mail List for DipTrace • http://groups.yahoo.com/group/Homebrew_PCBs Mail List for homebrew PCBs • http://max8888.orcon.net.nz/pcbs.htm another step by step example • http://www.Google.com/ search on “toner transfer method”
Alaska QRP Club • No officers, no directors, no constitution & No dues. • Meets the Third Friday of every month - 7:00 PM (Some show for dinner at 6PM) • Meet at Dennys (in the back room) on DeBarr near Bragaw. • Contact is Jim Larsen, AL7FS, 907-345-3190. AL7FS@AL7FS.us • http://www.qsl.net/kl7aqc/