Download
1 / 30
300 likes | 1.25k Views
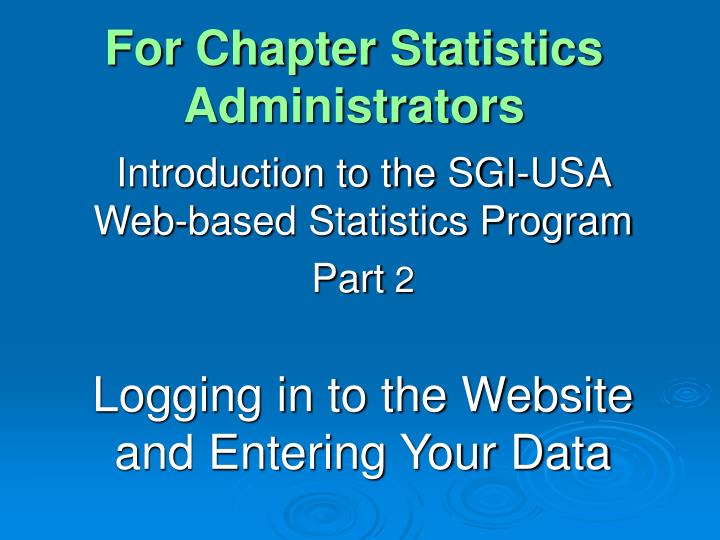
For Chapter Statistics Administrators. Introduction to the SGI-USA Web-based Statistics Program Part 2 Logging in to the Website and Entering Your Data. You will learn how to…. Go to the Administrators Portal Page Login to the Website Navigate from chapter to districts

E N D
For Chapter Statistics Administrators Introduction to the SGI-USA Web-based Statistics Program Part 2 Logging in to the Websiteand Entering Your Data
You will learn how to… • Go to the Administrators Portal Page • Login to the Website • Navigate from chapter to districts • Enter statistics data in the district statistics report and save it. • Add notes • Submit the Chapter Summary • Print or export
Start at the Portal Page • Always begin by going with your web browser to www.sgi-usa.org/statport • This is called the Statistics Administrator Portal Page • Make this page a "favorite" or bookmark in your web browser.
What's on the Portal Page? • The web link to go to the Statistics Website. • Important notices and information for Chapter Statistics Administrators will be posted here. • If you skip this page, and go directly to the Statistics Website, you will miss these notices. • The web link on this page is the most reliable way to get to the login screen.
www.sgi-usa.org/statport Web link to StatisticsLogin Page Notices
The Login Screen Enter User name & password
The 2nd "Login Screen" • Each time you login to the website you have a chance to update your contact info. • Make sure your most reliable email address and phone number is entered. • Select the option to make these changes permanently to your profile.
The 2nd "Login Screen" Update info if needed Make changes permanent Click Next when done
The "Home" Screen The "Home" screen is where you begin your tasks Click here to get back to "Home"
What's On the Home Screen? • Menu Bar: Home, Reports, My Profile, Logout • The two-month "Reporting Period" selector • The "Tree" which shows the organizational structure of your chapter and allows you to navigate to districts • Summary of Chapter or District Statistics
The "Home" Screen Reporting period selector Menu Bar Summary "Tree"
How does the "Tree" work? • If necessary, click the triangle next to the chapter name to expand it. • It should show the chapter and the districts which are in the chapter. • Click the name of the district or chapter to select it. The name will change to red.
How does the "Tree" work? (cont.) • When an organizational unit (district or chapter) is selected in the Tree on the left, its name and data summary appears on the right side of the screen. • Use the Tree to move from district to district
The "Tree" The selected district or chapter displays its name in red text The statistics data summary of thedistrict or chapter displays on the right side
Entering your data • You should collect the paper District Statistics Reports and have them at hand. • The goal is to enter the same numerical data that is on the front of the paper District Report into the matching district screen and save it. • We do not enter any data from the back of the District Statistics Report.
Select the Correct Reporting Period Click on the downward pointing arrow to select the correct reporting period
Select a District to work on Select thedistrict towork on The district data entryscreen appears here
When Entering District Data • The spaces where you can put numbers are called "fields." • Double-click directly on a "0" or other number in a field to highlight it, then type in your new number. • Use the tab key to move to the next field or click where want to go next.
Enter the District Statistics Data Enter your membershipdata here. Use Tab key to move orclick in another field. The Totalof Last Reportcannot bechanged Totals are calculated automatically Enter attendancedata here When done click "Update and Save"
Entering and Saving Notes • There may be some cases when you want to explain something about a report. • You can type anything in the notes field, then click "Save My Notes." • This note will remain with the report. • The Zone Statistics Specialist will be notified that a note has been attached.
Entering and Saving Notes Type notes here, then click Log of "Saves," "Submittals," and "Reviews."
Save the District Statistics Data • Statistics data can only be added or edited on a district report screen. • When you are done, click the button"Update and Save." This also records the date and time in the log at the bottom of the screen. • You can go back and make changes later, until the Reporting Period is finalized nationwide. Click "Update and Save" each time. • You can always go back to update discussion meeting attendance data.
The Chapter Summary • When you finish entering a district's data and click "Update and Save," this data is added to the Chapter Summary • You can see the totals for the chapter in the Chapter Summary by clicking on the name of the chapter in the Tree • The numbers in parenthesis following the chapter name indicate the number of districts which have saved data out of the total number of districts. e.g. (2 of 4)
The Chapter Summary (cont.) • When you have entered and saved the data for all of the districts, return to the Chapter Summary by clicking on the chapter name. • If you are satisfied with the Chapter Summary, you should submit the summary by clicking on the "Submit" button. • This will indicate to the Zone Statistics Specialist that you have submitted the data for your chapter. It will also record the date and time in the log at the bottom of the screen
The Chapter Summary (cont.) • You can also add any note that you would like to have appear on this summary. This will be included in any copies of this summary that are printed or exported. Click "Save My Notes" when done. • You can return later to modify any notes or the data on a district Statistics Report screen at any time until the Reporting Period is finalized nationwide. • You can print or export a district statistics report or a chapter summary report by clicking on one of the two icons at the upper right of the page.
The Chapter Summary To print or export click one of these icons These numbers show how many districts have data saved.
Summary: You know how to… • Go to the Administrators Portal Page • Login to the Website • Navigate from chapter to districts • Enter statistics data in the district statistics report and save it. • Add notes • Submit the Chapter Summary • Print or export
Thank you for being a part of this new Statistics activityWhen you have any questions about using the Statistics Website, please contact your Zone Statistics Specialist. Sending Email may be the best way due to time differences.
Office Phone Numbersfor Statistics Specialists Central Zone 214-559-4115 (Dallas) Northeast Zone 212-727-7715 (NewYork) Pacific Zone 323-965-0025 (Los Angeles) Southeast Zone 954-349-5200 (Miami) West Zone 303-893-0430 (Denver)
Zone Statistics Specialists Email Addresses • CentralStatsSpec@sgi-usa.org • NortheastStatsSpec@sgi-usa.org • PacificStatsSpec@sgi-usa.org • SoutheastStatsSpec@sgi-usa.org • WestStatsSpec@sgi-usa.org Name of Zone + StatsSpec + @sgi-usa.org