Download
1 / 39
390 likes | 491 Views
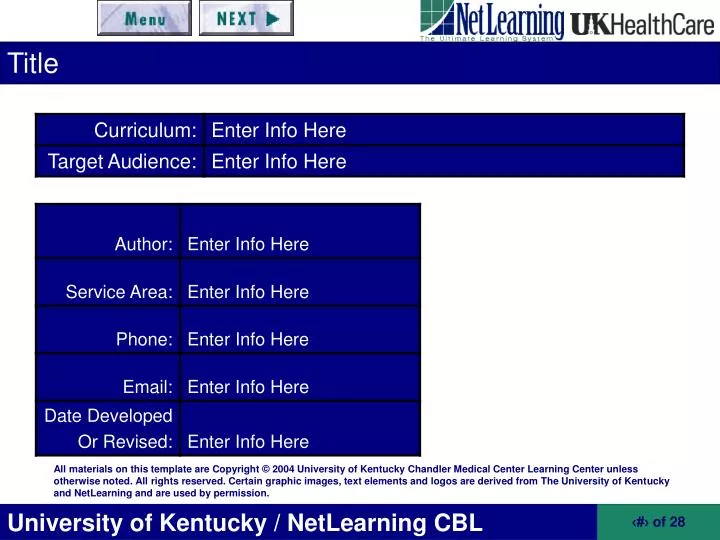
Title. Menu. Click the links below to jump to selected “chapters” in the course. Add/edit links as needed. Hyperlink ( Insert Hyperlink ) each link to the first page of the appropriate chapter before proofing the course. Include other navigational tips or suggestions on this page.

E N D
Menu Click the links below to jump to selected “chapters” in the course. Add/edit links as needed. Hyperlink (Insert Hyperlink) each link to the first page of the appropriate chapter before proofing the course. Include other navigational tips or suggestions on this page. Go to the master slide and change the course title at the bottom of the screen. Introduction Readability Illustrations Releasing Courses Summary References
This template is designed to help organize course content based on Introduction Course Development • topics (chapter heading and sub-topics with chapters). • interactive needs (for example, review questions). A course should also be designed for its audience. Appropriate use of multi-media elements enhance the message. Click hotwords to view definitions.
Several reference materialshelp make course content more interesting, concise, and active. Introduction Content Development • Write to grade-level and consider non-readers by using visual cues (for example, the hotwords). • Usehotwords accommodate a broader range of ability. • Group text so it is easy to read and comprehend. Click hotwords to view definitions.
Include a heading ( “chapter” name) on each slide. heading sub-heading Introduction Heading and Subheadings • Hyperlink the first page of each chapter to the menu options on slide 2. Use subheadings to further define course content; for example, the chapter heading may be Personal Protective Equipment. Subheadings may be gloves, gowns, or masks.
Introduction Additional Information
Readable text is easy to read and understand. Complementary clipart or pictures enhance learning. Readability Introduction
Use active voice rather than passive voice. Do this -- Use aseptic technique when starting an IV. Don’t do this -- You should always try to use aseptic techniques when starting an IV. Readability Active Voice
Do not use big words when short words will do. Readability Measure Your Words Do this -- do try use lack end Don’t do this -- accomplish attempt utilize deficiency terminate
Do not use words with extra syllables. Readability Measure Your Words Do this -- regardless preventive Don’t do this -- irregardless preventative
Use compact substitutes for wordy phrases. Readability Measure Your Words Do this -- since encourage adjust has most many Don’t do this -- in view of the fact that give encouragement to make an adjustment in is equipped with a majority of large number of
Do not use words that duplicate the meaning of a word or words already used. Readability Measure Your Words Do this -- principles opinion equal ask Don’t do this -- basic principles personal opinion exactly equal ask the question
Readability Additional Information
Include at least one review question at the end of each chapter; for example, When you develop course content, it should be interesting, concise, and active. True False Place the pointer over the desired answer and click the left mouse button for immediate feedback. Readability Review Question
Illustrations Make Your Point • Graphics enhance performance for novice-users and non-readers by simplifying complex information. They should always reinforce the text. If an art element takes away from the message, do not use it! • Use illustrations to present concrete objects such as step-by-step instructions or for identification. • Be creative, but remember the goal is increased learning.
Illustrations Illustrations should draw the eye into the center of the screen. They should complement rather than overwhelm the text. Don’t do this!
Illustrations Tables and Graphs Use tables and graphs to show relationships. Import pictures and graphs or make charts in PowerPoint.
Illustrations Clipart Double-click the picture on this page to insert Clip Art.
Illustrations Picture Files Choose Picture From File. When the Insert Picture box opens, make the appropriate selection. Use multiple text boxes to “wrap” words around a picture. To insert a Picture From File on any screen, click the Insert menu option.
Illustrations Additional Information
Illustrations Review Question Pictures should draw attention away from the text. True False
Releasing a Course Guidelines Before attaching a course to the Learning Administrator, have more than one person proof the course. • Check for spelling errors. • Click all menu and hotword links. • Save the course as html.
Releasing a Course Guidelines • Place the course on the network. • Setup the new course in the Learning Administrator. • Assign the course to the appropriate People Groups. • Add the course to a curriculum (if appropriate). • Create an exam. • Let the Student Interface and Learning Administrator do the rest of the work!
Releasing a Course Additional Information
Releasing a Course Review Question Which of the following statements is true? Whenyou want students to take a CBL course, you have to contact them individually and tell them which ones to take. Once a course is properly created in the Learning Administrator, a participant may log on to the Student Interface to view his CBL “to do” list. There is no need to carefully proof a course before assigning it to students.
Summarize the main elements of the CBL course. Tell the student where to go or who to contact for more information. Summary
List references such as text books, papers, policies, etc. Give credit for narration, charts, pictures, etc. References/Credits
We hope this Computer Based Learning course has been both informative and helpful. Feel free to review the screens of this course until you are confident about your knowledge of the material presented. Click the Take Test button on the left side of the screen when you are ready to complete the requirements for this course.This CBL requires a score of ____% to pass. If you do not pass, this CBL will stay on your “To Do” list until the passing score is achieved. You may repeat the CBL and test as many times as needed to pass. Exit Choose the My Records button to view your transcript. Select Exitto close the Student Interface.
Hotwords Hotwords -- Hotwords are words that may not beeasily understood by the student. Hyperlink hotwords to hotword definition slides. Include a link so the student can return to the last page viewed. When you create the hyperlink, choose the specific slide number the student should return to. Return to Course
Hotwords Hotwords -- Hotwords are words that may not beeasily understood by the student. Hyperlink hotwords to hotword definition slides. Include a link so the student can return to the last page viewed. When you create the hyperlink, choose the specific slide number the student should return to. Return to Course
multi-media elements multi-media elements – Multi-media elements may include photographs, Clipart, line drawing, videos, sound, etc. Return to Course
Suggested Reference Material • The Chicago Manual of Style • The Elements of Style • Hodges’ Harbrace College Handbook • Write Source 2000 • How to Communicate Technical Information. Return to Course
Review Question Feedback Correct Your answer is correct! Course content should be interesting, concise, and active. Return to Course
Review Question Feedback Incorrect Your answer is incorrect! Course content should be interesting, concise, and active. Return to Course
Review Question Feedback Correct Your answer is correct! Pictures should complement the text and not draw attention away from it. Return to Course
Review Question Feedback Incorrect Your answer is incorrect! Pictures should complement the text and not draw attention away from it. Return to Course
Review Question Feedback Correct Your answer is correct! Once a course is properly created in the Learning Administrator, participants log on to the Student Interface to check their CBL “to do” list. Return to Course
Review Question Feedback Incorrect Your answer is incorrect. To assign a CBL course to participants, setup the course in the Learning Administrator. Place the course on the network in the proper location. Assign the course to appropriate people groups or curricula and enroll students in the course. The Student Interface and Learning Administrator do the rest of the work! Students simply log on to the Student Interface to check their “to do” list. Return to Course
Review Question Feedback Incorrect Your answer is incorrect! Always have more than one person carefully proof a course before assigning it to students. Return to Course