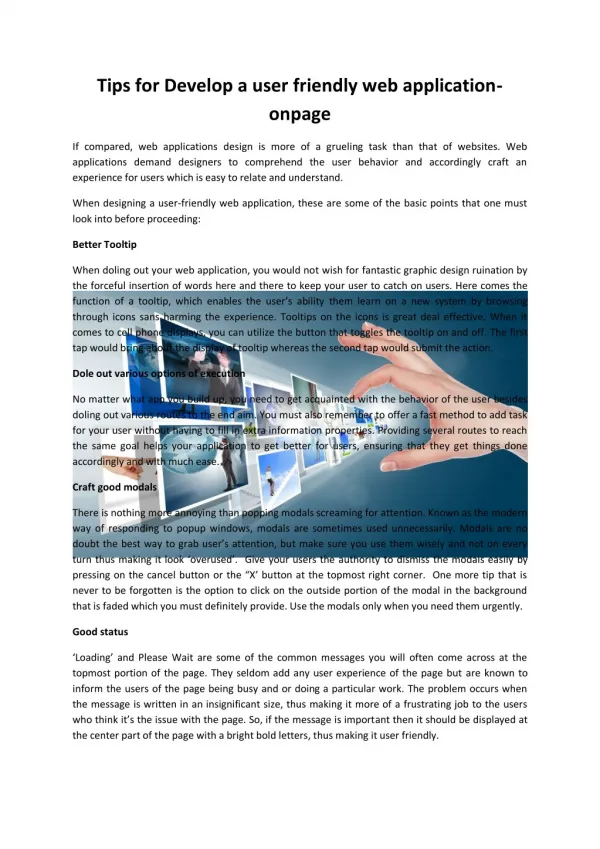
ECT 270 Client side web application development
400 likes | 553 Views
ECT 270 Client side web application development. Cascading Style Sheets. Cascading style sheets. Separate style and content More flexible (changing one style definition in the style sheet will change the entire site) Print versions Consistent design

ECT 270 Client side web application development
E N D
Presentation Transcript
ECT 270 Client side web application development Cascading Style Sheets
Cascading style sheets • Separate style and content • More flexible (changing one style definition in the style sheet will change the entire site) • Print versions • Consistent design • Less work for larger sites (more overhead) • CSS1-’96 supported by IE 4, Netscape 4 • CSS2-’98 supported by IE 5, Netscape 6
Type of style rules • Inline style: adds styles to each individualtag within the HTML file (single section) • Embedded or global style: a style is applied to the entire HTML file. The style declarations are in the header (web page) • Linked or external style: links the HTML file to a text file containing the style declaration. Gives a consistent look across pages (web site)
Inline style (in body) <BODY><H3 STYLE=“font-family:Arial, Times; font-style:italic; color:green”> This is H3, Arial, italic and green</H3> <H3>This is simply H3</H3> </BODY> <TAG STYLE=“attribute1:value1;attribute2:value2 …”> This is H3, Arial, italic and green This is simply H3 06_CSS_Inline
06_CSS_Document <! -- > Embedded style sheet(in header) - Multiple selectors - Nested styles <HEAD><STYLE> H3 {font-family:Arial; font-style:italic; color:green}</STYLE> </HEAD><BODY> <H3>This isH3, Arial, italic and green</H3> <H3>And so is this H3</H3> </BODY> <STYLE> selector {attribute1:value1;attribute2:value2 …}</STYLE> This is H3, Arial, italic and green And so is this
06_CSS_External External style sheet (in header) • Create a text file containing all style declarations: mystyle.css • Link, or import that file to the HTML file using special tags in the header. <LINK HREF=URL REL=“stylesheet” TYPE=“text/css”> mystyle.css OR @import allow you to use more than one style sheet in the same document <STYLE> @import url (“mystyle.css”)</STYLE>
Combining styles • A linked style sheet can help you maintain a consistent look and feel throughout your Web site • If you want a certain page to have additional styles, you can include styles in the head of that particular HTML document • If you want just one section of a page to look different, you might use the inline styles with a <DIV> or <SPAN> tag
Combining styles • The @import tag must be the first element within the STYLE tag • Embedded style declarations should come after the @import commands • If two style sheets define competing style, the innermost style sheet wins Style precedence: INLINE > GLOBAL >EXTERNAL >BROWSER’S STYLE SHEET>BROWSER
Selectors • Multiple selectors: group selectors that share styles, separate with comma H1, H3, STRONG, TD {font-family:Arial;color: blue;} • Nested selectors: nest elements in a selector to create more specific styles EM STRONG {color: red;} <EM><STRONG> This text is red</EM></STRONG> <EM> This is not </EM> 06_CSS_Nested
Defining colors in CSS • Color names (names supported by HTML are also supported by CSS): body {color:teal} • Hexadecimal form: body {color:#008080} • RGB color values: body {color:rgb(0,128,128)} • RGB color percentages: body {color:rgb(0%,50%,50%)}
Background color • Background colors can be applied to almost any element in a Web page not just the page itself. H1 {background-color: rgb(204,102,255)} This is an H1 headers with a purple background
More background styles • Background-image :url(file.jpg) • Background-attachment: scroll | fixed (to allow the image to scroll with the element or not) • Background-repeat: repeat | repeat_x | repeat_y | no-repeat (controls how the image is tiled)
X (0,0) Y More background styles • Background-position: value1 value2Can be expressed as the horizontal and vertical distance from the upper-left corner of the background, using • Length • Percentages • top | center | bottom | right | left 06_CSS_BG
Using classes and IDs as selectors • An HTML tag can be a selector but sometimes you want to be more specific. For example you have a huge table and you want to format the rows 4 different ways. Using TR as a selector will allow you only one style definition • Instead you can define a class or an ID and then attach it to any HTML tag, without limiting the tag itself to a particular style
Using classes as selectors • Define a class (in the header) by • giving it a name preceded by a period • adding the standard style definitions inside {} <STYLE TYPE=“txt/css”> .bright {font-weight:bold; color:red}</STYLE> • Apply the class to any HTML tag <STRONG CLASS=bright> text </STRONG><H1 CLASS=bright> text </H1>
More on classes • Define a class for a specific tag by • Giving attaching to the tag selector a dot and the class name • Adding the standard style definition within {} • This particular class can only be applied to the tag used in its definition <STYLE TYPE=“txt/css”> H1.bright {font-weight:bold; color:red}</STYLE> May be used only for H1
Using ID as selectors • Defined the same way as a class but it is preceded by a # (instead of a period) <STYLE TYPE=“txt/css”> #bright {font-weight:bold; color:red}</STYLE> • Apply the ID to any HTML tag <STRONG ID=bright> text </STRONG> • Can’t have more than 1 tag with the same ID value
06_CSS.Nested Hyperlink pseudo-class • A: link {style for never visited links} • A: visited {style for visited links} • A: active {style for link that is currently being clicked} • A: hover {style when the mouse cursor is hovering over the link} A:hover {color=red; text-transform:uppercase;font-weight=bold}
The <DIV> tag • This HTML tag does not format content • It creates a container for block-level elements • You can assign a CLASS (or ID) to the container <UL><DIV CLASS=“bright”> <LI> First item <LI> Second item</DIV> <LI>Third element</UL The <SPAN> tag is used to mark inline elements like letters, words or phrases
Block-level element boxes HTML tags that can be treated as block-level elements: • <H1>-<H6>, <P>, HR> • <BLOCKQUOTE> • <UL>,<OL>, <LI> • <DIV> (Use this as a block container) • <BODY> • <IMG> • You can move them around the page, apply borders and background colors to them etc
Margin Border Padding Formatting block-level elements • The size of margins, border and padding are set with the margin, padding, and border properties respectively • The padding area uses the same background as the element itself • Margins are always transparent
06_CSS_Border Random Examples IMG { border-style: ridge; border-width: 20px; border-color:red green blue purple; } H1 {background-color: #CC66FF; width: 50%; padding=20px;} H1,50% ,purple background
Floating Block Level elements • FLOAT: left | rightUsed to float a block level element to the left or right of the parent element • CLEAR: left | right | bothInserted into the nonfloating element to prevent a floating element from appearing alongside a block-level element 06_CSS_Float06_CSS_BG
<HTML> <HEAD> <TITLE>Float ex</TITLE> <STYLE type="text/css"> IMG { float: left } BODY, P, IMG { margin: 2em} </STYLE> </HEAD> <BODY> <P><IMG src="img.gif" alt="This image will illustrate floats"> Some sample text that has no other... </BODY> </HTML>
Positioning HTML elements (CSS2) • POSITION: static | relative | absolute • Static: laid out according to the normal flow • Relative: the box is offset relative to its normal position or its parent element • Absolute: creates a free agent element separate from the rest of the document. It is placed at an exact point in the window. • box’s position is specified with the left | right | top | bottom properties IE does not accept positioning in the <BODY> tag
X (0,0) Y 06_CSS_Relative 06_CSS_Absolute Positioning • Upper left corner corresponds to (0,0) • The value of top, bottom, right, left can be expressed in: • Length (measured in px, em, etc) • Percentage of the parent width <H1 STYLE="color: white; position: absolute; bottom: 50px; left: 50px; z-index: 2"> Text in front.</H1>
Stacking objects 3D positioning • Element that are positioned can be given a 3rd dimension: a stacking order in relationship to one another • Positioned elements are assigned stacking numbers automatically, starting with 0 and continuing incrementally with 1,2 ,3 .. In the order in which they appear in the HTML code
06_CSS_Zindex06_CSS_Absolute06_CSS_Shadow The z-index • This system of stacking order is called the z-index • An element’s z-index number is a value that shows its 3-D relation to other elements in the window • If elements overlap each other, the one with the higher z-index appears on top .topElement {position: absolute; z-index=2; top:0px left:0px; font-size:36pt; color:red}
Object visibility • You can hide and un-hide an object by changing the value of the visibility and display attributes visibility: visibility_type;visibility_type could be: visible, hidden, inherit (the visibility property of its parent element) visibility:hidden; the object is not visible but still takes up space display: none; By adding this attribute the object will not take up space
08_DropText.htm Visibility and display
Overflow and clipping • width:value; height: value; define the width and height of each object on the page • If the content of the object is greater than the dimensions specified you can control how the browser deals with the extra content using • overflow: overflow_type;overflow_type could be: visible| hidden| scroll |auto
06_CSS_Clip The clip attribute • It allows you to define a rectangular region through which the object’s content can be viewed. Anything outside the rectangle remains hidden (until needed) • clip: rect(top,right,bottom,left); (or auto)