Download
1 / 33
340 likes | 601 Views
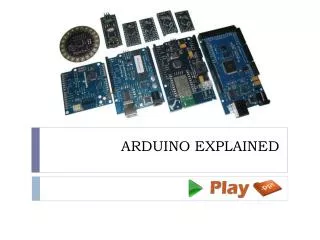
What is an Arduino ?. Open Source electronic prototyping platform based on flexible easy to use hardware and software. Arduino Board. “ Strong Friend ” Created in Ivrea, Italy in 2005 by Massimo Banzi & David Cuartielles Open Source Hardware Processor

E N D
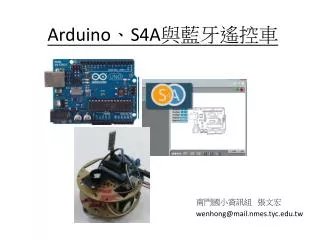
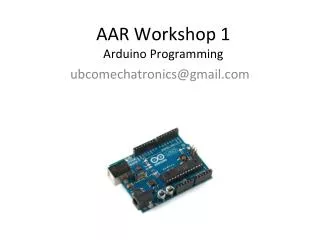
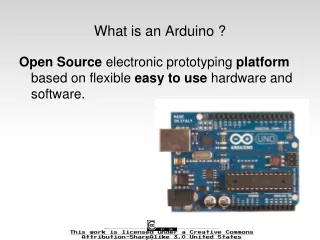
What is an Arduino ? Open Source electronic prototyping platform based on flexible easy to use hardware and software.
Arduino Board • “Strong Friend” Created in Ivrea, Italy • in 2005 by Massimo Banzi & David Cuartielles • Open Source Hardware • Processor • Coding is accessible & transferrable (C++, Processing, java)
Arduino… • is the go-to gear for artists, hobbyists, students, and anyone with a gadgetry dream. • rose out of another formidable challenge: how to teach students to create electronics, fast. http://spectrum.ieee.org/geek-life/hands-on/the-making-of-arduino
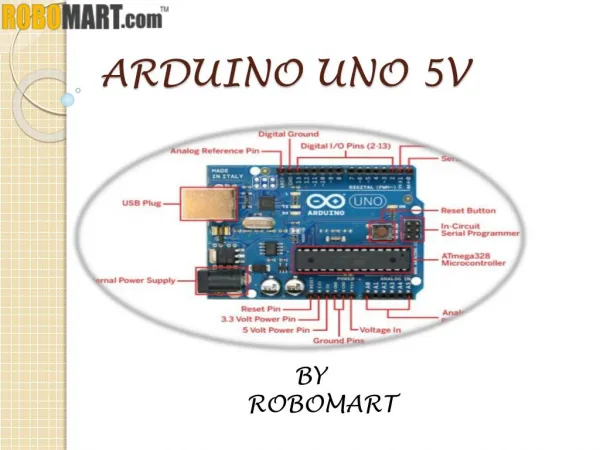
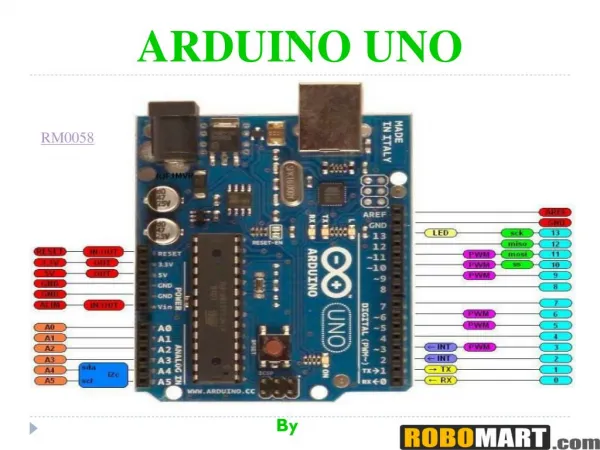
PWR IN USB (to Computer) RESET SCL\SDA (I2C Bus) POWER 5V / 3.3V / GND Digital I\O PWM(3, 5, 6, 9, 10, 11) Analog INPUTS
Concepts: INPUT vs. OUTPUT Referenced from the perspective of the microcontroller (electrical board). Inputs is a signal / information going into the board. Output is any signal exiting the board. Almost all systems that use physical computing will have some form of output What are some examples of Outputs?
Concepts: INPUT vs. OUTPUT Referenced from the perspective of the microcontroller (electrical board). Inputs is a signal / information going into the board. Output is any signal exiting the board. Examples: Buttons Switches, Light Sensors, Flex Sensors, Humidity Sensors, Temperature Sensors… Examples: LEDs, DC motor, servo motor, a piezobuzzer, relay, an RGB LED
Concepts: Analog vs. Digital • Microcontrollers are digital devices – ON or OFF. Also called – discrete. • analog signals are anything that can be a full range of values. What are some examples? More on this later… 5 V 5 V 0 V 0 V
Open up Arduino Hints: For PC Users • Let the installer copy and move the files to the appropriate locations, or • Create a folder under C:\Program Files (x86) called Arduino. Move the entire Arduino program folder here. For Mac Users Move the Arduino executable to the dock for ease of access. Resist the temptation to run these from your desktop.
ArduinoIntegrated Development Environment (IDE) error & status messages Two required functions / methods / routines: void setup() { // runs once } void loop() { // repeats }
Settings: Tools Serial Port Your computer communicates to the Arduino microcontroller via a serial port through a USB-Serial adapter. Check to make sure that the drivers are properly installed.
Settings: Tools Board Next, double-check that the proper board is selected under the ToolsBoard menu.
BIG 6 CONCEPTS This work is licensed under a Creative Commons Attribution-ShareAlike 3.0 United States License.
Let’s get to coding… • Project 1 – Light Alarm • “Hello World” of Physical Computing • Psuedo-code – how should this work?
Comments, Comments, Comments • Comments are for you – the programmer and your friends…or anyone else human that might read your code. • // this is for single line comments • // it’s good to put a description at the top and before anything ‘tricky’ • /* this is for multi-line comments • Like this… • And this…. • */
Three commands to know… • pinMode(pin, INPUT/OUTPUT); • ex: pinMode(13, OUTPUT); • digitalWrite(pin, HIGH/LOW); • ex: digitalWrite(13, HIGH); • delay(time_ms); • ex: delay(2500); // delay of 2.5 sec. • // NOTE: -> commands are CASE-sensitive
Project #1: Wiring Diagram Image created in Fritzing
Programming Concepts: Variables Variable Scope Global --- Function-level
Programming Concepts: Variable Types • Variable Types: 8 bits 16 bits 32 bits long unsigned long float byte char int unsigned int
Fading in and Fading Out (Analog or Digital?) • A few pins on the Arduino allow for us to modify the output to mimic an analog signal. • This is done by a technique called: • Pulse Width Modulation (PWM)
Concepts: Analog vs. Digital • To create an analog signal, the microcontroller uses a technique called PWM. By varying the duty cycle, we can mimic an “average” analog voltage. Pulse Width Modulation (PWM)
Programming: Conditional Statementsif() • void loop() • { • intbuttonState = digitalRead(5); • if(buttonState == LOW) • { // do something • } • else • { // do something else • } • } DIG INPUT
analogRead() • Arduino uses a 10-bit A/D Converter: • this means that you get input values from 0 to 1023 • 0 V 0 • 5 V 1023 • Ex: • intsensorValue = analogRead(A0);
Using Serial Communication Method used to transfer data between two devices. Data passes between the computer and Arduino through the USB cable. Data is transmitted as zeros (‘0’) and ones (‘1’) sequentially. Arduino dedicates Digital I/O pin # 0 to receiving and Digital I/O pin #1 to transmit.
Serial Monitor & analogRead() Initializes the Serial Communication 9600 baud data rate prints data to serial bus
Serial Monitor & analogRead() Opens up a Serial Terminal Window
Analog Sensors Examples:
Additional Serial CommunicationSending a Message void loop ( ) { Serial.print(“Hands on “) ; Serial.print(“Learning ”) ; Serial.println(“is Fun!!!”) ; }
Serial Communication:Serial Debugging void loop() { int xVar = 10; Serial.print ( “Variable xVar is “ ) ; Serial.println ( xVar ) ; }
Serial Communication:Serial Troubleshooting void loop ( ) { Serial.print (“Digital pin 9: “); Serial.println (digitalRead(9)); }