Download
1 / 8
80 likes | 172 Views
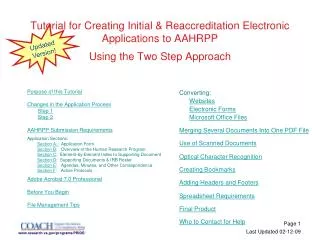
Documents & Finishing Up. Lab 10 For sections 401 and 404 www.unc.edu/~cvbell/j50/labs/lab10ppt.ppt. Agenda. Creating a PDF document Linking to PDFs & Other Files Creating Target Links Automatic Last Updated Checking Page Links & Spelling Web Project Work Time and Q&A. PDF Documents.

E N D
Documents & Finishing Up Lab 10 For sections 401 and 404 www.unc.edu/~cvbell/j50/labs/lab10ppt.ppt
Agenda • Creating a PDF document • Linking to PDFs & Other Files • Creating Target Links • Automatic Last Updated • Checking Page Links & Spelling • Web Project Work Time and Q&A
PDF Documents • PDFs are great documents for displaying word files and creative work like news pages, etc. • Useful on your portfolio page for example • They can be made from almost any file type.
To Make a PDF Document • With your document open in the appropriate program (e.g. Microsoft Word) choose “Print”, then “Acrobat Distiller” instead of a ‘real’ printer. • Click “ok” wait a second and a box will appear for you to name the PDF. Name it and click “save” • The process takes a minute or more, so just sit back and watch the computer do all the work.
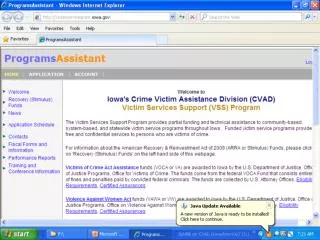
Linking to PDFs & Other Documents • You can link to other documents (.pdf, word docs, .mpeg, etc) just like linking to an HTML pages • Save the file in your public_html folder and type the filename in Dreamweaver’s “link” area after highlighting your linked text – or use the folder icon to browse for the file. • Tip: the person visiting your Web site needs to have the appropriate software to view the file you link to, so make sure you create files that most people can open (PDFs, MP3s, Word docs, etc.)
Creating Target Links • When linking to PDFs or to outside Web sites, you may want to create a “target” link. • A target link opens displays the document or Web page you’re linking to in a new browser window • To create a target link go to the Properties Inspector by double-clicking on your linked text or by choosing Selection Properties in the Modify menu. • To the right of the area where you entered the link information you should see the word “target.” Click on the drop down menu to the right of the word “target” and select “blank”. Now each time some one clicks on the link the file will open a new, blank window.
Automatic Last Updated • Don’t forget, you’re required to include “last updated” information on your index page. • You can do this by hand, changing the date every time you update the Web site. • Or you can get Dreamweaver to do this automatically every time you save the index page. • On the line where you insert the time “last updated,” instead of typing the date use the insert menu • Select: insert>>date • Select the format you would like and check the update automatically box.
Check Page Links & Spelling • To check your site, before you turn in your Web project try these helpful Dreamweaver features to polish it up: • Check links with the check link function: • Select File>>Check page>>Check Links • To check links in the entire site, clicking on “site” and “check links site-wide”. You’ll still want to double check your links on the Web. • Spell Check with Text >> check spelling or you can just hit “Shift-F7”