Download
1 / 26
260 likes | 399 Views
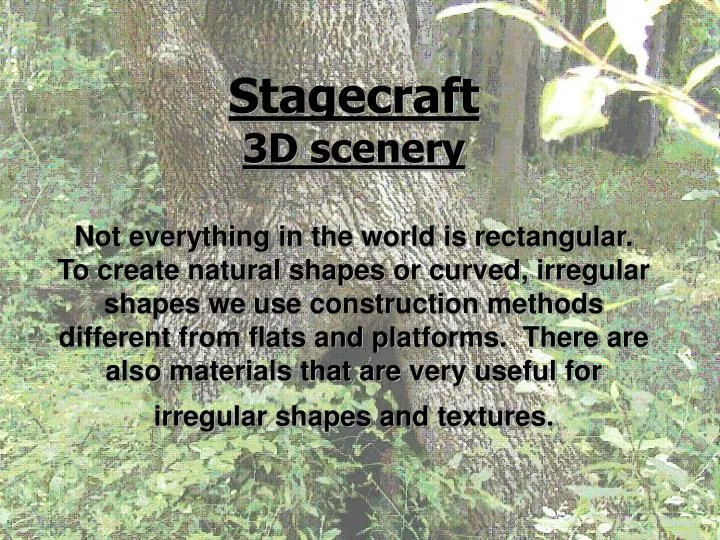
Stagecraft 3D scenery Not everything in the world is rectangular. To create natural shapes or curved, irregular shapes we use construction methods different from flats and platforms. There are also materials that are very useful for irregular shapes and textures. “We need a rock on stage.”.

E N D
Stagecraft3D sceneryNot everything in the world is rectangular. To create natural shapes or curved, irregular shapes we use construction methods different from flats and platforms. There are also materials that are very useful for irregular shapes and textures.
“We need a rock on stage.” What happens when the designer asks for a natural shape- a rock. There are three basic ideas for getting a rock on stage.Get a real rockCarve a rock out of foam and coat itBuild a skeletal structure and cover it with a skin
A real rock will look right and sound right and be solid enough to climb on- but It will be very heavy and difficult to get it to the theatre and we can forget about scene changes. That doesn’t mean we don’t use real rocks sometimes.
Polystyrene is the most common type of foam for scenery. It can be carved with just about anything but for large scale work the usual tool is a hot wire or hot knife. Burning polystyrene releases toxic gasses, so protective gear is REQUIRED. Because of this we don’t use foam in school. But in the entertainment industry it is common.
Polystyrene (Styrofoam) is a cheap and light material that can be carved and shaped to create many textures.
Polystyrene doesn’t take paint well and has a soft texture. To finish the piece of scenery it has to be covered with a hard coating that will take abuse and can be painted. These coatings can include- • Specific foam coatings made by Rosco, etc.. • Fabric and glue • Joint compound and water • Fibre glass
Skeleton and Skin To create an odd shape we can also build a structure called an armature. This acts like our skeleton and provides frame to hang the skin on. Armatures can be made of wood, steel and sometimes cardboard.
One approach to building the structure is to use Sabre sawed plywood sections. These can be specified by the designer and allows us to place platforms that can hold performers in certain areas. This method works great for just about any shape.
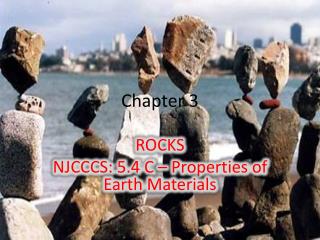
Armatures of steel are often used for permanent construction. For theatre we often use wood structures. But depending on the requirements of the piece we can use just about anything that will give us the desired look. One very useful thing for this kind of construction is the sonotube.
Sonotubes : These are the giant version of cardboard toilet paper tubes that are used as concrete forms in civilian construction. For us the light weight tubes can be used as cylinders with texture on the surface, or cut into pieces to create lots of different shapes.
Skin We can use many different materials to cover the armature. Everybody has used paper machete in art class. Other materials use similar techniques but the outcome is more durable. Some of the usual kinds of skins are- wire mesh and concrete wire mesh and fabric with glue fibre glass
Fibre glass is used for many items that get wet often. Boat hulls are a common use and marine stores are a place to get the materials. This process has toxic fumes and should only be used with the proper safety equipment. Theme parks and restaurants are other big users of fibre glass scenery.
Many times to get the complete shape you want the armature alone does not have all the detail we need. In this case we use wire mesh to provide a strong enough surface to apply the fabric or concrete external texture.
Wire mesh- there are many kinds of metal wire mesh that we can use. Hardware cloth comes in ¼” and ½” squares. Welded wire uses a larger gauge wire which is more structural and comes in hole sizes ranging from 1” to 6”. Chicken wire has hexagonal holes and uses a flexible gauge wire. Chicken wire can be formed into very chaotic, natural shapes. Hardware cloth/ Welded wire Chicken wire
Now we are going to go through the process of creating the cypress knee chair for “As you Like it”. The same process can be used to create all sorts of natural set pieces.
The first step is to create the structure, the skeleton, of the desired piece of scenery. In this case a chair that looks like it has grown out of the ground. We started with a chair, attached a plywood shape for the base shape, and added cardboard tubes for the individual cypress knees.
To get the tapering effect we attached ethafoam pool noodles to the tops of the cardboard tubes.
Now comes the skin. Over the structure we attach a chicken wire mesh that is formed into the exact skin shape we need. The frame is wood and cardboard tubes so the wire can be stapled to it.
The wire is finished. This is the structural part of the unit. After this everything is cosmetic. Notice that we have added some sticks to the seat. Any regular surface can ruin the illusion of chaotic naturalism.
Over the chicken wire is added the fabric skin. We are going to cover the fabric so anything will do. The fabric is dipped into a solution of white glue and water and used just like industrial strength paper mache. It will take 2-3 days for all the glue to dry. This skin will give us something to attach the texture to.
Did I say that this is a messy process?Wear work clothes! The texture is a mix of joint compound, latex caulk, and sawdust with paint included for base color. You may find many people with many formulas for this kind of thing. Anything that works is correct.
Earlier I had taken a silicon mold of actual bark. This mold has now been used to create three sets.
The mold is pressed into the still wet texture mix and the bark impression is applied to the whole unit. This will also take many days to dry so there is plenty of time to fix things if they don’t come out right the first time.
When the texture mix dries the piece looks almost complete. The paint in the mix has taken a step out of the painting process. Now all we need to do is some detail painting.
Some dry brushing of highlites and color sprays and the unit is finished and ready for actors.