Download
1 / 14
140 likes | 275 Views
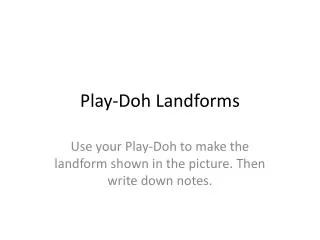
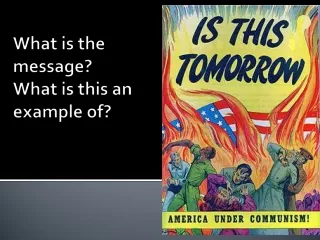
THIS IS AN EXAMPLE OF OUR FIRST TOPIC: PLAY-DOH ANIMATION. ANIMATION & DIGITAL LESSON LIBRARIES :. how to use (Play- Doh ) animation in culminating projects as well as how to create a digital lesson library for your students. Play- Doh Animation.

E N D
THIS IS AN EXAMPLE OF OUR FIRST TOPIC: PLAY-DOH ANIMATION
ANIMATION & DIGITAL LESSON LIBRARIES: how to use (Play-Doh) animation in culminating projects as well as how to create a digital lesson library for your students.
Play-Doh Animation • The idea behind it is to allow students to create a product that moves but shows mastery of a skill. • What you’ll need… • Digital Cameras • Tripods • Non-Glossy Backing (construction paper works well) • Play-Doh • A computer with editing software such as ROXIO or Window Movie Maker. • Two class periods and • PATIENCE!!!!
STEP 1 • Identify the topic that you want students to create the project for. An example would be to create a math problem from one of the skills we worked on during the first semester and make the problem solve itself. • Create 2 to 4 person teams. This works best with 2 to 3 person teams but 4 is doable. • Assign roles within the teams such as director, set designer, photographer, etc. • Give them an organizer to help map out their thoughts as to how they will show the problem solving itself. The key is to have them identify the beginning, middle, and end. • Have the group identify the colors that they would like to use during the actual project.
STEP 2 • Set up a tripod with a digital camera for each group. Depending on how many you can get a hold of, you may need to do a group at a time. This will unfortunately take longer. • Tape the selected background to a flat surface like a students desk. • Mark on the floor where the tripod’s legs are currently. This way it can be placed back in it’s original location if bumped. • Have students place their play-doh on the construction paper for their first picture and have the photographer take their first picture. • From here, students will add, remove, and move their play-doh in an attempt to go from beginning, to middle, to the end. • It is key that they make small movements for fluidity however too small of a move and the video will look as though it is in slow motion. This is basically an advanced flip-book.
STEP 3 • Download the pictures into a file on your computer labeled with the groups project title. Use your editing software to create the final project. • Display however you see fit.
Digital Lesson Library • The idea behind it is to allow students to review past lessons or to see a lesson for the first time that they may have missed due to an absence. • What you’ll need… • ActiveInspire or Smart Notebook Software. • A Microphone • *Promethean Board or Smart Board • Website such as WIX or www.wix.com
STEP 1 • Find the location to which you will publish your lessons for students and parents to see. www.wix.com is a free and easy HTML editor that will allow you to easily locate videos you have uploaded to Youtube. There are MANY ways to publish your videos online. • Choose the lesson you are going to record. • ***Map out what you want record and what you are going to say. • Sometimes it is easiest to do this AFTER school when you have already taught it at least once. This helps to alleviate nervousness and helps you identify things that did not go the way you had hoped. • Open either ActiveInspire or Smart Notebook. Select the Record option. • When you select record, everything you say and do (that you can see on the screen) is recorded.
STEP 2 • When you finish your recording, press the stop button. It is important that you watch it before publishing it. Redo the recording if needed. • Title the recording so that a parent or student can access it easily at home. • Upload. • Reference it often • Aurasma is another NEW way to do this. It takes a smart phone, a picture key, and someone else to record you.