Download
1 / 22
220 likes | 349 Views
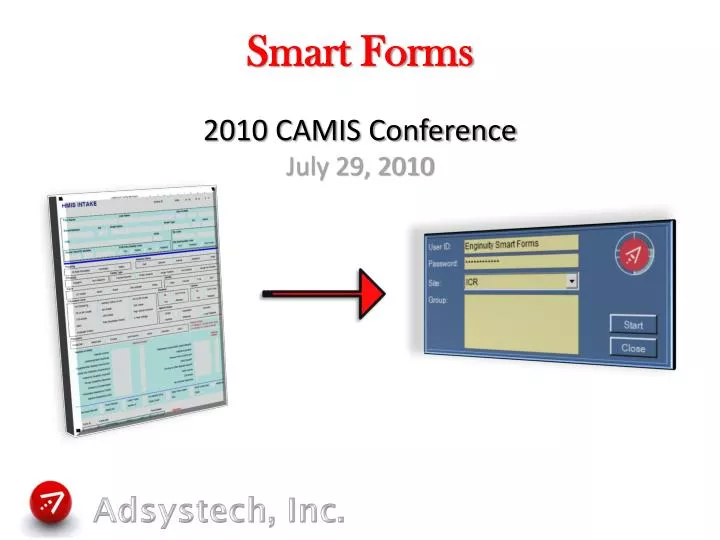
Smart Forms 2010 CAMIS Conference July 29, 2010. Session Overview Smart Form Process Flow Understanding the Initial Procedures Scan Process in Visions Search and Edit Fields Key Smart Form Features Questions & Answers. Smart Forms (2:45 to 4:00 pm Session). Session Outline:.

E N D
Session Overview Smart Form Process Flow Understanding the Initial Procedures Scan Process in Visions Search and Edit Fields Key Smart Form Features Questions & Answers Smart Forms (2:45 to 4:00 pm Session) Session Outline:
Session Overview Session Goals: This session will cover the basics of using Smart Forms, how each is integrated into the system, and the benefits it will create for your organization. Importance: Smart Forms are documents that can be generated from the Reports section, filled out quickly and easily by hand, and then scanned into the system - cutting down on the amount of time needed for data input. These forms will enable your organization to accurately enter client information into Enginuity without touching the keyboard.
Smart Form Process Flow Verify Adsystech Smart Form Service has been started and Setup is complete Print and Fill Out Forms Ensure Reference Keys are aligned Place file in specified folder for transmission Choose appropriate file path for scanned forms Search Listing or Smart Form Management Page • *If fields are in Uncertain grid, make corrections, and Verify the Forms Check Smart Form Management or Central Intake / Services Pages Make mass corrections, Verify, and Reprocess form sets Smart Form Management Demographics • *If fields in red, make corrections and click “Clean Smart Form Flag” Client information is now Complete and will be available in reports or for user searching
Smart Form Connection Test Initial Setup Steps • Download Smart Form Setup from SharePoint • Run Connection Test • If the Test is not successful, a message will appear • If the Test is successful, a different message will appear 1 2 3
Smart Form Setup page Setup Features • Smart Form Setup page • Select Domain and Organization in dropdowns • All Locations appear in Grid • Locations are from Organization Library Locations page • Create each Form Template for Location using Scanning • File Type is TIF only • Form Template is selected • Working Time Range is when normal scanning will occur 1 2 3
Setup Scan Folders Setup Features • Launch the Smart Form Setup program • Create main folder path for all scanned images • Create subfolders for path • Specific to application • Enter Form Source Key • Provided by System Admin • Use APPEND button to add each folder to main folder path • Click START SERVICE 1 3 2 4 5
Scan Process – 1 Setup Features • Forms are found in Management Reports • Each form must be exported to PDF format to print • Conversion service must be started for successful form processing 2 1
Scan Process – 2 Setup Features • User fills out scan form report(s) • User scans form(s) as TIF file(s), saves in specified folder • Conversion begins immediately • Scan image files will be deleted from specified folder 1
View Forms in Visions Scan 1. Upon scanning, place form image in the “Specified” folder you created during the installation process Process and View 2. Files will automatically be transferred to the system for searching and deleted from the “Specified” Folder 1 2
Search and Edit Fields Search and Edit Information Client information is searchable after a few moments Fields in red can be edited and compared with scanned form in ICR popup Easily manipulate the form image - red outlines will be cleared after corrections are made 1 2 3
Managing Smart Forms Managing Smart Forms • Search for Forms in top section • Matching Forms display in Grid • Uncertain fields display here • Image of selected field displays • Show Full Image button shows image of entire scanned form 1 5 3 2 4
Searching Scan Forms • Search by Form Set • Form set is set of forms dependent on each other (i.e. Intake set = HOH form and additional members forms) • Search with Status blank to see all Forms and their Status • Use the second line to narrow the search by other Criteria • Select Search Field • Select Operator • Enter Value to search 1 2 3
Making Corrections 4 • Select one Record in Grid • Uncertain Fields display in Grid • Text of selected uncertain field displays at bottom • Make correction and click SAVE • This causes Verified check in box • If all fields are correct, Verify record with VERIFY ALL FIELDS button • This moves record out of Queue • When all records have been verified, Reprocess the records with REPROCESS button at top of page 1 3 2 Every field must be verified before the form can have a change of status
Status Explanation 1 • Fail -reference keys do not match; network connection failure; original hard copy is crumpled, ink smudges are present, the form is wet, etc. • Hold – intake “Member” form or second page of the “Program Entry” form is waiting for the first page of the form set to be scanned • For Example: Intake form set with Additional Member form is scanned, Member form is scanned first while the HOH form is still waiting to be scanned. Member form is placed on “Hold” until the HOH form is scanned into the system. • Pending - form is dependent on another “Form Set” being scanned • For Example: Program Entry Form Set is scanned into the system; the Intake Form Set is still waiting to be scanned and/or processed. The Program Entry Form Set will be set as “Pending” because it is waiting for another form set to be scanned. Hold = a single Form Set has not been processed completely, Pending = one Form Set is waiting for another Form Set to be scanned. • Successful Read - ICR service has processed form and stripped the data into the system; the read on this form is 95% or better. User may still make corrections, but the service believes information has been processed correctly. • Uncertain Read - ICR service was able to read the information on the form; however, the read is not accurate, check all fields and make corrections to form
Status Explanation 2 • Invalid Form Reading – template discrepancy caused invalid reading; view the form set to determine which page needs to be reprinted and rescanned. • Verified - User has checked that all fields are correct on a particular form. Adsystech wants the User to “verify” the information to minimize any issues with data integrity due to uncertain or faulty reads by the ICR service. • Note once a form has been “Verified,” that form can be “Reprocessed” which will change the information in the interface (HMIS, CSBG, LiHeap) • *Reprocessed* - this is not a “status,” it is a step the User must take to finish the correction and verification stage of Smart Form Management. • Once a form’s status is set as “Verified,” the User can then search for all “Verified” forms and elect to have these forms “Reprocessed.” This means that any changes or corrections made to the content of these forms will be changed in the Enterprise database and ultimately, the HMIS, CSBG, LiHeap, or HeadStart applications. • Complete - the form has been corrected, “Verified” and “Reprocessed” by the ICR service. When a form is “Complete,” no more corrections can be made on the Smart Form Management page, instead navigate to the application, search for the Client’s name, and make corrections in Central Intake if necessary.
Customizable Smart Forms Central Intake Forms
Customizable Smart Forms Intake / Additional Members Forms
Customizable Smart Forms SRAS Observation Forms
Customizable Smart Forms Program Entry/Exit Form 3 4
Customizable Smart Forms Daily Services 1 and 2 5 6