Download
1 / 9
140 likes | 307 Views
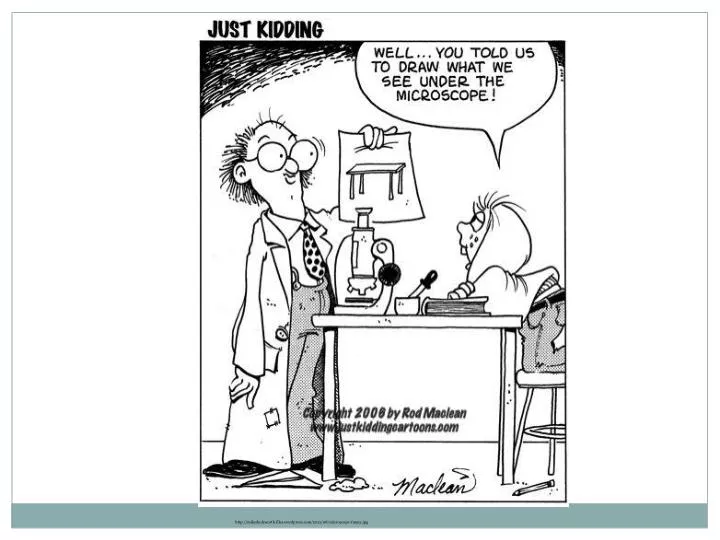
http://mikeduckworth.files.wordpress.com/2011/08/microscope-funny.jpg. Chapter 6, Day 2: Microscope Skills Packet/Penny Worksheet. Complete Part II: Using the Microscope Part III: Using High Power Reflect & Connect on the back of the Packet The Penny Exercise

E N D
http://mikeduckworth.files.wordpress.com/2011/08/microscope-funny.jpghttp://mikeduckworth.files.wordpress.com/2011/08/microscope-funny.jpg
Chapter 6, Day 2: Microscope Skills Packet/Penny Worksheet • Complete Part II: Using the Microscope • Part III: Using High Power • Reflect & Connect on the back of the Packet • The Penny Exercise • which is actually a blue Lego • Also no bean we will be using marbles/bouncy ball
Reflection • Learning Targets: • Care and use of a compound microscope • Learn how to prepare a wet mount • Learn how to use low and high power on the microscope • Rate your level of understanding using the rubric • AFTER: (Number and WHY) Did you improve? In your notebook discuss your level of understanding and tell me what helped you to increase your knowledge of this concept.
Entry Task • Answer the following questions on scratch paper & hand in (10pts.): • If you look at the following slide under a microscope (40x magnification), sketch the image that you will see (does not have to be to scale) • What are the three magnifications of the objective lenses on a microscope? • What do you see when looking at an object in your microscope and you move the slide towards you? • What are two differences between atoms and cells? e
Explore: Field of View (Update TOC) • Learning Target: • I will determine the field of view width for each magnification of the microscope and use it to estimate the size of different cell samples so that I can label my sketches with a scale. • Rate your level of understanding: • Before:
Field of View • The field of view is the circular area that is visible when you look through the microscope. • Because the size of objects is different at each magnification, you have to calculate the diameters of the fields of view at each magnification • this is also called “calibrating your microscope” 40x 400x 100x
Field of View As you change from the low power objective to the high power objective, the field of view changes. As the magnification increases, the area that you are viewing decreases. Magnification is inversely proportional to field of view In order to determine the size of the object that you are viewing, you need to understand the scale that corresponds to the magnification you are using. This is similar to zooming in on a map http://www.google
Day 4: Determining Field of View Copy the table in your science notebook. (from page 257) You will need this table to estimate the size of the cells that you will be viewing in the next activities.
Practice Problem You are given a new microscope and asked to calibrate it. The eyepiece has a magnification of 10x. The objectives have magnifications: 5x, 10x, 60x You view a clear ruler with lines every 1 mm. Using the scanning objective, you see: Fill in the table, below:

![..\..\Local Settings\Temporary Internet Files\Content.IE5\WL2C8E1D\j0411667[1].jpg](https://cdn1.slideserve.com/1583415/local-settings-temporary-internet-files-content-ie5-wl2c8e1d-j0411667-1-jpg-dt.jpg)
![..\..\Local Settings\Temporary Internet Files\Content.IE5\WL2C8E1D\j0411667[1].jpg](https://cdn1.slideserve.com/1583881/local-settings-temporary-internet-files-content-ie5-wl2c8e1d-j0411667-1-jpg-dt.jpg)
![..\..\Local Settings\Temporary Internet Files\Content.IE5\WL2C8E1D\j0411667[1].jpg](https://cdn1.slideserve.com/1584036/local-settings-temporary-internet-files-content-ie5-wl2c8e1d-j0411667-1-jpg-dt.jpg)