Download
1 / 25
250 likes | 357 Views
Information Display Management Software. Business Solutions Division. Main Features. Launcher. 「 Distribution Tool 」 Distributes schedule to Information Display (Panel PC). Program Editor. Schedule Editor. Timetable Editor. 「 Timetable Creation / Editing 」 Sets timetable to play program.

E N D
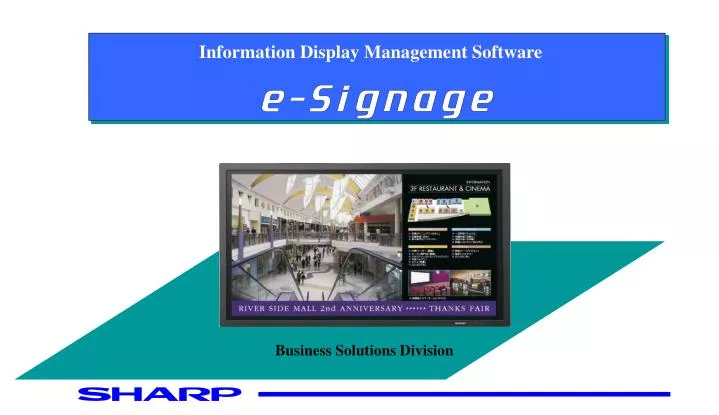
Information Display Management Software Business Solutions Division
Main Features Launcher 「Distribution Tool」Distributes schedule to Information Display (Panel PC) Program Editor Schedule Editor Timetable Editor 「Timetable Creation / Editing」 Sets timetable to play program 「Program Creation/ Editing」Sets layout, image data, movie and scroll message 「Schedule Creation / Editing」 Sets calendar schedule to execute timetable
Program Creation / Editing ■Setting layout ① Set screen size, starting position ②Set the number of frames and scroll messages by close button and check box. ③Set the frame and scroll message sizeClick the frame and drag to set size and position ※In order to play 4:3 contents (800x600 for most movies), set W1,440 x 1,080H. However, full screen is 16:9 creating blank space. Please adjust the screen placing additional image or scroll message. X座標、Y座標、幅、高さを直接入力してもレイアウトを設定できます。
Program Creation / Editing ■Setting contents ① Double click on the tab (Background, Frame, Scroll Message, Sound) Background, Frame, Scroll Message, Sound tabs ②Select the content and click ≫≫≫ button Select the contents folder from the tree Contents list is shown
Program Creation / Editing ■Displaying Web page ① Click on the frame tab (1 to 4), select URL tab ② Input the URL and click ≫≫≫ button URL Click
Program Creation / Editing ■Setting the PIP ①Click the “PinP” Tab ② Select monitor model name, size, Aspect Ratio, Input Source, Sound Source, Direction etc. ※PinP : Function to play AV screen on PC screen
Program Creation / Editing ③ Double click the contents file on the play list to show contents property. Property allows automatic resizing of data ‘keep aspect ratio or not) etc. クリック Check to make the screen transparent *Background cannot be transparent Click to select color ※Notes for playing MPEG (movie) Aspect ratio is automatically kept, frame size must be adjusted to the movie data
Program Creation / Editing Message ■Creating new scroll message ① Select Message tab, and click “Create New Scroll Message” Create New Scroll Message ② Type scroll message * More letters in one line consumes more power. Please start break lines for long message.
Program Creation / Editing ③ Setting text direction, font, background Horizontal / Vertical Fontト : Click “Select Font” to change font name, style, size Click on each box to select font / background Leftward Rightward Scrolling Speed * Full size letters must be used for vertical scroll
Program Creation / Editing ■Editing scroll message① Select message, click “Edit” or “Delete” Right click “open saved contents folder” to find where the data is saved Select message Scroll edit button
Program Creation / Editing ■ Partially changing message color / font① Click the check box “Use HTML tag for scroll message”。 < font color = ="red",face= =" MS明朝"> <b> <i>シャープ株式会社が</b> Partially changed in red font Check box <Tag Description>
Program Creation / Editing ② Changing color Input “#000000” or “black” inside tag (<font color>) <Color sample> SHARP Corporation aims to be ”The only-one enterprise to create 21st century life through electronics technology”Tag:<font color="red",face=“font name"><b><i>SHARP Corporation</b></i><font color="white",face="MSPfont name>は、<font color="blue"><big> ”The only-one enterprise to create 21st century life through electronics technology”/big> <font color="fuchsia"> <small> <u> aims to be
Program Creation / Editing ■Playing preview ① Playing full preview Click “Fit Screen” button * For Scroll message only preview, click “Scroll message preview” on scroll message editor Program Editor Scroll Message Editor
Crating Timetable ① Register a program in the timetable Timetable Editor Select program and set duration ② Register panel control in a timetable Panel Control Tab Sets time for POWER ON/OFF, input change etc.
Creating Timetable SHARP8:00~10:00 SHARP 20:00~12:00 SHARP8:00~10:00 SHARP 2 0:00~12:00 SHARP8:00~10:00 SHARP 2 0:00~12:00 ① Copying and pasting timetable SHARP8:00~10:00 Click “SHARP”, and click “SHARP 2” while holding Shift key SHARP0:00~12:00 Click copy icon Click paste icon ② Clicking on past icon again allows repeated pasting
Creating Schedule ① Setting monthly schedule Select timetable created in timetable editor and set span Schedule Editor Register timetable for all day of the month Choose only Tuesday Choose only 2nd week Choose only 16th
Distributing Schedule (USB Memory) ① Distributing the program and schedule by USB memory “ Distribute the schedule or program” Distribute the schedule using external memory storage such as USB memory” ② Select the program and send to USB memory • Master schedule update highly recommended • Please do not make any additional distribution. Additional distribution may mistakenly overwrite the schedule stored in the panel, and additionally distributed schedule may apply only for that day.
Distributing Schedule (via Network) ①Setting panel control Click add panel Open panel control Define panel name, group name IP address etc. ②”Distribute the schedule or program” “Distribute the schedule through the network”
Distributing Schedule (via Network) ③Select the program, then select panel ④ Set distribution time, and click Finish
Distributing Schedule (via Network) Break-in Distribution ① “Distribution methods” “Display the break-in program through network” ② Select the program and click “next”
Distributing Schedule (via Network) Break-in Distribution ③ Select the panel and click “next” ④ Set the time of break-in and display time, and click “next” Check the settings and click Finish to complete
Status Monitoring Tool (via Network) ①Start All programs SHARP e-Signage Tools Status Monitoring Tool Turns on the power of selected panel PC (controller) Restarts the selected panel PC (controller) Turns off the power of selected panel PC (controller) Obtains status of all panels
Tips for creating contents on PowerPoint ■ Page setting for LCD screen Set the slide size as 6:9 Slide size : User settingsW: E =16:9*In case of full screen display 16:9 slide size ■ “Slide Show” “Screen Switch”
Tips for creating contents on PowerPoint ■ Set “Screen Switch” Screen switch effect Screen switch speed Automatic switch Settinng switch time Click to apply same settings on all slides Preview screen ■ Setting “Screen Switch “ on each slide ① Select the slide to add effect, and right-click ② Select “Screen Switch” Click for screen switch Select slide to change
Tips for creating contents on PowerPoint ■ Select “setting slide show” ■ Check “Auto presentation (full screen) and click OK