Download
1 / 2
20 likes | 23 Views
Personalized embroidered keychains another super easy project. So easy, in fact, you would possibly find it boring especially so if your home appliance is capable of embroidery. Mine isn't then I had to stitch each name in small pieces of Aida cloth.

E N D
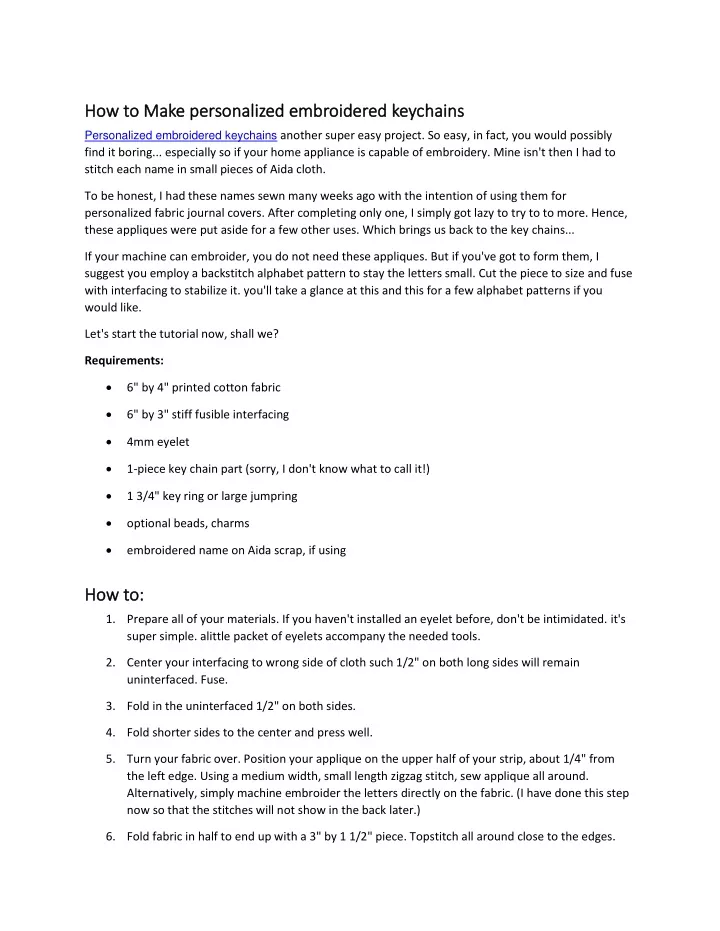
How to Make personalized embroidered keychains How to Make personalized embroidered keychains Personalized embroidered keychainsanother super easy project. So easy, in fact, you would possibly find it boring... especially so if your home appliance is capable of embroidery. Mine isn't then I had to stitch each name in small pieces of Aida cloth. To be honest, I had these names sewn many weeks ago with the intention of using them for personalized fabric journal covers. After completing only one, I simply got lazy to try to to more. Hence, these appliques were put aside for a few other uses. Which brings us back to the key chains... If your machine can embroider, you do not need these appliques. But if you've got to form them, I suggest you employ a backstitch alphabet pattern to stay the letters small. Cut the piece to size and fuse with interfacing to stabilize it. you'll take a glance at this and this for a few alphabet patterns if you would like. Let's start the tutorial now, shall we? Requirements: •6" by 4" printed cotton fabric •6" by 3" stiff fusible interfacing •4mm eyelet •1-piece key chain part (sorry, I don't know what to call it!) •1 3/4" key ring or large jumpring •optional beads, charms •embroidered name on Aida scrap, if using How to: How to: 1.Prepare all of your materials. If you haven't installed an eyelet before, don't be intimidated. it's super simple. alittle packet of eyelets accompany the needed tools. 2.Center your interfacing to wrong side of cloth such 1/2" on both long sides will remain uninterfaced. Fuse. 3.Fold in the uninterfaced 1/2" on both sides. 4.Fold shorter sides to the center and press well. 5.Turn your fabric over. Position your applique on the upper half of your strip, about 1/4" from the left edge. Using a medium width, small length zigzag stitch, sew applique all around. Alternatively, simply machine embroider the letters directly on the fabric. (I have done this step now so that the stitches will not show in the back later.) 6.Fold fabric in half to end up with a 3" by 1 1/2" piece. Topstitch all around close to the edges.
7.With applique side up and following the manufacturer's instructions, install the eyelet on the middle right side, about 1/4" from the sting. 8.Insert hoop through the eyelet. pack up by attaching the key chain part. Embellish with charms and beads if desired. Go on and try it! I'm off now to think of more gift ideas...will be back soon!