Download
1 / 19
190 likes | 321 Views
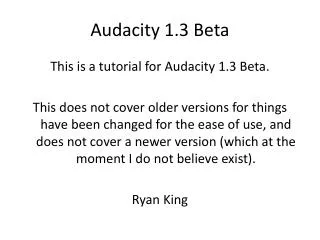
Audacity 1.3 Beta. This is a tutorial for Audacity 1.3 Beta. This does not cover older versions for things have been changed for the ease of use, and does not cover a newer version (which at the moment I do not believe exist). Ryan King. Requirements –

E N D
Audacity 1.3 Beta This is a tutorial for Audacity 1.3 Beta. This does not cover older versions for things have been changed for the ease of use, and does not cover a newer version (which at the moment I do not believe exist). Ryan King
Requirements – Have Audacity 1.3 Beta downloaded, if you do not already you can download it at http://audacity.sourceforge.net/download/ You must also have music saved somewhere on your computer, iTunes, Windows Media Player, Windows Music Center, or just in you’re my music folder on your computer.
Start by selecting the Audacity 1.3 Beta icon from either the desktop or pull out menu.
Initially we are going to worry about the edit tab. But more specifically a subcategory under this tab. It is very important you do not skip this step, without it you will not be able to import or export music.
When you click download you will be redirected to an internet site, just follow the instructions on site for downloading. These allow you to import and export various music files. Here you will see a screen which gives you an option to download two add-ons, both of these are a must.
New – This is to start a new project. Close – This is to close your current project. MAKE SURE YOU HAVE SAVED IF YOU CLICK THIS!!! Save project as – This is a very important button and will become your friend, this allows you to save the project with a specified name so you can later find it as opposed to some random default name. Import – This is the next step in creating a project, and the next menu we will worry about.
Audio – This is the tab you are going to click on next, this is the point at which you are allowed to insert music into audacity.
You should get a screen that shows a screen with a browse tab at the top. You should set this tab to MY MUSIC that will allow you to select songs that are already stored in your library.
You should now see a screen similar to this, I seriously doubt that all the blue lines will be in the same spot because that depends on the song, but you should see blue lines. If you do not see blue lines then do not continue because you have not properly inserted the song and editing a song that is not there would be pointless.
Effect is the next tab we are going to worry about, everything listed under this tab modifies the music in some way.
All effects will be demonstrated using the song Broadway by The Goo Goo Dolls
` Amplify Amplifying a song gives it a more full sound. Amplified
So that is the basics about how you can apply effects to audio tracks. You have to play around with them to figure out how to find what you are looking for, but here are a few examples. Pitch Change Speed Change Reverse
Aside from all the cool effects on audacity it has an app that will let you record yourself. To turn this feature on simply click the “r” key.
Trim My favorite thing about audacity is that it allows for the user to make ringtones. On most phones there is a kb cap on ringtones, this allows you to reduce that. Simply highlight the portion of the song you want for a ringtone, which can be no longer than approximately 20-25 seconds on average, it depends on the phone, and then clicking the trim button.
This is all I can explain through a powerpoint, if you have any questions or would like to know more about audacity please just let me know, thanks. Ryan King