Download
1 / 5
50 likes | 284 Views
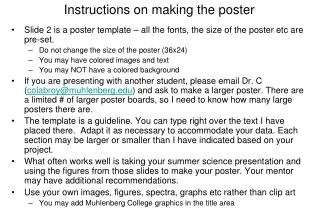
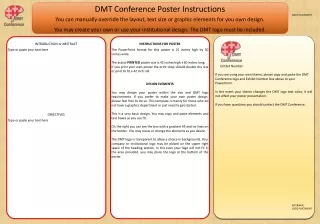
Instructions on making the poster. Slide 2 is a poster template – all the fonts, the size of the poster etc are pre-set. Do not change the size of the poster (36x24) You may have colored images and text You may NOT have a colored background

E N D
Instructions on making the poster • Slide 2 is a poster template – all the fonts, the size of the poster etc are pre-set. • Do not change the size of the poster (36x24) • You may have colored images and text • You may NOT have a colored background • If you are presenting with another student, please email Dr. C (colabroy@muhlenberg.edu) and ask to make a larger poster. There are a limited # of larger poster boards, so I need to know how many large posters there are. • The template is a guideline. You can type right over the text I have placed there. Adapt it as necessary to accommodate your data. Each section may be larger or smaller than I have indicated based on your project. • What often works well is taking your summer science presentation and using the figures from those slides to make your poster. Your mentor may have additional recommendations. • Use your own images, figures, spectra, graphs etc rather than clip art • You may add Muhlenberg College graphics in the title area
Fun picture of my research (Pictures of Joe Student presenter) Results • In the introduction, you should briefly orient the reader to the PROBLEM(S) your research tried to solve and why those problems are worth solving (IMPACT). This is a limited amount of text preferably arranged in bulleted format so the reader can easily see the major points: • Point #1 • Point #2 • Point #3 • You should also include a figure, diagram or other image that illustrates your most important point (s). The important section! What did you find? Indicate how each piece of data contributes to solving the problems you outlined in your introduction. You may need more room to present your results. Just let them carry over into this column…. The Title of My PosterJoe Student, John Collaborator, and Dr. Jill MentorChemistry DepartmentFunded By: Generous Funding Agency This is important! Conclusions What did your results tell you? What did you learn, and how does that impact the PROBLEM(s) you were trying to solve in the first place? If you have a model/mechanism to explain your data, that could be presented here. Display your data in tables, graphs, figures or pictures. Explain what the data mean. Provide legends. Use arrows to point out important features in the data. Introduction Material and Methods (This section is optional) Here you would describe HOW you went about answering your problem. This is best illustrated with pictures, diagrams etc that show the instrumentation or methodology you employed in your research. References Here is where you list any literature you cited in your poster You can certainly have more that two graphs/images/pictures/spectra. Remember that the audience needs to be able to get your point quickly and easily – use text sparingly, and always indicate what the data mean. Acknowledgments Here is where you list the people who helped you
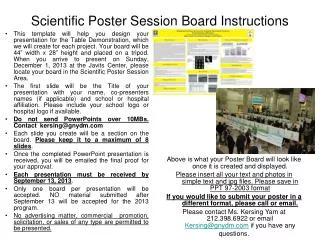
Instructions on printing your poster • Save this file under a new file name with the format: Yourlastname_summerpostersession_2014 • Delete all instructions slides and save • The file will now contain one slide, and it will be the slide of your poster • Take on a thumb drive or email this file to Dave Huber of the Copy Center by Friday, 9/12.(Dave.Huber@gw.muhlenberg.edu) • Indicate that this poster should be 36x24 (if you have gotten permission to make a larger poster, then you would give Dave that measurement) • Tell him that is it for the Summer research poster session. Dr. C will have previously arranged an account to charge for the printing. • Make arrangements pick up your poster on 9/18 or 9/19
Instructions on presenting your poster • Retrieve your poster and pin it up on an easel in the Seegers Union Event Space(if all the easels are taken, then use one of the larger boards) by 3:15pm • Dress nicely • Greet visitors as they come to your poster, you could say – “Hi, I’m Joe, would you like to hear about my research?” • Give an interested visitor a guided “tour” of your poster – i.e. walk them through from intro to conclusions, pointing out the highlights. • Thank each person for visiting your poster