Download
1 / 15
150 likes | 291 Views
Floyd Turner Concordia University Chicago. Rotational Shot . Advantages of using the rotational technique The ball travels a longer path before delivery Opportunity to accelerate the shot to a greater velocity. Rotational Shot. Grip and Placement of Shot

E N D
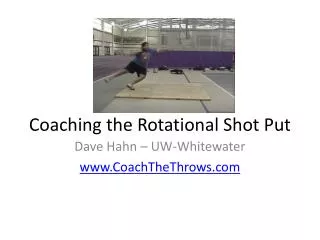
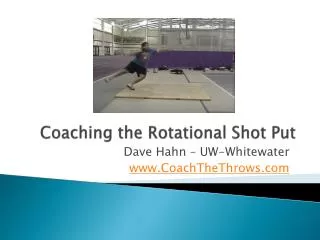
Floyd Turner Concordia University Chicago Rotational Shot
Advantages of using the rotational technique • The ball travels a longer path before delivery • Opportunity to accelerate the shot to a greater velocity Rotational Shot
Grip and Placement of Shot • The shot rests at the base of the fingers. The thumb rests underneath the ball for support • Some athletes will hold their fingers together, while others will spread their fingers apart. It is up to the athlete and coach to determine what is most comfortable. Rotational Shot
Stance - The athlete should begin facing 12 o’clock with their back toward the direction of the throw - Feet should be shoulder width apart straddling the center line of the circle. Rotational Shot
The athlete should initiate the throw with a “quarter wind to 1 o’ clock The left side (arm and leg) move as one Majority of bodyweight should be over the left leg as we begin the entry Start
-As we begin the entry, The majority of the bodyweight should be over the left leg. The right leg sweeps past the left side of the body We want to “lock and sprint” Be sure the athlete is not “stepping outside of their body” “The chase is on!” The Entry
While we are using the rotational technique, the mindset of the coach and athlete must be to think linear. During the start of the sprint, the body is in what we call single support. The body is supported by one leg(left) while the right leg drives across the circle. The Sprint
Crucial to the success of the linear drive is the ability of the athlete to create and maintain separation of the shoulders and hips. This is done by the athlete picking up the left foot as soon as the right leg sweeps by “squeeze the knees” The Sprint
The right foot should land pointed at 12 o’clock. This can be accomplished by pre-turning the right foot during the sprint If the sprint is executed properly, the pre-turn should occur as a reaction to picking up the left foot and squeezing the knees Transitioning from the sprint to the power position
The power position of the rotational technique will be narrower than power position of the glide technique This will bring more of a lifting action during the delivery If the sprint is executed properly, the athlete should be “wrapped” in the power position with the hips ahead of the shoulders, creating torque The Power Position
The legs perform a powerful double pivot lifting action “Lift, turn, throw” Action, reaction To ensure optimal angle of release during delivery, the athlete must have his/her head back, with the chest up. You cannot create a favorable angle with the arm only The Delivery
After the shot is delivered, the right leg must shift toward the toeboard, creating a reversing action of the feet. Crucial to the development of the athlete is teaching him/her to learn to “feel the left” or learn to complete the throw before the reverse. A common error seen in athletes is to deliver the shot with both feet of the ground or “jump at the shot.” You cannot accelerate the ball if you are not applying force to the ground. The Recovery
Winding too far at the back of the circle “stepping outside of the body” “backing into the circle”, not separating Making the lower body chase the upper body Over rotation Jumping at the ball Common errors
Quarter, half, and full turns (help with entry and learning not to step outside the body) Entry and sprint drill (Helps prevent backing into the circle and over rotating Entry and jump drill(helps develop feel for separation) Non reverse stand throws(help develop feel for the left side) Drills to correct errors, develop technique
The focus should be on proper technique to prevent injury Use drills to help athlete develop a feel for specific movements, but don’t allow athletes to use drills as a crutch. Encourage use of full technique Movements and positioning in the rotational shot are Unnatural. Be encouraging and patient with your athletes. Remind them to be patient. In working with rotational technique, there will be great days and there will be awful days. Sometimes it’s best to end practice early if the athlete is struggling. Coaching Tips