Download
1 / 27
270 likes | 430 Views
Introduction to Visual Basic. Language developed for special-purpose Windows applications – 1991 Uses IDE – Integrated Development Environment Code based on Q-Basic Event Driven Prebuilt graphical components (controls). Two Time Frames. Design Time – when application is being built

E N D
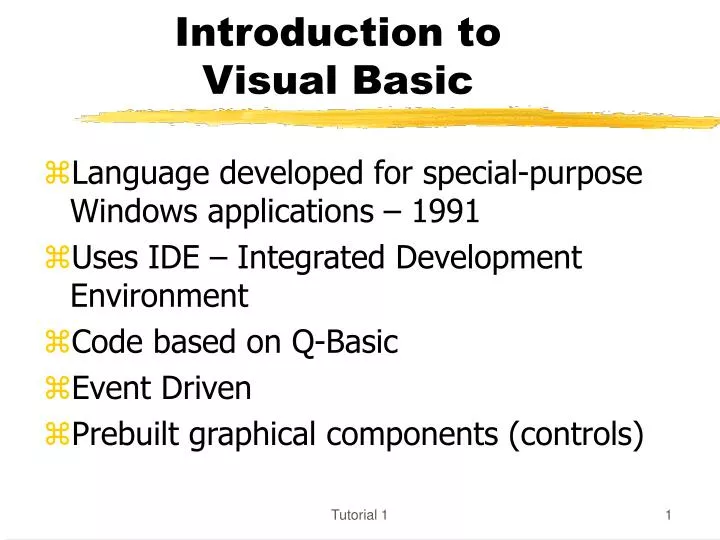
Introduction to Visual Basic • Language developed for special-purpose Windows applications – 1991 • Uses IDE – Integrated Development Environment • Code based on Q-Basic • Event Driven • Prebuilt graphical components (controls) Tutorial 1
Two Time Frames • Design Time – when application is being built • Run Time – when application is actually functioning Tutorial 1
Steps in building a VB Application • Create the GUI • Set the properties for all controls • Write the code Tutorial 1
1. Creating the GUI • Form – container for different components of the interface • Becomes window on desktop at Run time • Shows grid for aligning controls at Design time – measured in TWIPS (1/1440 in) • Graphical elements placed on Form called Objects or Controls • Controls can be added (& properties changed) during Design & during Run times Tutorial 1
Opening a Project • To open a new project, use the File menu’s New Project command. • To open an existing project, click the Open Project button on the Standard toolbar. You also can use the Open Project command on the File menu, or the Ctrl+O key combination. Tutorial 1
Five windows included in the Visual Basic Startup Screen • Main • Form • Toolbox • Project Explorer (Project) • Properties Tutorial 1
Visual Basic startup screen Toolbox Form Tutorial 1
Default-size label control added to the form Tutorial 1
Classes and Objects • Each tool in the toolbox represents a class, which is a pattern from which one or more objects, called controls, are created • Each control you create is an instance of the class from which it was created Tutorial 1
Sizing, Moving, and Deleting Controls • You can size, move, and delete a control, as well as set its properties • Before you can delete a control, the control must be selected and the form must be the active window Tutorial 1
Selecting More Than One Control • You can change a property for more than one control at a time • Click the first control you want to select, then Ctrl-Click the remaining controls • Use the mouse pointer selection method Tutorial 1
2. Setting the properties • Properties – attributes of a control (size, color, caption, etc.) • Properties Window • Default values • Form is actually a control itself with properties Tutorial 1
Project and Properties Windows Tutorial 1
Caption vs Name Property • Caption property • the text seen by the user • Name property • assigns a name to an object • used by the programmer to refer to an object in code Tutorial 1
Name Property • Must begin with a letter • Can contain letters, numbers, and the underscore character only • Must not contain punctuation characters or spaces • Must not exceed 40 characters • Use the three-character IDs shown in Figure 1-10 (lbl, cmd, txt, frm,…etc.) Tutorial 1
3. Writing the Code • Event – action that can occur at run time • Code written in code window – can double click a control at Design time & write code or click on View Code button & select control • Event procedure – the code that tells computer what to do if an event happens Tutorial 1
Open Code Window Tutorial 1
Listing of Properties and Methods Tutorial 1
Editor Tab in the Options Dialog Box Tutorial 1
Saving a Project • Click the Save Project button on the Standard toolbar. Provide a name for the form and the project. • You also can use the Save <filename> As and Save Project As commands on the File menu. However, be sure to save the form before saving the project. Tutorial 1
Starting and Ending a Project • To start a project: Click the Start button on the Standard toolbar. You also can press F5 or use the Start command on the Run menu. • To end a project: Click the End button on the Standard toolbar. You also can use the End command on the Run menu. Tutorial 1
Printing an Application Tutorial 1
Getting Help • Use the Help menu’s Contents, Index, or Search commands. • Click the object, window, property, and so on for which you want help, then press the F1 key. Tutorial 1
MSDN Library Visual Studio 6.0 Tutorial 1
Caption Property’s Help Screen Tutorial 1
Making an Executable File • Visual Basic’s compiler translates the application’s code into machine code • The machine code is stored in a file with a .exe extension on its name Not in working model of VB! Tutorial 1
Debugging Technique • Print the application’s properties (Form As Text) and code. • In the properties printout, look for a property that is not set correctly. • In the code printout, look for an instruction that is either in the wrong object’s Code window or in the wrong event procedure. Tutorial 1