Download
1 / 5
50 likes | 55 Views
Sometimes when a user tries to log in to the web interface of a Netgear router, he is denied by an error, that may be because of an incorrect IP address. In some cases, the IP address of your Netgear router gets automatically changed without the concern of the main user. If you are not aware of the current IP address of your router, you need to reset the default settings of your router. You can perform the reset process either manually or directly through the routerlogin.net window.<br>https://kbnetgearrouter.net/

E N D
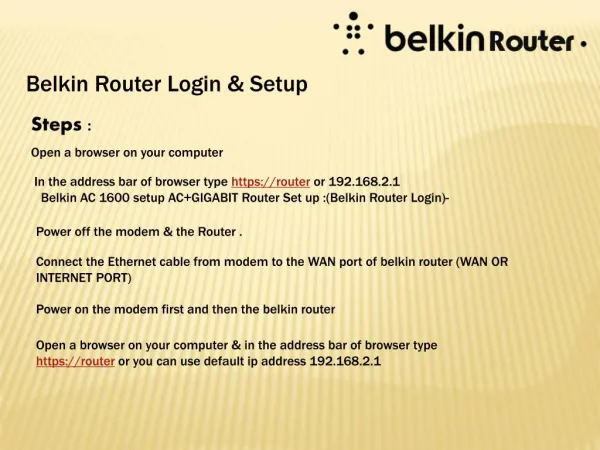
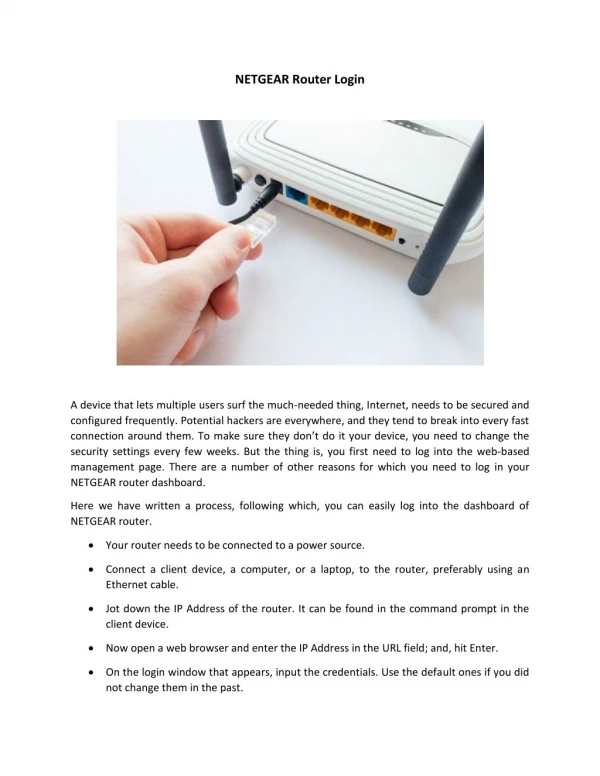
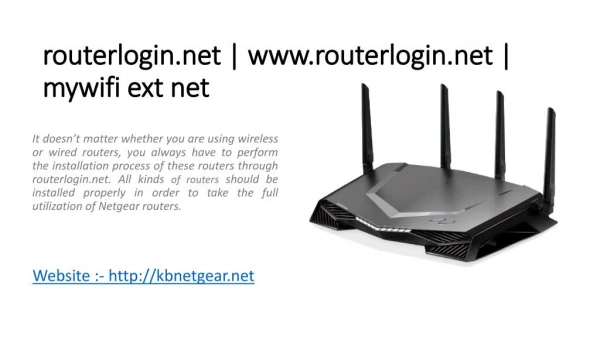
Steps to create a backup of the configuration settings of the routerlogin.net Go to the desktop of your computer and double click on the browser. Bring your cursor to the address bar and type www.Routerlogin.Net or 192.168.1.1 as the URL of your browser. 192.168.1.1 is the LAN IP address of a netgear router, you can use the LAN IP address if you encounter any error with the routerlogin.Net link. Hit the enter button and the default netgear router login page appears on the screen. Type “admin” as the username and mention the password you assigned during the netgear router setup process. If you haven’t changed the default password, type “password” as a default login credential. Tap caps lock in the upper case letters and avoid tapping caps lock in the lower case letters as both the login fields are case-sensitive. to be continued to next slide…..
Click on the login button and you will be redirected to the routerlogin.net main screen. Select the Advanced tab, go to the administration tab and click on the Backup settings option. The backup settings page gets displayed on your screen. Now, to back up the current settings, click on the Backup button. Follow the on-screen instructions to save the configuration file and as soon as you save the file a copy of the current configuration settings will get saved in the location you specified. A user can restore the saved file later whenever needed by visiting the web interface of the routerlogin.net window.
Steps to configure Wi-Fi schedule in Netgear AC2100 Wi-Fi router Open a web browser on the Wi-Fi enabled device on which you want to operate the Internet. Type the IP address or www.routerlogin.neton the web address of the browser. If you encounter any error, you also can type the LAN IP address of your Netgear Router on the web address of your browser. The IP address of the Netgear Router is 192.168.1.1 or 192.168.0.1 The username is “admin” that you have to mention in the username field. Type the password you assigned earlier while performing the Netgear router setup for your device. If you haven’t changed the default password yet, mention “password” as a default credential. Both the login fields are case-sensitive. Click on the login tab and the basic homepage of routerlogin.net appears on the screen. Now to add a Wi-Fi schedule to your router, click on the Add New Period button and the page is going to automatically adjust according to that. to be continued to next slide…..
You have to use checkboxes and menus to customize the period according to which you want your router to operate. Note: With the help of a Wi-Fi schedule you can turn on or off your Wi-Fi, you can resume a mode, you can resume or terminate an operation, or can perform various things with ease and convenience. Click on the Apply button to save your settings. Now, to activate the schedule you need to select the “Turn off Wireless signal by schedule” checkbox. After performing these operations, click on the Apply button and the settings will get saved.
Thanks… For more queries click here….