Download
1 / 13
130 likes | 139 Views
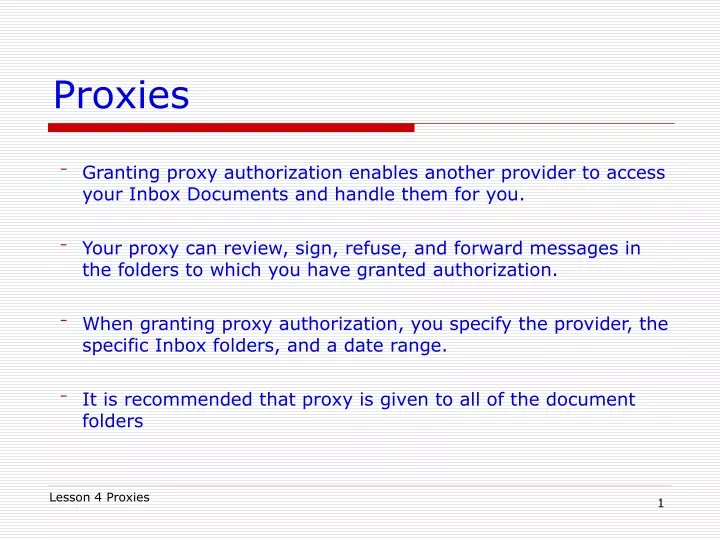
Proxies. Granting proxy authorization enables another provider to access your Inbox Documents and handle them for you. Your proxy can review, sign, refuse, and forward messages in the folders to which you have granted authorization.

E N D
Proxies • Granting proxy authorization enables another provider to access your Inbox Documents and handle them for you. • Your proxy can review, sign, refuse, and forward messages in the folders to which you have granted authorization. • When granting proxy authorization, you specify the provider, the specific Inbox folders, and a date range. • It is recommended that proxy is given to all of the document folders Lesson 4 Proxies
Managing Proxies When first accessing Proxies, the tab will appear blank. You will need to set up your Proxies. Steps to set up your Proxies tab: • Click on the Proxies tab • Either select Manage or from the menu bar select Inbox/Manage Proxy Lesson 4 Proxies
Adding Proxies To proxy your Inbox to other physicians, complete the following steps. • Select the Add button Lesson 4 Proxies
Adding Proxies • Type the physician’s name that will be granted proxy rights to your Inbox • Enter in the Begin and End date the physician will have proxy rights. The default setting grants 30 days • Select Grant All to grant the physician proxy rights to all items in your Inbox (Recommended) Or.. • Select a specific section of your Inbox to grant to the physician and select Grant • Select OK Lesson 4 Proxies
Adding Proxies The physician that you granted proxy rights to will now show up in the Given proxy tab. Lesson 4 Proxies
Adding Proxies • Select OK A Settings saved successfully window will appear. It is important that you Select OK on the message below or your settings will not be saved. • Select OK Lesson 4 Proxies
Adding Multiple Proxies • Multiple proxies can be granted at one time To set up multiple proxies, complete the same steps as adding a proxy. • Once you enter the physician name, select the down arrow to add that physician to Additional Users box Lesson 4 Proxies
Adding Multiple Proxies • Enter the next physician’s name in the space provided. • Select the down arrow to move the physician to the Additional Users box. • Keep adding the desired physicians. Do not move the last physician into the Additional Users box. • Grant the desired inbox sections to the physicians. • Once complete, select OK. Lesson 4 Proxies
Removing Proxies Should you need to remove a proxy, complete the following steps: • From the list of physicians who have proxy rights to your Inbox, highlight the name you would like to remove • Select Remove Lesson 4 Proxies
Removing Proxies The physician will now fall off the list. • Select OK Lesson 4 Proxies
Proxy Details To view proxy details you have given to another physician, complete the following steps: • From the Proxy screen, select the physician’s name whose proxy details you would like to view • Select Details Lesson 4 Proxies
Proxy Details The proxy details for that physician will now appear. You can edit the end date or folders from this view, after doing so, select OK or Accept and Next if viewing more than one physician. Lesson 4 Proxies
To move on to Lesson 5 Viewing Documents from PowerChart, click on the icon below Lesson 4 Proxies 13