Download
1 / 18
180 likes | 290 Views
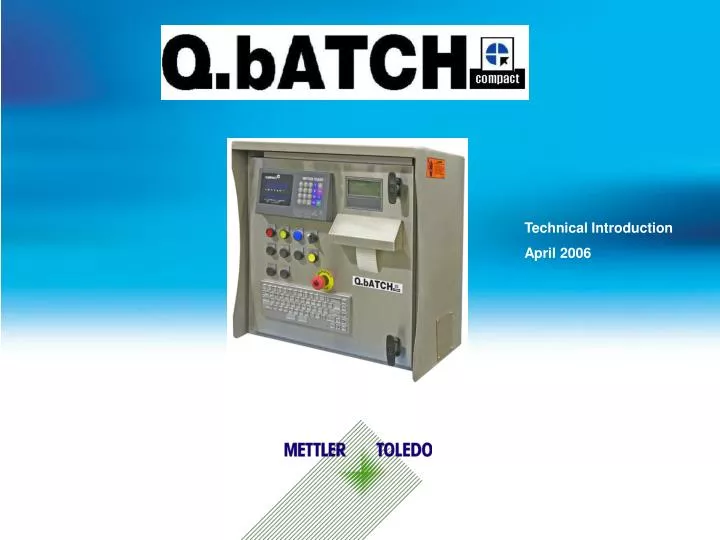
Technical Introduction April 2006. General Features. Self contained batch solution for small, standalone applications. All functionality performed by internal JagBASIC program Is supplied in single metal enclosure. Integrated panel mount serial printer

E N D
Technical Introduction April 2006
General Features • Self contained batch solution for small, standalone applications. • All functionality performed by internal JagBASIC program • Is supplied in single metal enclosure. • Integrated panel mount serial printer • For feed, batch and consumption reports • Integrated 4x20 character display • For clear operator prompts and messages • Operator prompts and status information displayed • Feed History data transmitted via Ethernet after each feed • Feed, batch and consumption reports available on RS232 port • Customization (within reason !): • JagBASIC code is written by MT personnel, this allows us to customize the functionality quickly and easily. • Ie operator prompts and data format output • RS232 data to Host control and PC systems • RS232 commands from a Host control system
System Architecture • For illustration purposes only, equipment may change depending on requirements Com1:9600:8:1:N LCD Display Com2:9600:8:1:E CPU & MF I/O 4 O/Ps from MF card FCE O/P Pushbuttons & Lamps 4 to 16 BCD Decoder Printer E-Stop for O/Ps FCE O/P contact in series with contacts Aux. Power Supply Field Control Elements
Recipe Features • Recipe storage in single text file • Can be read and edited by any PC based text editor • (offline editor coming soon!) • Maximum of 99 Recipes • Maximum of 30 steps per recipe • Maximum of 15+1 physical Scale based Outputs • Max of 99 internal Material paths (wrap around) • Timers x 1 • Hand Additions (included in Material Path definition) • Events x 1
Process Features • Tolerance checking and alarm via physical O/P. • Keypress OR input activation required to continue. • Pause between feeds via external “Hold” I/P. • Always active! • Event phase in Recipe • Process will Set an O/P and pause process until an I/P is turned ON • Feed reports automatically at end of every feed (RS232) • Batch and consumption reports on demand • Abort via External push button • Single and two speed supported • Clear operator: • Prompts • Status info • And Alarms • via LCD display
Recipe configuration • Recipe configured via Matroller front display and keypad. • External keyboard also supported! • Recipe’s can be: • Created • Deleted • Edited • Note: edit of existing phases (steps) only. New phases cannot be appended to an existing recipe, yet. • Recipe file can be copied into and out of the Matroller, • This allows off line editing of recipe
QBCompact configuration and setup • The QBCompact has a fixed relationship between the Material Paths in the recipe and the physical relay O/Ps. • Ie if the recipe phase asks for 300 kg of MP 6. Then Relay #6 will turn ON when this phase is executed. • When a non feed phase is active then the MP selection O/Ps are all 0. The BCD MP decoder by design will then turn ON O/P1. We therefore recommend where possible to NOT use MP1 when configuring your system. If MP1 is used then please be aware that by default this O/P of the steering matrix will be ON when no other MPs are selected. • Configure Matroller Channel/s • Configure Matroller material Paths • Wire field Control elements to QBCompact terminals (when appropriate) • !! MP3 in a recipe will turn ON relay 3. Ensure that you are using the correct Relay • Define process and plan recipe • Enter recipe • Simulate and test system
Typical recipe • Process description (single scale) • Add 300 kg of MP2 (water) • Wait for 34 seconds • Add 25 kg of MP3 (paste) • Wait for temperature to reach 50 deg (mix during this period) • Empty Scale, MP5 (discharge cycle) • Process Notes: • After adding paste, an O/P from the Matroller must trigger a heat phase of a separate temperature controller. Once the target temp has been reached an O/P of the temp controller will turn on, this O/P will trigger the next phase of the recipe • In PAC database, configure: • Scale A as Channel 1 • MP2 as GIW, Channel 1, Spill, water • MP3 as GIW, Channel 1, K1, paste • MP5 as LIW, Channel 1, DTE, discharge, destination as 255
Wiring to the field • Connect MP2, 3 and 6 field wires to Relays 2, 3 and 6 • Matroller MF O/P 4 connected to Relay x (ref: official schematic) • Temp controller O/P connected to MF I/P 2 • Provide correct voltage for field devices • QBCompact O/Ps are potential free contacts, an external voltage must be supplied for powering the field devices
Recipe Structure • The following information is required to be entered into a recipe • Recipe name (16 characters ) • Channel # ( 1 Char ) • MP # (2 Chars ) • Type (GIW, LIW, Event, Timer, Hand Add) • Target (6 Chars) • Pos Tolerance (6 Chars) • Neg Tolerance (6 Chars) • The Matroller will prompt you through each step
Misc Information • MF I/P # 3 is used to pause the process at the end or start of a physical feed. • This can be connected to a PLC O/P which could be used as an interlock between the PLC and the batching process. The PLC will then provide an OK to feed signal. • When starting a recipe you will be prompted to enter in the number of required batches, enter in a number from 1 (default) to 98. • Entering 99 will result in an infinite number of batches (continuous cycle) • The MPs will “wrap around after • Timers