Download
1 / 8
80 likes | 193 Views
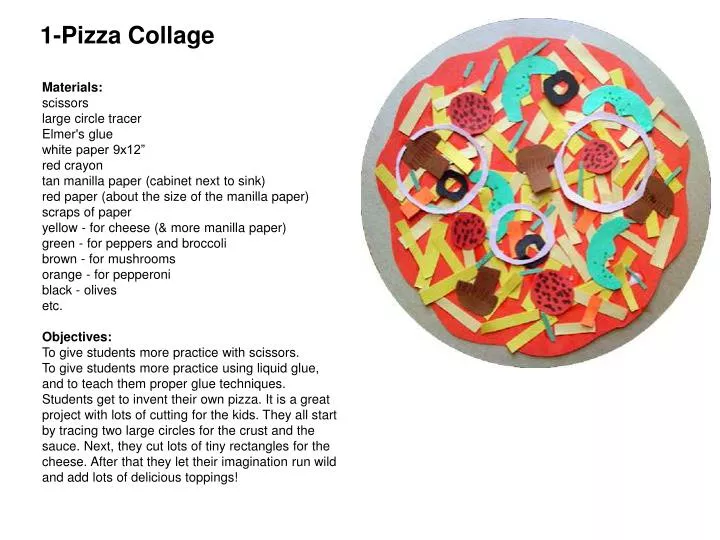
1-Pizza Collage. Materials: scissors large circle tracer Elmer's glue white paper 9x12” red crayon tan manilla paper (cabinet next to sink) red paper (about the size of the manilla paper) scraps of paper yellow - for cheese (& more manilla paper) green - for peppers and broccoli

E N D
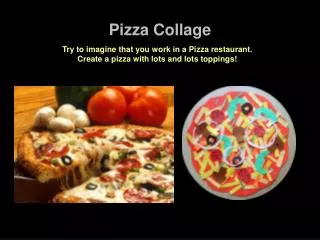
1-Pizza Collage Materials:scissors large circle tracerElmer's glue white paper 9x12” red crayon tan manilla paper (cabinet next to sink)red paper (about the size of the manilla paper) scraps of paper yellow - for cheese (& more manilla paper) green - for peppers and broccoli brown - for mushrooms orange - for pepperoni black - olives etc. Objectives: To give students more practice with scissors. To give students more practice using liquid glue, and to teach them proper glue techniques. Students get to invent their own pizza. It is a great project with lots of cutting for the kids. They all start by tracing two large circles for the crust and the sauce. Next, they cut lots of tiny rectangles for the cheese. After that they let their imagination run wild and add lots of delicious toppings!
Procedure(print this to teach with) Step 1 Trace a circle on the manilla paper for the pizza base. Trace a circle on the red paper for the sauce. Cut the crust with a smooth line. Cut the sauce with a rough or wavy line.Step 2 Brainstorm about pizza toppings. Cut out lots of yellow and manilla paper thin rectangles for the cheese. Cut out shapes of mushrooms, green pepper, broccoli, olivesStep 3 Glue the crust,the sauce and the cheese. Use the “Baby Glue Dots” technique.Step 4 Arrange all the toppings in a nice composition. Once you are happy with your composition, start gluing the toppings down..Step 5 On the white paper, with the red crayon, create a picnic style table cloth design..Step 6 Glue the whole pizza to the table cloth.
Pizza Collage Try to imagine that you work in a Pizza restaurant.Create a pizza with lots and lots toppings!
PROPER GLUE TECHNIQUE - BABY GLUE DOTS A "Baby Dot" fits in the center of your finger. If they learn this early with their tiny hands, the dots stay small and it seems to stick with them in the later grades. You can also compare it to a Momma Dot and a Daddy Dot. "What will happen if we use a Momma or a Daddy Dot?" "It will go smooosh!" If a smooosh does happen - leave it to dry clear. If you leave it and kids don't like it they are sure to try not to do it again. 5. To get the glue off your finger - rub your hands together and "Turn it to DUST!" Kids love this and it's great because it saves the time to wash everyone's hands. Glue gets in places where it just shouldn't be. If students are not taught how to use their glue correctly or in some kind of manner, it will typically end with a razor blade scraping it off the table. Here's how to solve this problem. 1. Open the glue by making the tongue disappear. (You can also stick out your tongues and stick em back in) 2. With the top up, squeeze gently to make sure it's breathing. If air comes out you're good to go. 3. If no air comes out then we have to open close, open close and pick out the glue boogers!!! 4. Then we flip over and gently squeeze one "Baby Dot" onto our finger. Have them do this exercise in grades every time you use glue to make it sink in in the upper grades.
To teach them this glue technique, when you are ready to glue all the paper pieces down, use the Baby Dot technique. Reinforce not to use Daddy or Mommy Dots. See these examples.
vocabulary • composition - arranging several things to form a unified whole - make it appealing to the eye