Download
1 / 19
320 likes | 714 Views
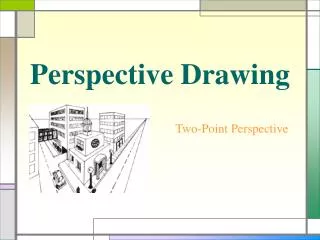
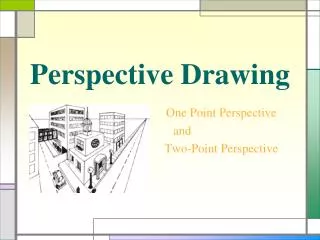
Perspective Drawing. The art of making objects and spaces look three - dimensional. Perspective Drawing.

E N D
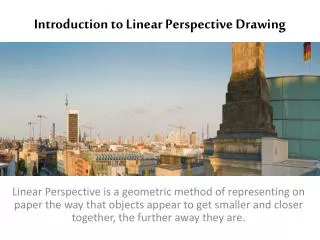
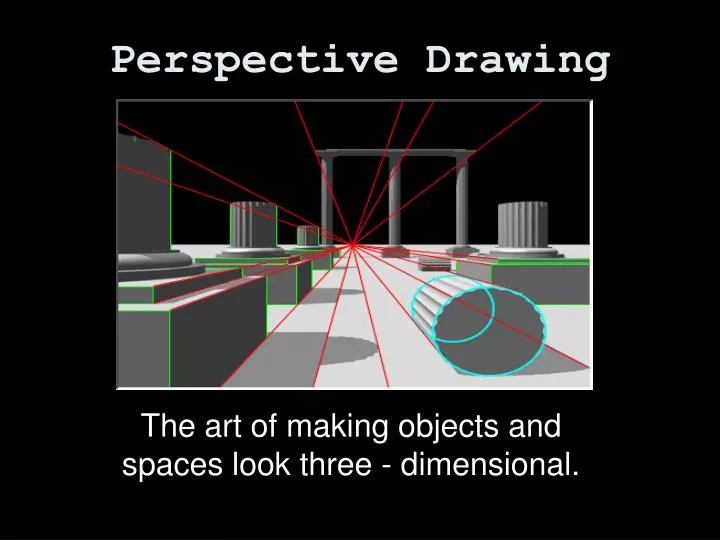
Perspective Drawing The art of making objects and spaces look three - dimensional.
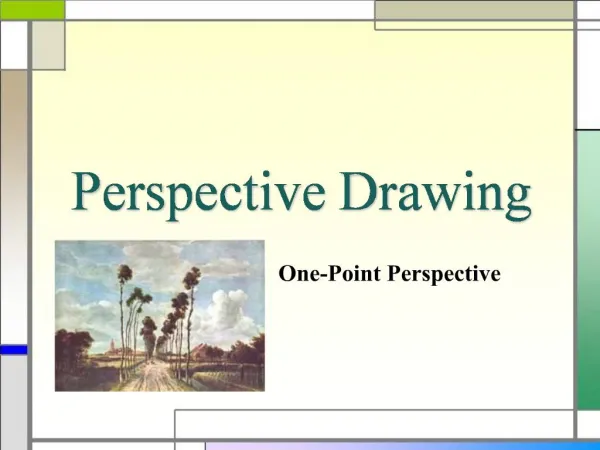
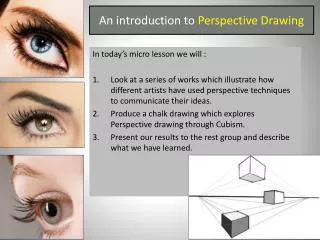
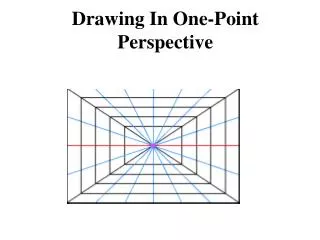
Perspective Drawing One point perspective is a drawing technique whereby the objects are drawn according to a set of rules that make the pictures look like they have depth in them and the solid forms appear to be three dimensional.
This Renaissance drawing by Jan Vredeman de Vries shows the use of 1-point perspective drawing techniques.
See how the lines that connect the tops of the columns and the lines in the floor point to a single spot in the distant arch? That spot is called a vanishing point. It is at that spot that everything disappears. The bases of the columns on the left side of the picture show us the right side of the bases. The opposite is true of the columns on the right side. The columns in the front are much larger than those farther away. We assume that in the real architecture, they must surely be the same height.
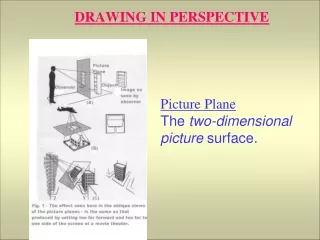
Terms to know: TheHORIZON LINE is the viewer’s eye level in the picture. The CONVERGING LINES are those that project the sides of an object back into space. They always come together (converge) at the vanishing point. A few are drawn in blue.The VANISHING POINT is always on the horizon line. It is where all things appear to disappear. It represents an infinite distance away. It’s the red dot in the center.
As a final 1-point perspective project, we are going to draw some geometric shapes and project them into space to make them look 3-D.
NEXT…we add more shapes and make them look 3-d. Be careful! Don’t draw lines across the front of shapes!
Last, we color the front of each shape and slanted sides to increase the sense of depth and space. Keep the front sides bright and make the colors get darker as they go back toward the vanishing point.Here the spaces between the converging lines have been filled with gradients of gray.
The student who drew this project used darker color values to show the sides of the objects going back into space.
Be careful! Use gently blending between color values, not sudden changes in light and dark.
Do you think the yellow shapes on the lower left shape help make it look 3-d?
Look how the inside shapes of the numbers also get darker as they go back in space.
On this example, patterns and designs play an important role decorating the front of each shape.