Download
1 / 11
130 likes | 380 Views
Installing an SSL Certificate on IIS (Internet Information Services) is not a daunting task for those who aren’t technically sound or have a detailed idea about it. This tutorial will guide you through the complete process of SSL certificate installation on different versions of IIS. Read full article @ http://www.dailyhostnews.com/how-to-install-an-ssl-certificate-on-internet-information-services-iis-9-easy-steps-tutorial For Buying Goodness of SSL Certificate, visit https://www.sslrenewals.com

E N D
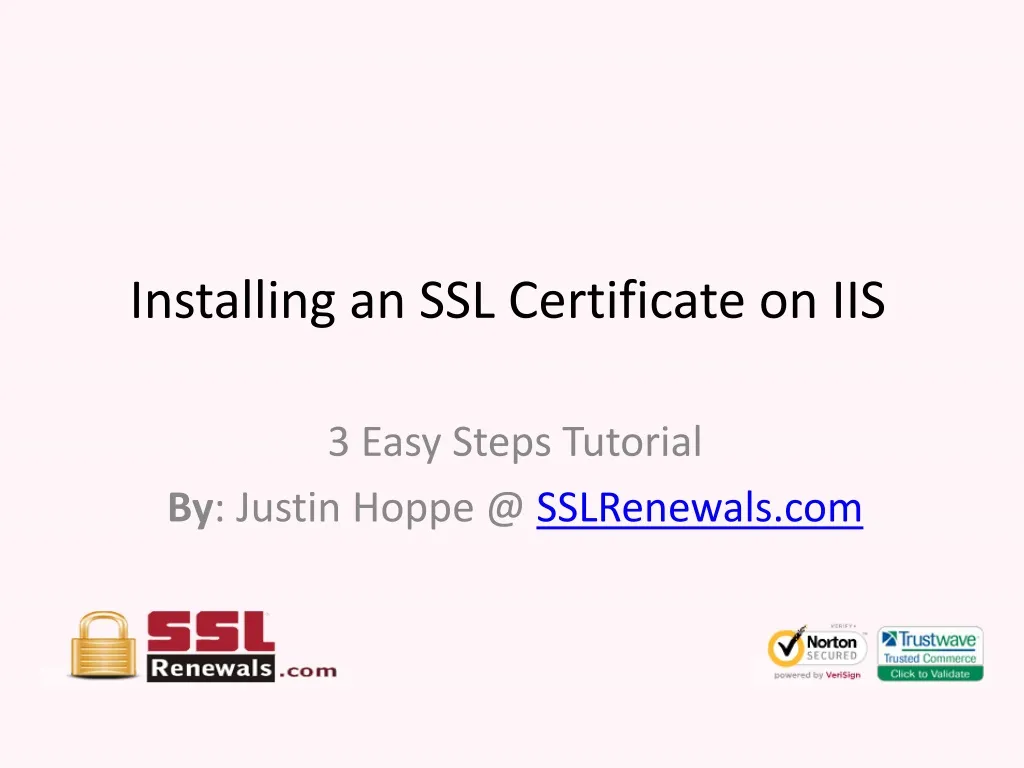
Installing an SSL Certificate on IIS 3 Easy Steps Tutorial By: Justin Hoppe @ SSLRenewals.com
Step 1: Generate the CSR (Code Signing Request) Select the “Start >> Administrator Tools >> Internet Information Service (IIS) Manager” and then simply proceed to left-click on the server’s name.
Step 2: Complete Certificate Request - Find the “security” section from the server’s menu - Select the “server certificates” - Left Click on the “Complete Certificate Request” - Click the “OK” button to complete the request.
Step 3: Assign Certificate to the Appropriate Website Select “IIS >> Connections”, select the name of the server to which the certificate was installed and under “Sites”, select the site to be secured with SSL.
In “Site Binding” click on “Add”, this will open the “Add Web Site Binding” window.
Select https under “Type”. The IP Address should be the IP address of the website, or it should be default as “All unassigned”. The port is usually 443, by which traffic will be secured by SSL.
Click “Ok”, and you must restart the IIS to complete this operation.
Now that the installation of the SSL Certificate has been completed. Your website is completely ready to provide encrypted security to your virtual customers.
Slides By: Justin Hoppe @SSLRenewals
If you like it SHARE IT