Download
1 / 41
410 likes | 629 Views
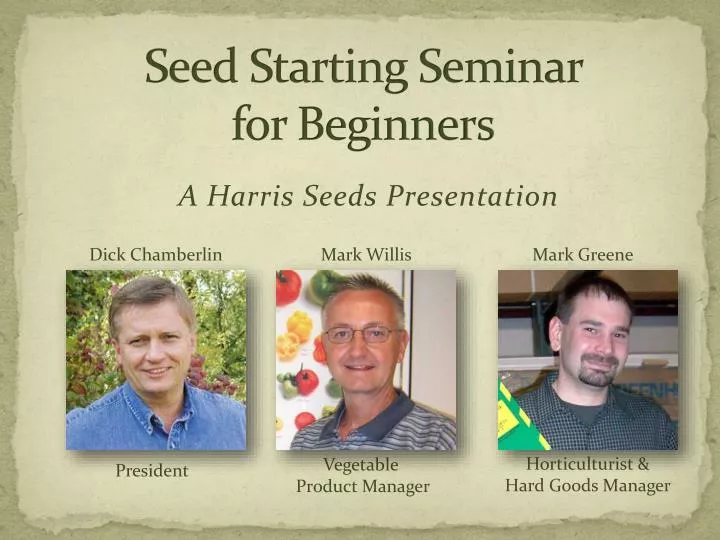
Seed Starting Seminar for Beginners. Dick Chamberlin. Mark Willis. Mark Greene. A Harris Seeds Presentation. Horticulturist & Hard Goods Manager. Vegetable Product Manager. President. Seed Starting Seminar for Beginners.

E N D
Seed Starting Seminar for Beginners Dick Chamberlin Mark Willis Mark Greene A Harris Seeds Presentation Horticulturist & Hard Goods Manager Vegetable Product Manager President
Seed Starting Seminar for Beginners • This program is designed for home gardeners with little to no knowledge of starting seeds indoors. It deals with very practical and easy to follow guidelines for seed starting.
Getting Ready…Things you'll need to be successful at starting seeds indoors Location • Day and night time temperature considerations • Use area with least amount of temperature fluctuation • Pick a location that’s okay to get a little messy • Good airflow
Supplemental LightSeed Starting Lights and Why • Provides even growth and stockier seedlings
Regular Fluorescent Bulbs vs. Wide Spectrum Bulbs • Different light bulbs provide different light wavelengths • High spectrum light has best wavelength for best plant response • Fluorescent lights are also ok, but wavelength is not as good as high spectrum
Light Stands for all Applications • Lights should be adjustable to raise and lower according to seedling height • Determine size of light stand by your location and number of plants you’ll be growing
Daylight for Starting Seeds • Lowers quality of seedlings • Seedlings apt to stretch towards the light in one direction, instead of upwards • Potential for burning tender first leaves of seedlings
Different Light Requirements for Different Species • Flowers • Some require light to germinate and should be sown on top of soil • Many can be covered lightly to allow some light in • Some require dark and should be covered completely • Vegetables • Most can be covered lightly to allow some light in • Lettuce – some lots require light so need to be sown on top of soil. Be sure to read package
Supplemental Heat • Degree ranges for best germination • Soil temperature is usually approx. 5° F less than air temperature • Bottom heat is best • Ensures consistent, uniform heat to the soil • Heat mats & cables
Seed Starting Trays and Pots • Disease free – seedlings are in a most vulnerable state • Plug Trays – can start a lot of seedlings in a small area • Jiffy Products – little to no transplant shock • Good drainage prevents disease and root rot issues
Sterilize Your Trays and Pots • Wash down old trays and pots thoroughly • Warm soapy solution • 1:10 chlorine/water solution
Advantages of Starting in Plug Trays • Singulates seed, 1 seedling per cell • Keeps uniform soil temperature when using bottom heat • Large # of plants in a small area - Make sure you have enough growing space to grow on transplants
Permanest Trays & Domes • Domes create nice microenvironment for tender seedlings • Helps retain moisture and uniform temperatures • Remove domes once seedlings are well established
Seed Starting Mix vs. Potting Soil • Use sterile mix to prevent soil borne pathogens • Do not use potting mix – may contain fertilizers detrimental to germinating seeds • Seed starting mix is lighter than potting soil and less likely to compact
Jiffy Pellets, a Handy Alternative • Promotes good root growth • Little to no transplant shock • Available in different sizes • No need for further transplanting • Small amount of nutrients suitable for tender seedlings
Moisture Applicators • Misting provides light, even moisture for the tender seedlings • Watering from bottom allows roots to soak up moisture • Can promote stronger root growth
Soil Thermometers • Monitors soil temperature for even and proper germination and seedling growth
Select Your Seeds • Start small • Start with easy to germinate and grow species such as: tomatoes, peppers, squash, zinnias, marigolds and sunflowers.
Plant Labels • Helps keep track of different varieties grown • Plastic or wooden labels • Use permanent marker so writing won’t smudge or wash off • Helps you identify what you liked and didn’t like
Cultural Information • Seed packet • Harris Seeds Home Gardening Guide
Bottom Heat with Heat Cables • Easy and effective way to maintain uniform heat • Space cables evenly and tape to inside of tray • Can be used w/thermostat or soil thermometer • Internal regulator shuts off cable before overheating
Bottom Heat with Heat Mats • Thermostatically controlled • Can adjust the temperatures based on what varieties you’re growing
Moisten Your Soil • Gradually add warm water until sufficiently moist • Do not over-saturate • Testing for too much water by squeezing a handful of soil • Water shouldn’t run out • Soil should be crumbly, not a solid clump
Start with Jiffys • Soak pellets in warm water • Jiffy pellets will expand at different heights depending on the size • Biodegradable netting holds peat in place • Helps reduce transplant shock • No need to transplant up to larger sizes before setting outdoors
Monitor Soil Temperature • Use recommended soil temperatures on seed packet for best germination • Use soil thermometer to monitor soil temperature
Sowing Your Seeds • Use a ¼” thick device of any kind and compress and make shallow furrows in the soil, about 1” apart. • Drop seeds into the furrow ½” apart and cover with ¼” of vermiculite or additional soil, or leave uncovered (see directions on packet).
Sow Seeds in Jiffy Pellets • Soak in water until expanded • Poke a hole in the top w/pencil or dowel • Place seed(s) in hole • Cover w/vermiculite (unless seed needs light to germinate) • Can sow 2 or more seeds, then thin out weaker seedlings once established
Separating Seedlings in a Jiffy Pellet • Try to end up with 1 healthy seedling per pellet • Gently remove additional seedlings and plant into other Jiffy pellets or pots, or • Snip unwanted seedling(s) at base of stem
Controlling Moisture Levels • Keep germinating seedlings moderately moist • Using domes helps maintain moisture • Use misting watering mechanism, don’t over saturate • Maintain uniform moisture levels
Auto On/Off Light Timers • For those species that require light for germination, leave on eight to ten hours per day • Auto timers are easy and convenient for controlling light
Positioning Your Lights – Important! • Seed starting trays should be positioned just below your light source, only a few inches away to prevent stretching • Lights should be adjustable to raise and lower according to seedling height
More Light Requirements • Once your seedlings have germinated, make sure there is ample light • Some flowers require up to 14 hours of light; this information can be found in our free cultural guide
Avoid "Damp Off" • Damp off occurs when the seedling is exposed to fungus living in the soil that causes the seedling to wilt • Avoid oversaturated soil • Air flow is important to maintain healthy seedlings, minimizing problems with damping off
Proper Moisture Levels • Touch the soil with your finger to test for moisture • Too dry soil causes crusting, preventing seedlings from emerging • Soil conditions should be slightly moist but not wet • Wet soil leads to disease problems
How to Water Your Seedlings • Use a spray container that emits a fine spray • You can also water from the bottom by placing your seed tray in a few inches of water and let the water wick up into the soil
Fertilizing Young Seedlings • Do not fertilize too often or too early • Fertilize your seedlings once they have started to put on true leaves • Follow the mixing and frequency of fertilizing instructions – do not over fertilize
Transplanting Jiffy Pellets • An all-in-one medium • Sow • Grow • Transplant • Seed packets inform you of weeks from sow to transplant • A “green” product – biodegradable peat and netting
Transplanting Seedlings • Gently remove from seedling tray • Fill pot or container with moist soil • Create hole in soil with finger or dowel • Gently place seedling in hole, cover lightly with soil • Lightly water in seedling • Be sure to wash hands prior to transplanting • Jiffy pots are biodegradable – can be planted directly into garden
Hardening Off Your Transplants • Hardening off – helps plants to acclimate to less than ideal conditions prior to transplant and overcome transplant shock • To prevent transplant shock, take the seedlings outside and place on porch, patio or in a cold frame for a few hours each day
The End Thank you for joining us! If you have any questions or feedback, please feel free to email us at: gardeners@harrisseeds.com