Download
1 / 26
260 likes | 328 Views
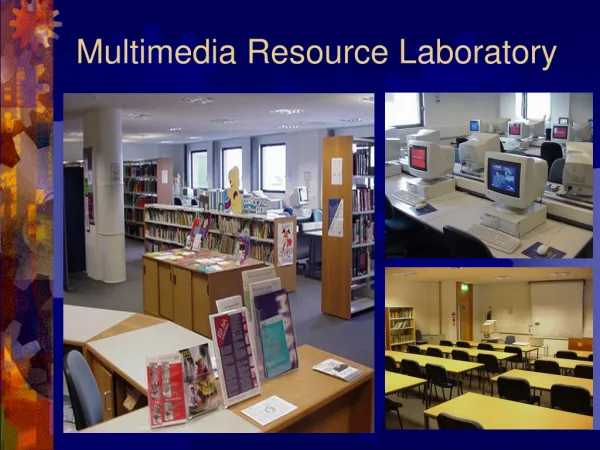
Use of Multimedia in the Clay Mineralogy Laboratory. Ray E. Ferrell, Johan Forsman, and Wanda LeBlanc. LSU Geology & Geophysics Baton Rouge, LA, USA 70803. Why Multimedia?. Improve performance in laboratory. Reduce errors and abuse of equipment. Assist in interpretation of data.

E N D
Use of Multimedia in the Clay Mineralogy Laboratory Ray E. Ferrell, Johan Forsman, and Wanda LeBlanc. LSU Geology & Geophysics Baton Rouge, LA, USA 70803
Why Multimedia? • Improve performance in laboratory. • Reduce errors and abuse of equipment. • Assist in interpretation of data. • Methods easier to follow. • Opportunity to review procedures before laboratory. • Flexible, individualized scheduling eliminates crowding.
Various Approaches • Standard videotape. • Browser-based documents • Digital still images and video. • Audio tracks. • Paper copies with illustrations. • Numerous “slide-show” applications. Only limitations - time, availablity of equipment, expense, and more TIME.
Methods of Choice • Digital still images (or videos) of procedures and equipment. • Power Point presentation on CD-ROM for each student. • Acrobat document on Internet.
DEMO 1 Clay fraction
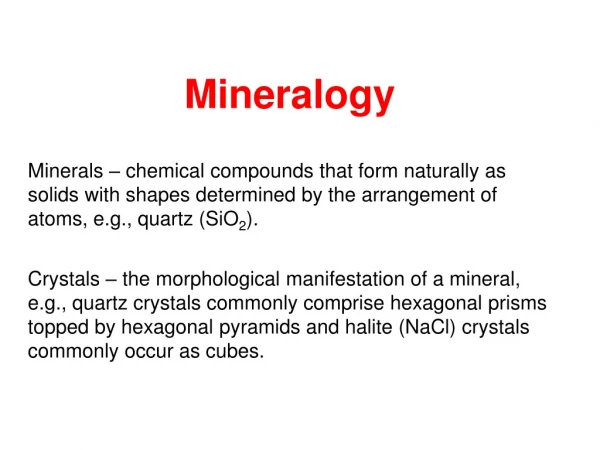
Extraction of “clay fraction”. Basis: Application of Stoke’s Law. Restrictions: Based on settling of 2µm spherical quartz particle under specific laboratory conditions. Objective: Obtain <2µm size fraction rich in clay minerals. DO NOT MODIFY!
Preliminary • Determine whether sample will slake (disaggregate) in water. • Gently crush by impact to produce 1-2 mm particles. • Use pH control or selective dissolution (CBD, etc.) to remove cementing compounds.
Settling • Add about 40 g of sample to 400 ml beaker. • Fill to top mark with water or 0.01wt% Na-phosphate solution. • Let stand overnight. • Stir vigorously. • Allow to settle for 3 hrs and 30 min.
Problem • Flocculation is evident by the formation of a particle-dense fluid layer after a short time. • Alleviate by diluting clay concentration, adjusting pH to about 9.0, or washing to remove interstitial salts.
Extraction • Remove material in top 5 cm of the suspension by slowly extracting with a syringe or siphon. • Begin extraction at the top and follow declining liquid to avoid inclusion of coarser particles from below.
Concentration • Repeat extraction 2-3X and combine. • Pour into 50 ml tubes and weigh so that pairs are within 0.1 g of each other. • Centrifuge in IEC HT at 60% setting for 15 min. • Discard clear supernatant and scrape paste from tube.
Step-by-Step 1. Obtain a representative sample with 1-2 mm particle size. 2. Add 40 g to a marked, 400 ml beaker. 3. Add distilled water and soak overnight. Rinse to remove soluble salts. 4. Fill to upper mark and stir vigorously. 5. Allow to settle for 3 hrs. and 30 min. Check for evidence of flocculation. 6. Siphon or use syringe to remove suspended material between the 5 cm-apart marks. 7. Repeat steps 3-6 several times and combine suspensions. 8. Centrifuge to concentrate clay-sized material.
DEMO 2 Oriented aggregate
Smeared Slide Preparation • Objective: Preparation of oriented clay aggregate for XRD. • Basis: Smearing of a clay paste orients clay flakes and enhances diagnostic reflections. • Precautions: Maintain smooth surface and uniform thickness.
Other Orientation Methods • Sedimentation from suspension - good orientation, may produce mineral segregation. • Inverted film on membrane filter transfer - long filtration times often required.
Sample Holders A variety of sample holders can be modified to accept the 25 mm diameter glass plates that are used to support the oriented clay film.
Equipment • Plastic or aluminum holder with a straight-walled 26 mm diam. cavity. • Glass plates 25 mm in diam. • Spring steel C-clamp. • Special pliers for inserting C-clamp.
Essential • In addition to the items in the previous slide, a spatula with STRAIGHT blades is essential.
Position glass plate • Invert assembly and insert spacers to position glass plate about 1mm below holder surface. • Label rear surface of slide. • Insert slide (face down) in cavity and secure with C-clamp.
Prepare clay paste • Scrape from centrifuge tube and mix thoroughly to eliminate any size segrgation. • Transfer to sample holder and spread thickly A drop of dist. water may be required to improve spreadability.
Smear clay • Hold spatula at a shallow angle to the holder. • Maintain contact with holder on both sides of the glass plate and swipe across the surface in one smooth motion Smearing may have to be repeated until you gain experience.
Final Product • The finished product is now ready for use in a clean holder. • It is uniformly thick, highly oriented, has a smooth surface, and is infinitely thick with regard to X-rays.
SUMMARY • Label rear of glass plate and position in holder. • Mix clay paste and add liberal quantity to surface of slide. • Holding straight spatula at an angle to the surface of the aluminum sample holder, swipe smoothly across sample holder to smear clay. (repeat if needed) • Remove and allow to dry.
OVERALL SUMMARY • The major advantage of multimedia usage in the clay mineralogy laboratory derives from the extra care required to organize and present laboratory exercises and procedures with the new technology. A carefully produced laboratory experience promotes student learning.