Download
1 / 9
90 likes | 335 Views
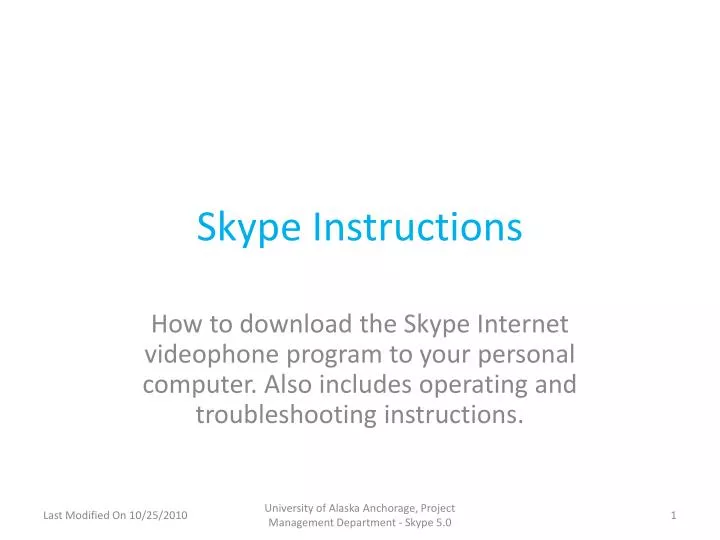
Skype Instructions. How to download the Skype Internet videophone program to your personal computer . Also includes operating and troubleshooting instructions. Slide 1:. Step 1:

E N D
Skype Instructions How to download the Skype Internet videophone program to your personal computer. Also includes operating and troubleshooting instructions. University of Alaska Anchorage, Project Management Department - Skype 5.0
Slide 1: Step 1: Type the following link into your web browser: www.skype.comand hit enter. You will then be taken to a website that looks similar to the screenshot to the left. Once you reach this screen, click on the button that says “Get Skype”. This is the button highlighted in yellow to near the top left of the screenshot. CLICK HERE University of Alaska Anchorage, Project Management Department - Skype 5.0
Slide 2a: Step 2a: This is the next screen you will see on your computer. Your next step is to click on the green button in the lower left corner that says “Get Skype for Windows”. Note: This is only if you have a windows based computer. Step 2b: If you have a Mac computer you will have the option of choosing “Max OS X” from the right side menu in the next screen. This Option is highlighted in yellow in Slide 3a. CLICK HERE University of Alaska Anchorage, Project Management Department - Skype 5.0
Slide 3a: Step 3a: This webpage will appear next on your computer. At this point you need to click on the green “Download now” button at the bottom left of the screen Mac users will see something slightly different, but similar. Instead Of saying “Skype 5.0 for Windows” next To the “Download now” button, it will Say “Skype 2.8 for Mac OS X”. MAC USERS CLICK HERE Slide 3b: CLICK HERE Step 3b: After clicking on the “Download now” button from above, this is the screen that will appear. Click on the “Run” button in the center of the new window. Note: If you have a Popup Blocker activated on your computer it may prevent the new window (outlined here in red) from opening. You may have to temporarily disable your computer’s Popup blocker in order to move forward with the download. CLICK HERE University of Alaska Anchorage, Project Management Department - Skype 5.0
Slide 4a: Step 4a: A new window may open that says “The publisher could not be verified. Are you sure you want to run this software?” Click on the “Run” button near the center- right of the new window. If this screen does not appear, move onto the next Instructions. CLICK HERE You are now downloading Skype. Step 4b: The next window that will appear on your computer screen will say “Do you want to run this software?” Click on the “Run” button near the center- right of the new window. After clicking on the above “Run” button You may see a window that says “A program needs your permission to continue If you started this program, continue. Skype Skype Technologies SA” Click on the “Continue” button near the Bottom right of the window. Slide 4b: CLICK HERE University of Alaska Anchorage, Project Management Department - Skype 5.0
Slide 5a: Step 5a: This is the next screenshot you will see on your computer. Next you will need to click on the “I agree – install” button on the lower right in the new window. You are now installing Skype onto your computer. This may take a few minutes. CLICK HERE Slide 5b: Step 5b: You have now installed Skype onto your computer. In the new windows that opens, click on the “Finish” button in the lower right hand corner. CLICK HERE University of Alaska Anchorage, Project Management Department - Skype 5.0
Slide 6: Step 6: Next the “Create a new Skype account” window will appear. (You may have to open this window – look for the blinking button along the bottom of your computer screen.) In this screen Skype asks you To fill out boxes with information about you: 1) Your name 2) A Skype name that Skype will assist you with -if you chose to create your own name be creative as many names will be taken 3) A password that you create – must include at least one letter and one number 4) Your valid email address Be sure to follow any instructions provided within the boxes before you begin typing. Underneath the “Email/Repeat email” boxes is a checked box that reads “Yes, send me Skype news and promotions”. Uncheck this box by clicking on it. Once you have completed all of the information asked for by Skype, a button that says “I agree – create account” will become Clickable. Go ahead and click this button. FILL IN THESE FIELDS CLICK HERE TO UNCHECKTHIS BOX Note: Skype will check to see if your Skype name is available. If it is not, Skype will give you similar options that you can use as your Skype name. Choose one of these options and move onto the next screen. Write down your Skype name and password so you can remember them at a later time. University of Alaska Anchorage, Project Management Department - Skype 5.0
Slide 7: Step 7: Next you will see the “Set up your Skype profile” screen. If you choose you can enter Information about yourself for your Skype profile. Beware: Some of this Information will be visible to all Skype users so enter it at your own Risk. Follow the instructions on the screen if you choose to complete your Skype profile. There is a checked box at the bottom of the window that reads “Sign me in when Skype starts”. Leave this box checked. When you are finished with this screen, click on the “OK” button at the lower right of the window. COMPLETE THIS INFORMATION ONLY IF YOU WISH LEAVE THIS BOX CHECKED CLICK HERE WHEN FINISHED University of Alaska Anchorage, Project Management Department - Skype 5.0
Slide 8a: Step 8a: This is the screen you will see when you start your computer. Throughthis screen Skype offers tutorials on making calls, checking your sound, and finding contacts. You may use these tutorials at your leisure. If you would prefer this screen to not appear upon computer startup, uncheck the box that says “Show welcome screen at startup” by clicking on this box in the lower left corner. At this time click on the “Or get started now” arrow button. CLICK HERE -OPTIONAL- CLICK HERE Slide 8b: Step 8b: This is the main Skype window and will appear each time you open Skype. This is the window you will use when making calls online. Once you have connected on a call with someone, the video from that call will appear in right hand part of the window with a chat box underneath video. At this time we need the add the UAA PM Department to your list of contacts, so go ahead and click on the button that says “New” on the center left of the window. A drop down menu will appear. Click on the “New Contact” option. FIRST CLICK HERE THEN CLICK HERE University of Alaska Anchorage, Project Management Department - Skype 5.0