Download
1 / 21
210 likes | 288 Views
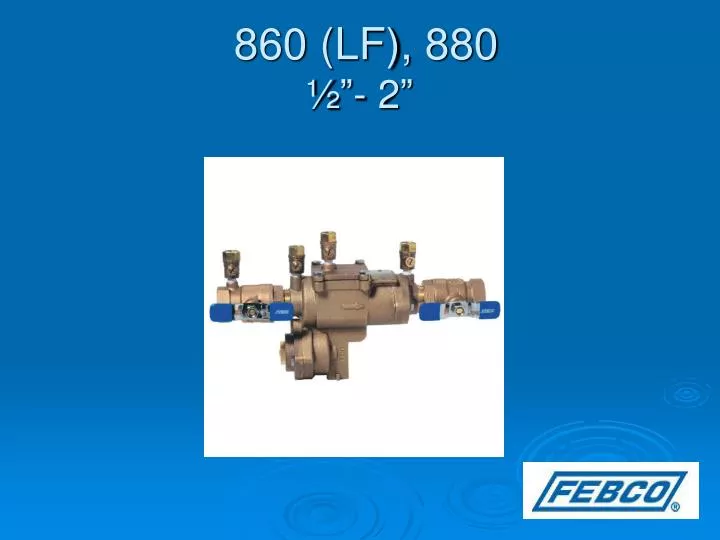
860 (LF), 880 ½”- 2”. Modification Overview. Production of the ½ - 2” 860 series began in 1997 and is current. The 880 is an “N” shaped version. A lead free version (LF860) was introduced in 2010. Check Cover Removal. Check cover is bolted and o-ring sealed.

E N D
Modification Overview • Production of the ½ - 2” 860 series began in 1997 and is current. • The 880 is an “N” shaped version. • A lead free version (LF860) was introduced in 2010.
Check Cover Removal • Check cover is bolted and o-ring sealed. • There is no spring load on the cover.
Check Valve Removal • Check valve modules. • Modules are o-ring sealed and secured by a retainer. • Check #1 must be removed before #2. • Slide retainer straight out of body. • The checks can now be removed by hand or with a flat head screw driver.
Disassemble Check Module • Module is spring loaded. • Firmly grasp the seat section in one hand and the guide section in the other hand. • Rotate counter clockwise until the two parts disengage. (approx.1/8 turn)
Check Seat Removal • Check seats are part of each check module. • If the seat is damaged, then the entire module must be replaced.
Check Disc Replacement • Remove retaining screw and disc retainer.
Check Valve Reassembly Notes • Reassemble in reverse order. • Lubricate o-rings. • When replacing check retainer, be sure that the flanged end of the retainer is touching the back side of the #1 check assembly. • Replace cover with #3 test cock on the upstream side.
RV Cover Removal • Cover is sealed by the diaphragm. • Loosen brass cylinder in center of RV cover. (1/4 turn) counter clockwise. • There is a slight spring load on the cover. • Hold cover while removing the cover bolts.
RV Module Removal • The RV module will be attached to the cover.
RV Seat Removal • The RV seat is sealed by a gasket. • Simply pull the seat out of body.
Disassemble RV Module • Remove the brass cylinder from the cover. • Grasp the outer diaphragm and pull away from cover until the small diaphragm comes out through the hole in the cover completely. • Remove the two slip rings from cover.
Disassemble RV Module • Unscrew the module by holding the stem retainer with a wrench and the disc guide with the other hand.
RV Rubber Replacement • The diaphragm and seat disc are free once the stem is disassembled. • Reassemble rubber in reverse order.
RV Seat Replacement • Apply lubricant to both sides of the seat gasket. This will help hold the gasket & seat ring in place. • Insert the short end of the seat ring in the vent opening.
RV Module Reassembly • Apply lubricant to both sides of one slip ring and insert it in the top of the RV cover. • Form the small diaphragm into a “tulip” shape.
RV Module Reassembly • Insert the small diaphragm end of the module through the hole in the cover. • Form the small diaphragm so that it lays flat in the top of the cover.
RV Module Reassembly • Apply lubricant to both sides of the second slip ring and insert on top of small diaphragm. • Thread the brass cylinder into the RV cover. (hand tight)
RV Module Reassembly • Form the large diaphragm so that the bead is properly seated in the bore of the RV cover.
RV Module Reassembly • Position the spring over the guide on the RV module. • Check to make sure the sensing line o-ring is in place.
RV Reassembly Notes • Once cover is bolted and secure, tighten the brass cylinder.