Download
1 / 34
340 likes | 348 Views
By Sam Powdrill PA-C 2013. Discussion points. aseptic vs sterile technique surgical conscience common surgical instruments choice of anesthetic preparing the wound correct knot tying methods wound closure with a variety of suturing techniques common pitfalls

E N D
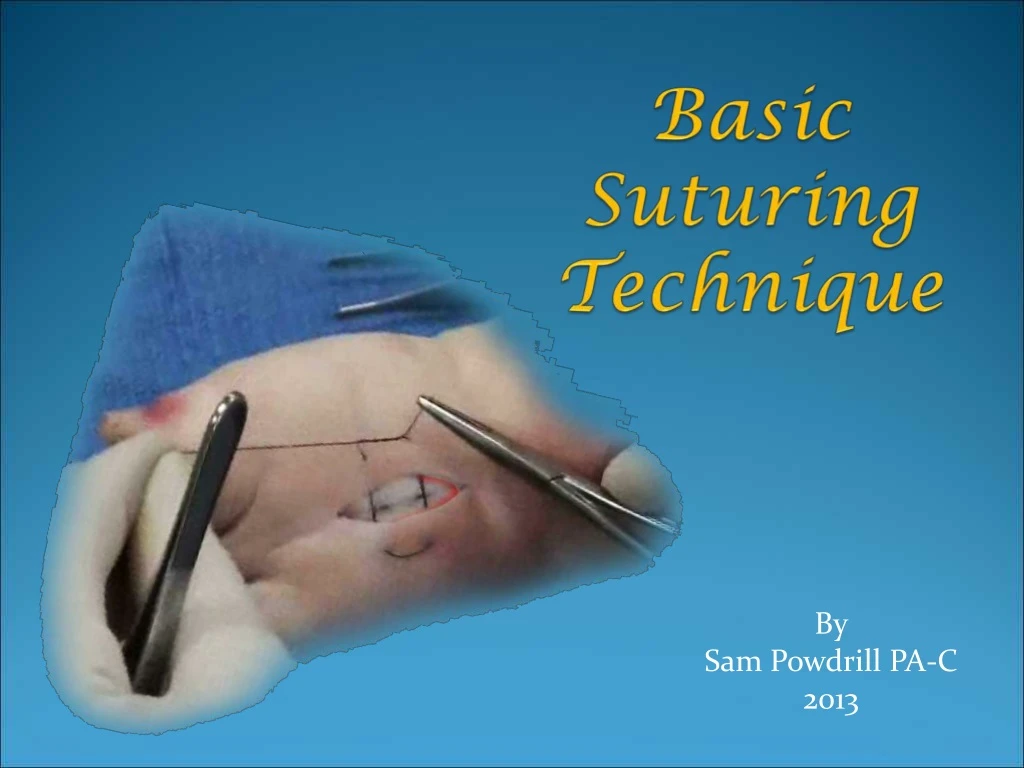
By Sam Powdrill PA-C 2013
Discussion points • aseptic vs sterile technique • surgical conscience • common surgical instruments • choice of anesthetic • preparing the wound • correct knot tying methods • wound closure with a variety of suturing techniques • common pitfalls • practical tips on improving your technique • guidelines for choosing the correct suture and needle
Wound healing and scars The goal of optimal wound closure is to obtain a fine line scar that maintains both the form and appearance of the tissue. It is important to let your patient know that any time there is an an incision there is going to be a scar. However with careful technique and close attention to tissue integrity this scar can be minimized. Know when it is a closure that you should not attempt e.g. lip, eyelid, across a joint, tendon involved, or the web space of a hand.
Preparation • Plan the incision or type of closure • Gather equipment – irrigation, syringes, anesthetic, instruments, suture, drapes, dressing. • Time out: • Check patient name and sign a consent • Check what procedure is to be done • Scrub glove and drape • Prepare the skin – betadine on the outside • Local anesthetic – lidocaine or bupivacaine • Debridement or incision • Undermining where necessary
Instruments adison forcep hemostat metzenbaum scissors suture scissors
Instruments Needle holders suture removal scissors blade handle bandage scissors
Sterile instruments • Have the instruments been sterilized and packed in sterile packages? • Has the indicator tape changed color • Is the package still sealed and double wrapped Sterilize with: • Autoclave 15- 20 psi 220 to 250 degrees F • Gas • liquid
Anesthetic Lidocaine 1% or 2% - inject locally or a regional block • gives anesthesia and reduces muscle movement Bupivacaine (Marcaine) 0.25% or 0.5% • gives anesthesia only lidocaine and bupivacaine can be mixed half and half Epinephrine can be added to increase anesthetic time and decrease bleeding – don’t not use on fingers, nose, penis or toes May be buffered - 9:1 with sodium bicarbonate, to reduce pain on injection (e.g. remove 2 mL of 1% lidocaine from 20 mL vial, and add 2 mL of sodium bicarbonate solution to vial)
Anesthetic Local Lidocaine (Xylocaine)1% or 2% • Onset: 2 minutes • Duration: 1.5 to 2 hours • Action : anesthesia and reduced muscle movement • Max dose: 4 mg/kg to 280 mg (14 ml 2%, 28 ml 1%) Lidocaine with Epinephrine 1:100,000 or 1:200,000 • Onset: 2 minutes • Duration: 1 – 3 hours • Action : anesthesia and reduced muscle movement • Max dose: 7 mg/kg to 500 mg (25 ml 2%, 50 ml 1%) Bupivacaine (Marcaine) 0.25% • Onset: 5 minutes • Duration: 2 to 4 hours • Action : anesthesia only • Max dose: 2.5 mg/kg up to 175 mg (50 ml 0.25%, 25 ml 0.5%)
Basic knot tying 1 2 3 4 1 – square knot 2 – granny knot 3 - slip knot 4 – surgeon’s knot
Surgical wound closure guidelines • Adequate debridement and hemostasis • Atraumatic technique • Alignment with the relaxed skin tension lines • Angle of incision • Perpendicular to skin surface or slightly undermined • Angle incisions parallel to hair shafts • Consider area of the body for vascularity and tension on the wound
Key techniques • Close dead space under the incision • Close that issue in layers • Carefully align the wound edges • Careful choice of the axis of incision or axis of closure of the donor skin flaps • Correct choice of deep and cutaneous sutures
Bleeding • Control with pressure directly over the wound immediately • Locate the nearest artery and put pressure there to give yourself room to work. • If necessary tie off the bleeding vessel. • Use a pressure bandage
Simple Interrupted sutures • This suture is used for simple laceration closures or closure of office procedures like biopsies or lesion removals. • It is also the basic suture used inside the wound to close deep sutures. • It is useful in that a few sutures can be removed at a time instead of all at once to allow for slower sound healing
Continuous Sutures • The continuous suture as its name suggests, only has a knot at the beginning and the end. • There are several methods of continuous suture – locking and non-locking. • The knots must be very secure and minimal tesion on the wound or the wound will come apart if one loop or knot gives way. • The advantage is that it is very quick and the wound tension is even across the wound.
Horizontal Mattress Suture • Used with wounds with poor circulation • Helps eliminate tension on wound edges • Requires fewer sutures to close a wound • Can be placed quite quickly • Can be done as a continuous suture
Vertical Mattress Sutures • Deep and shallow approximation of the tissue • Can be used for wounds under tension. • Can be useful with lax tissue e.g. elbow and knee. • Should not be used on volar surface of hands or feet or on the face because of blind placement of the deep part of the suture.
Sub-cuticular closure • Used for cosmetic closures • Use an absorbable suture if you plan to leave the sutures in and bury the knots • Use either nylon or prolene (best) and keep the suture sliding while you are closing. The suture then can be easily removed with no exterior marks. The ends can be taped or a knot on the skin. • At each entry point, enter across form the last exit with slight overlap.
Eliptical incision The ellipse should be three times as long as it is wide. This will make closure of the wound much easier. If the lesion you are removing is likely to be cancerous, make sure that you leave wide margins of clear skin around the lesion.
3 Cornered Suture • Used to close a skin flap which comes to a point. • Helps close the wound, but maintain circulation to the tissue. • Places minimal tension on the wound edges
Care of the patient How will you care for your patient and maintain a safe environment?