Download
1 / 3
30 likes | 41 Views
The web interface of a router automatically sets the language for your device according to the Time zone a user sets. English is the common default language chosen for most countries. You can also change the language of your router through the Basic homepage of the routerlogin.net interface. When you are done changing the language, click on the Confirm button, refresh the current page and the page refreshes with the language you selected.

E N D
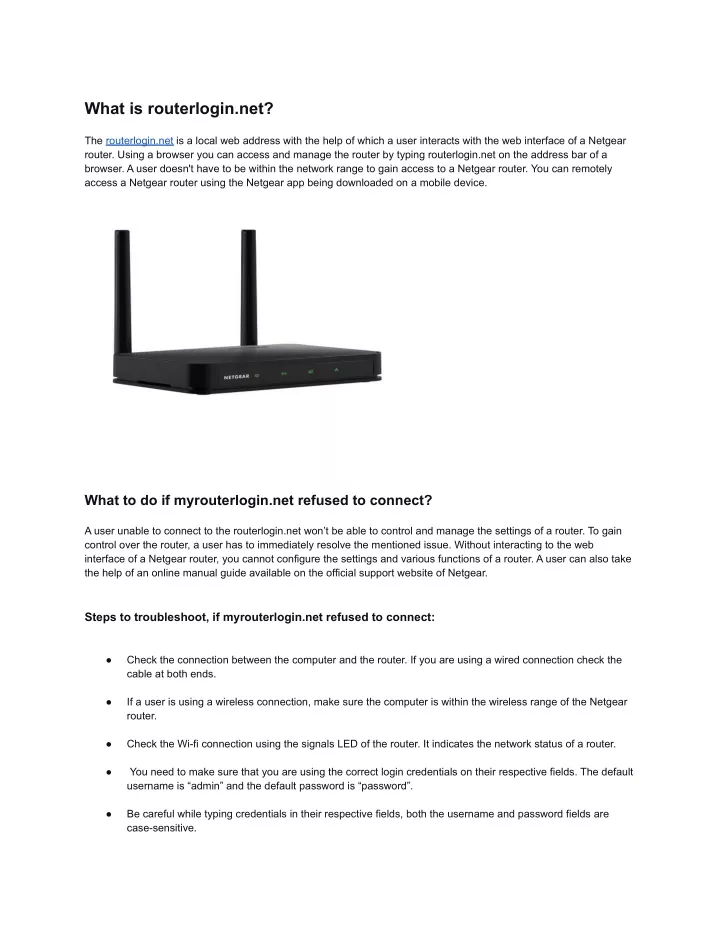
What is routerlogin.net? The routerlogin.net is a local web address with the help of which a user interacts with the web interface of a Netgear router. Using a browser you can access and manage the router by typing routerlogin.net on the address bar of a browser. A user doesn't have to be within the network range to gain access to a Netgear router. You can remotely access a Netgear router using the Netgear app being downloaded on a mobile device. What to do if myrouterlogin.net refused to connect? A user unable to connect to the routerlogin.net won’t be able to control and manage the settings of a router. To gain control over the router, a user has to immediately resolve the mentioned issue. Without interacting to the web interface of a Netgear router, you cannot configure the settings and various functions of a router. A user can also take the help of an online manual guide available on the official support website of Netgear. Steps to troubleshoot, if myrouterlogin.net refused to connect: ● Check the connection between the computer and the router. If you are using a wired connection check the cable at both ends. ● If a user is using a wireless connection, make sure the computer is within the wireless range of the Netgear router. ● Check the Wi-fi connection using the signals LED of the router. It indicates the network status of a router. ● You need to make sure that you are using the correct login credentials on their respective fields. The default username is “admin” and the default password is “password”. ● Be careful while typing credentials in their respective fields, both the username and password fields are case-sensitive.
● Close the current browser and launch it again. ● Make sure that Active X, Javascript, and Java are enabled in a browser. While using a browser, click on the Refresh button to check whether Active X is enabled in it or not. ● The computer or a mobile device with which you are connected to the routerlogin.net network must have the same subnet as the router. ● It may be the reason that the computer you are using is unable to reach the DHCP server. The IP address of the computer or device you are using must be within the IP address range of 192.168.1.2 to 192.168.1.254. ● If a DHCP server is enabled in the computer you are using, the IP address of the system may get autogenerated and may cause the myrouterlogin.net issue. ● The IP address of your router may automatically be changed. Reset the router to the default settings. Use the default IP address of the router to interact to the web interface of a Netgear router. ● If all troubleshooting steps don’t resolve the issue, you have to restore the default settings to the router. Hold the reset button located on the back of the router for a few seconds until the Power LED starts blinking. The reset process will revert all the settings to the default. Note: If all the above steps are done and still you are unable to resolve the routerlogin.net issue, you can contact our technical support team available for you 24 hours a day. You can fetch our Contact number and mail id at the bottom of this webpage. How to set up a Netgear router using a web browser? The setup process is a significant method that a user must know to operate the Internet within the local range of a network. You can take help regarding the setup process through the Quick Setup guide that comes with the router. New users are being recommended to perform the setup process through the routerlogin.net window using a browser. It makes you gain knowledge of various features and functions available in the Netgear router. Steps to set up a Netgear router using the browser interface: ● A user removing an existing router must unplug the modem from it and remove its battery if it has one. ● Wait for a few minutes then plugin the modem into the power outlet again. Insert the battery if it has one. ● Connect the modem to the LAN port of the router using an Ethernet cable ● Now, connect the Power cable to the router and attach its Power adapter to an available electric outlet. ● Turn on the Power switch and make sure that the Power LED is on. ● Meanwhile, you can note down the wireless settings given on the back of the Netgear router. ● Go to the computer and Scan for the available Wi-fi networks. ● Connect to the default Wi-fi network using the Wireless credentials given on the product label.
● When you get to connect to the router’s network, Launch a browser on your computer ● Type routerlogin.net or 192.168.1.1 on the address bar of the browser. ● Hit enter, you will be redirected to the routerlogin.net configuration page. ● Type the desired login password in the first step of the configuration page to assign to the routerlogin.net login window ● To enhance the security level, assign two security questions the answers of which you will give during the recovery process. ● Click Next ● On the next page, you can personalize the Wireless settings of a Netgear router. ● Assign network name and Wi-fi password in their respective fields. ● Click Next to move on to the further step. ● Follow the onscreen instructions carefully to connect to the routerlogin.net network. ● In the next window, the Netgear router’s interface will check for available Firmware for your router. ● If the firmware is available click Yes to initialize the update process. ● Avoid interruption during the update process, as it may bring failure in the setup process. ● When the update process gets completed, the Netgear router automatically restarts. ● Perform the login process again using the login credentials you assigned during the setup process. ● Using the main web menu Dashboard, you can access or change various settings of the Netgear router. Note: The configuration process is a crucial method that determines the performance level of a router. New users are recommended to take the help of the Quick Setup guide that comes along with the Netgear router. If you are having any trouble during the setup process, you can call us anytime for the backup and troubleshooting process. For more information: https://19216811netgear.net/