Download
1 / 18
180 likes | 577 Views
NONINVASIVE POSITIVE PRESSURE VENTILATION WITH THE 7200AE VENTILATOR. OBJECTIVES. Be able to list the advantages of using the 7200 ventilator for NPPV Be able to select appropriate ventilator settings Define the weaning technique for mask ventilation. ADVANTAGES.

E N D
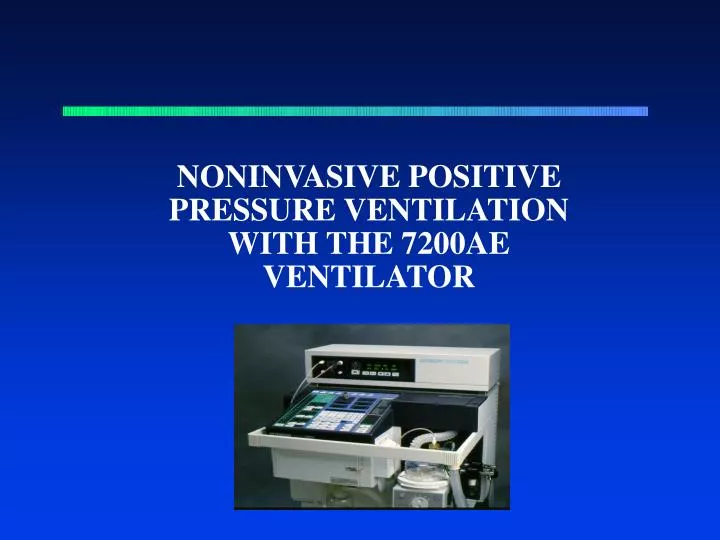
NONINVASIVE POSITIVE PRESSURE VENTILATION WITH THE 7200AE VENTILATOR
OBJECTIVES • Be able to list the advantages of using the 7200 ventilator for NPPV • Be able to select appropriate ventilator settings • Define the weaning technique for mask ventilation
ADVANTAGES • Provides clinician with alarms, apnea back-up and accurate measurement of delivered pressures and volumes • Avoids ETI associated complications • Decreases the chances of nosocomial infections • Ventilates effectively at lower pressure • Allows for oral intake • Delivery higher FIO2 • Clinician is able to compensate for leaks • Can adjust ventilator settings to deliver a more consistent tidal volume • Decreased ventilator days
DISADVANTAGES • Unsecured airway • Increased clinician time • Access to secretions is minimal • Not indicated for patients who are hemodynamically unstable or at high risk for aspiration
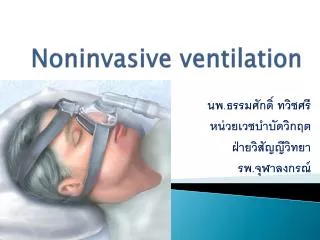
Materials Needed • Clear, air-sealed interface • Appropriate headgear • Nellcor Puritan Bennett 7200 ventilator • Humidifier • Pulse oximeter
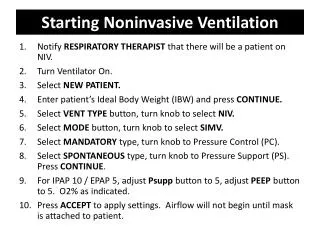
GETTING STARTED • Pt selection: alert and cooperative • HOB at 45 degree angle • Choose appropriate size and style of interface • Explain procedure to patient • Have patient hold mask in place until in synchrony with ventilator and comfortable • Secure mask • Humidifier with water, make sure heater is turned off • Avoid nasogastric tube placement if possible
VENTILATION OPTIONS • CPAP ALONE • PRESSURE SUPPORT VENTILATION • PRESSURE SUPPORT VENTILATION WITH CPAP • PRESSURE CONTROL WITH SET I-TIME • VOLUME VENTILATION • FLOW-BY
CPAP • Increases FVRC • Improves hemodynamics in pulmonary edema • Decreases WOB • Reduces airway resistance • Offsets PEEP • Does not improve Vt, VE, and PaCO2 • In hypoxemia average setting 8 to 10 cm H2O • In respiratory failure average setting 5 cm H2O
PRESSURE SUPPORT • Superior to CPAP alone or negative pressure breathing • Decreases inspiratory muscle effort • Improves Vt, decreases RR • Increased gas exchange • In comparison to volume ventilation: delivers lower pressures, less leaks, less complications • Does not offset PEEPi • Optimal settings in COPD: 13 + 2 cm H2O • Restrictive Lung Disease: 17 + 2 cm H2O
PRESSURE CONTROL • Allows for more consistent delivery of tidal volume • Can set inspiratory time to cycle off in presence of leak • Set inspiratory time to match patient’s inspiratory cycle • Can be used in combination with flow-by
FLOW-BY • Changes the trigger mode from pressure sensitivity to flow • Can eliminate autocycling • Maintains PEEP levels in the presence of leaks • Helps to increase synchrony with patient • Compensates for leaks • Can be used with any mode of ventilation • Beginning settings: Base 5 LPM Sensitivity 2 to 3 LPM
PRESSURE SUPPORT AND CPAP • Additional increase in MAP • Reduction in inspiratory muscle effort
VENTILATOR SETTINGS • CPAP 2 to 5 cm H2O • Pressure Support 10 to 15 cm H2O • Titrate pressure support to achieve Vt > 7 ml\kg and a respiratory rate < 25 bpm • FIO2 tritrate to keep SpO2 > 90% • Pressure Sensitivity - 0.5 to -1.0 cm H2O • Set alarms and apnea back up parameters • Obtain ABGs
PATIENT MONITORING • Obtain baseline ABG and at 2 to 6 and than 6 to 12 hour intervals • Continuos pulse oximetery • Respiratory rate and tidal volumes • Heart rate and blood pressure • Patient mental status and comfort • Abdominal distention • Interface positioning • Secretions
MAINTAINING VENTILATION • Provide continuos ventilation until resolution of respiratory failure or insufficiency • Once stable, remove interface for 5 to 15 minute every 4 hours as tolerated. Make sure to provide adequate FIO2. • Remove interface for oral intake and expectoration • Apply skin patch to minimize necrosis on the nasal bridge and chin • Have patient call for assistance with repositioning mask or for discomfort
Reposition interface Try different mask size or style Readjust the interface headgear Place skin patch at leak site Apply tincture of benzoin where mask contacts the skin Consider reducing PS or CPAP if patient can tolerate Add flow-by Switch PC mode with a set inspiratory time Switch to Volume (A/C) mode COMPENSATING FOR AIR LEAKS
INDICATIONS FOR DISCONTINUING NPPV • Patient unable to tolerate mask • Inability to improve alveolar gas exchange • Inability to clear secretions • Cardiovascular instability • Failure to improve patients mental status, confused \ lethargic • Intolerance of NPPV
WEANING FROM NPPV • Improved alveolar ventilation • Decrease the amount of pressure support to 5 cm H2O and place on supplemental FIO2 • May try alternating periods off and on the ventilator