Download
1 / 7
80 likes | 243 Views
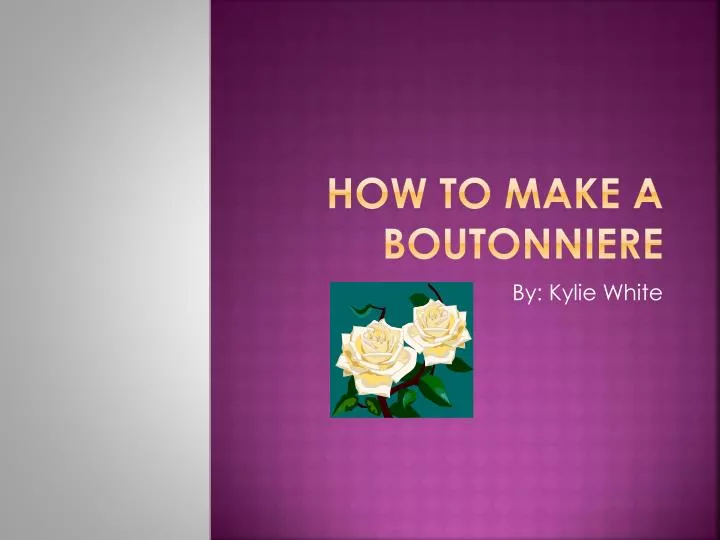
How to Make a Boutonniere. By: Kylie White. Step One. When you first get your rose if desired pull off the seaples and if needed the pedleds on the outside if they don’t look nice. The seaples are the green leaf looking things on the outside of the rose right about the stem.

E N D
How to Make a Boutonniere By: Kylie White
Step One • When you first get your rose if desired pull off the seaplesand if needed the pedleds on the outside if they don’t look nice. • The seaples are the green leaf looking things on the outside of the rose right about the stem.
Step Two • When you get the rose measure 3 fingers as shown in the picture below and cut your stem so its easier to work with. • This will benefit you when you start wire and taping, it will look neater.
Step three • You will be using Pittosporum leafs and babys breath in your boutonnier. • Use the stich method for the babys breath and the peircing method for your Rose. • Once you complete your wiring tape all three items seperatley.
Step Four • After you tape everything spereatly tape your baby’s breath and Pittosporumleaft together so it’s easier to work with. • When you have everything in place tape your Rose, the leaf and babys breath all together. • After taping all those together do one last taping job all around to make it look neater. Also if need you can cut access wire that is poking out so its just a stem.
Step five • When your finished will all your taping you can add accessories to your boutonnier. I added a red white and blue wire around the stem since it was near Fourth of July for a finishing look.
Step six • When your finished with everything needed for a boutinnere make sure you have a pin so you can pin it whereever you want it to go. • To make it last long keep in in the refrigorator.