Download
1 / 17
180 likes | 331 Views
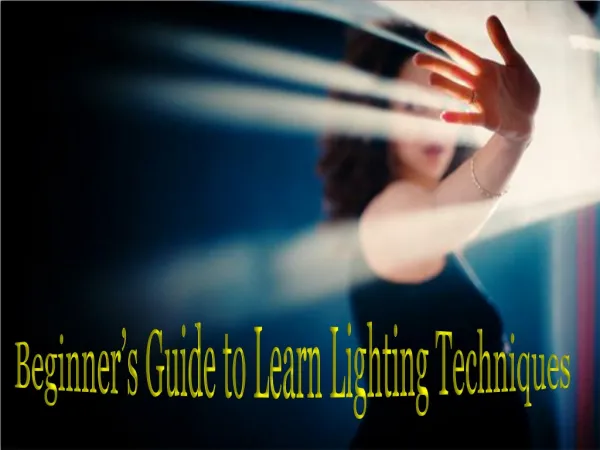
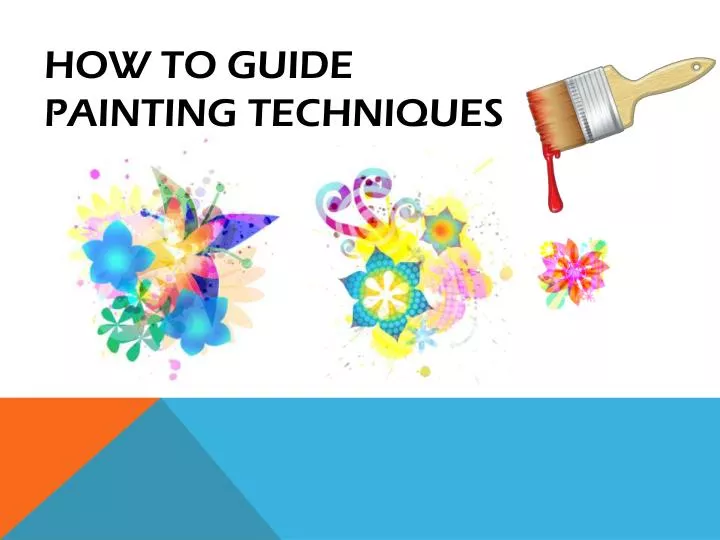
HOW TO GUIDE PAINTING TECHNIQUES. INTRODUCTION EQUIPMENT AND MATERIALS LEARNING OUTCOMES CLASS PREPERATION THE WORKSHOP TEAM BUILDING. CONTENTS. STEP BY STEP HOW TO GUIDE. INTRODUCTION

E N D
INTRODUCTION EQUIPMENT AND MATERIALS LEARNING OUTCOMES CLASS PREPERATION THE WORKSHOP TEAM BUILDING CONTENTS STEP BY STEP HOW TO GUIDE
INTRODUCTION THIS HOW TO GUIDE IS DESIGNED TO EQUIP YOU WITH THE BASIC TOOLS AND SKILLS OF HOME PAINTING AS WELL AS OFFERING SIMPLE TECHNIQUES TO BE CREATIVE IN YOUR APPROACH. THIS STEP BY STEP APPROACH WILL MAKE HOME PAINTING A BREEZE.
BECOME EMPOWERED! Who ever said that "knowledge is power" must have worked in the building game as this is one of the golden rules of owner-building.
LEARNING OUTCOMES IDENTIFY AND SAFELY OPERATE THE NECESSARY EQUIPMENT IDENTIFY THE TYPIAL PRODUCTS REQUIRED TO COMPLETE THE JOB IDENTIFY AND IMPLEMENT A SAFE ENVIRONMENT UNDERSTAND SOME OF THE BASIC OF DECORATIVE PAINT TECHNIQUE
WORKSHOP OUTLINE 1.INFORMATION TO BE COVERED 2.INTRODUCTION TO EQUIPMENT AND MATERIALS 3.DEMO OF TECHNIQUES 4.EXPLANATION OF THE TOPIC PROCESS 5.BASIC COLOUR MATCHING
WORKSHOP CONTENT 1.PRODUCT PAINT TECHNIQUES COVER A RANGE OF RELATIVELY OLD TRADE METHODS BUT ALSO SOME MODERN CHAMICAL EFFECT PAINTS SUCH AS HAMMER FINISH, DISTRESS PAINTING AND CRINKLED FINISHES.
BEFORE YOU START >COLOUR DESIGN DIY CLASS IS ESSENTIAL >CONSIDER WARMTH OR COOLNESS >REDS =WARM,GREEN=CALM AND BLUES=COOL >USE COLOUR WHEEL FOR COLOUR COMPATIBILITY
EQUIPMENT AND MATERIALS 1.PRODUCTS >SMALL MOTIF STENCIL >SEVERAL SAMPLE POTS OF EFFECTS PAINT >SAMPLE POT OF METALIC EFFECTS PAINT SAMPLE POT OF ACRYLIC PAINT 2. EQUIPMENT >2 SEA SPONGES >SMALL PAINT TRAY AND ROLLER >50MM PAINT BRUSHES >2 SMALL STIPPLING BRUSHES >EFFECTS FOAM TYPE BRUSH >1 GYPROCK PLASTER AND REPAIR SHEET >1 CERAMIC TILE ANY TYPE >RAG >PAINT STIRRER >PAINT CAN OPENER
3. SAFETY EQUIPMENT >PROTECTIVE RUBBER GLOVES >PROTECTIVE CLOTHING >DROP SHEETS >STEP LADDER >MASKING TAPES
DEMONSTRATION >SPONGING ON >SPONGING OFF >METALLIC EFFECT >RAG ROLLING >MASKING TAPE EFFECTS
PAINT A ROOM -STEP BY STEP 1. Clean walls.Remove dust, dirt, and grease spots (which can ruin a smooth finish) with water, a little mild dishwashing detergent, and a cellulose sponge. Rinse walls with clean water to remove the soap residue 2. Tape the trim, window, and doorframesBe sure to use painter's blue tape, which can be applied up to a week ahead. Remove tape immediately after painting, before the wall dries, so you don't peel off any paint with it. 3. Prime the walls.It's a common myth that walls that have been painted many times don't need to be primed. In fact, primer helps maximize the sheen and coverage of paint and gives the finish coat a more uniform appearance. 4. Brush where you can't roll.Brush on paint around trim and in the corners of walls, where your roller can't reach, with a two-inch angled brush. Extend out two to three inches from windows, doors, and mouldings 5. Use the W technique.For efficiency, start in the corner of a wall and roll on a three-by-three-foot W pattern, then fill it in without lifting the roller. Continue in sections until you're finished. Paint one wall at a time. 6. Paint the trim.When the walls are completely dry, tape where the trim meets the wall. Paint the mouldings and the door and window frames with a two-inch angled brush
FREE TO JOIN
I dream of painting and then I paint my dream. Vincent Van Gogh
GOODBYE AND GOODLUCK