Download
1 / 7
80 likes | 231 Views
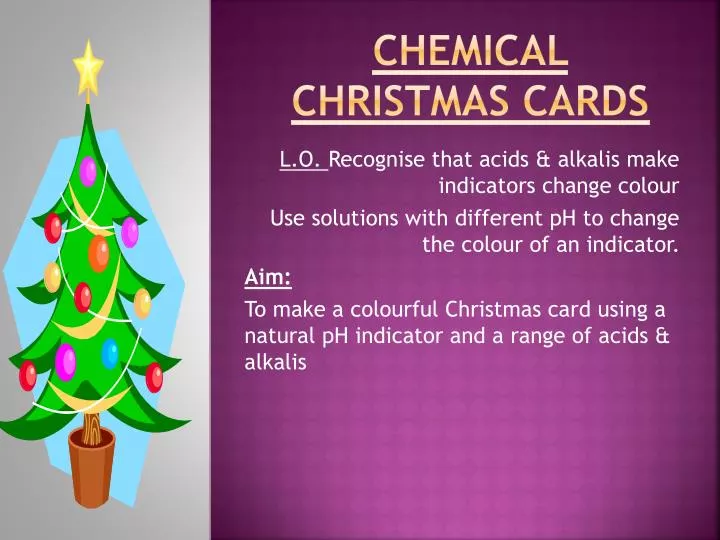
Chemical christmas cards. L.O. Recognise that acids & alkalis make indicators change colour Use solutions with different pH to change the colour of an indicator. Aim: To make a colourful Christmas card using a natural pH indicator and a range of acids & alkalis.

E N D
Chemical christmas cards L.O. Recognise that acids & alkalis make indicators change colour Use solutions with different pH to change the colour of an indicator. Aim: To make a colourful Christmas card using a natural pH indicator and a range of acids & alkalis
Stage 1 Make the indicator. Collect a mortar and pestle and some chopped up red cabbage indicator. Initially start to grind it up without any hot water. Then add a small amount of hot water, more water means a weaker indicator and less bright colours. Put your name on a small beaker. Carefully pour out the liquid into a small beaker. Try to avoid any solid material getting into your beaker.
Stage 2 test the indicator. Goggles on. No goggles = no presents from Santa and no mince pies in the morning! Collect a spotting tile. Put 3 or 4 drops of red cabbage indicator into 8 of the holes. Each hole will be used to test a different strength of acid or alkali. Your teacher will ask you to draw up a table of results in your book.
Stage 3 Results. You may wish to dip a small piece of filter paper in the coloured solution when finished. This could be dried off and stuck in your book.
Stage 4 make your paper. Write your name on the edge of a piece of paper with pencil. Put it in the indicator solution. Allow it to soak for a while, but do not let it get so soggy that it breaks when you remove it. Remove it and allow any drips to fall into the beaker. Then take it to Santa’s washing line. Don’t worry teachers love the smell of red cabbage at Christmas.
Stage 5 plan your design. On some plain paper plan out a design for a card. Indicate which piece will be which colour. You could make your card into a star, a snowperson or a Christmas tree.
Making your card. Goggles back on naughty reindeers or you will have more than a red nose. Add small amounts of the solutions to the coloured paper to get the colours you want. Dry using a hairdryer or a radiator. Collect some card. Either . Cut out a silhouette of your chosen shape. Stick your coloured paper on . The card can be hung from a tree or window with light shining through. Or fold the card and cut the paper into the desired shape. Add glitter and a cheery message.