Download
1 / 9
90 likes | 261 Views
Mr. Binet MHS - BBT. How to put Pivot into Microsoft Movie Maker. Step 1. In Pivot: Click “Save Animation” Under “File Type” pull the menu down and select GIF. Save your Pivot Scenes/Files to your U: drive (as GIF file types). Step 1. Step 2. Open Microsoft Movie Maker

E N D
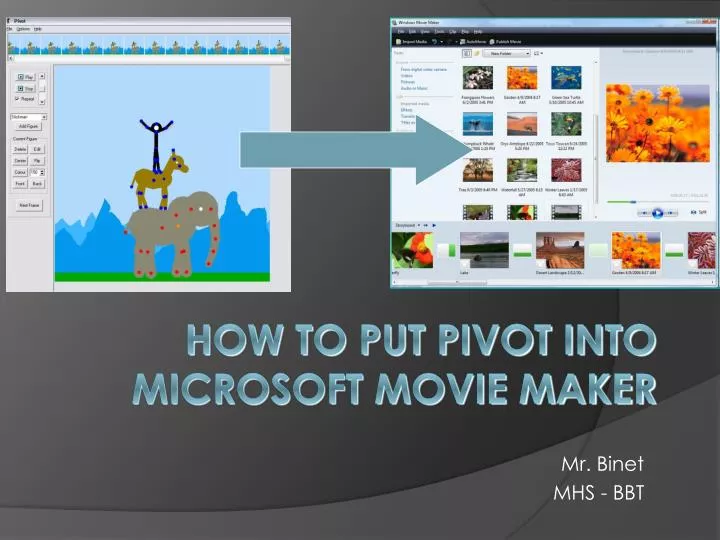
Mr. Binet MHS - BBT How to put Pivot into Microsoft Movie Maker
Step 1 • In Pivot: • Click “Save Animation” • Under “File Type” pull the menu down and select GIF. • Save your Pivot Scenes/Files to your U: drive (as GIF file types).
Step 2 • Open Microsoft Movie Maker • Select: Import PICTURES • Located your GIF files on your U: drive and import them. • Next, drag them down to the Timeline at the bottom of Movie Maker.
Step 3 • Open Microsoft Movie Maker • You may also add opening titles and captions to your movie if it helps set up scenes and make it make sense. • Watch the Tutorial on the following slide for a quick intro to Movie Maker!
Movie Maker Tutorial http://www.youtube.com/watch?v=JZXK68NS7gU
Step 4 • To add music to your Movie: • Find an appropriate song on YouTube. • Copy the URL (website address at the top, http://www.youtube.com/watch?v=9jK-NcRmVcw) • Then go to: http://www.video2mp3.net, copy/paste the URL in and “convert”. • Save the song on your U: drive • You may now import audio in Movie Maker.
Step 5 • Save your Movie Maker project file on your U: drive. • You then need to “FINISH” your movie – this compiles all the pictures/audios,etc into one video file! • Save this final .WMV file on your U: drive.