Download
1 / 13
140 likes | 192 Views
Concur Travel and Expense Management. Approvals:. Approving expense reports. Navigate to Concur at Concur.Jefferson.Edu, from anywhere Sign on using your campus key and password. Click on Required Approvals to review open expense reports.

E N D
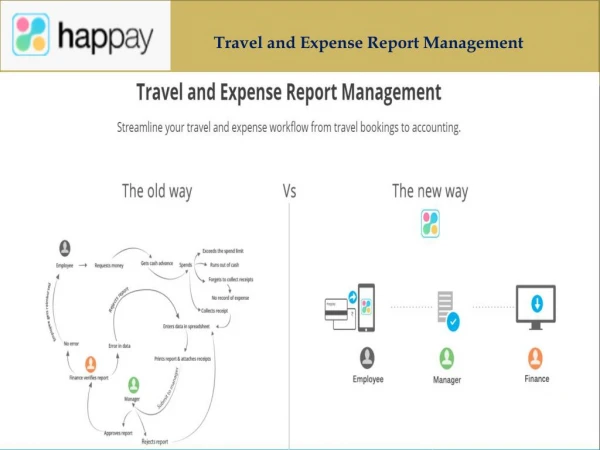
Concur Travel and Expense Management Approvals: • Approving expense reports.
Navigate to Concur at Concur.Jefferson.Edu, from anywhere • Sign on using your campus key and password
Click on Required Approvals to review open expense reports. • Click on Authorization Requests to review travel requests
Click on the tab to view your corresponding approval queue. • Click on the blue text to open the report or request you wish to review.
Click on details to review: • Report Header: Charge Code/Business Purpose/General Information • Totals: Submitted/Approved Amounts Due to Credit Card/Employee or Company • Audit Trail: Any modifications made to the report throughout its cycle. • Approval Flow: HR approval flow and any user-added approvers • Comments: Any comments entered by employee or any previous reviewers. You may also add notes for any approvers ahead of you. • Allocations: The cost centers against which reimbursements will be expensed – in whole or in part.
The report header tab shows the business purpose and cost center associated with the expense report. • The charge code/report name field MUST include the charge code, if charging any sponsored projects accounts. This field has no bearing on where expenses will be charged – it is simply a reference. • The cost center against which expenses will be charged is indicated in the GL Segment field. • This cost center will be applied to every expense contained in the report, unless allocated therein. • As an approver, you may modify the charge code for the entire report here.
Click on the expense in the list on the left to review the details in the right pane.
Review the expense details for accuracy. If the approved amount is less than the submitted amount, adjust the amount, enter a comment for tracking purposes and click Save. • If the approved amount is greater than the submitted amount, click Send Back to Employee and enter a comment. • If the report is not approved or if the employee must provide additional information, click Send Back to Employee.
There are two options to view receipt images that have been attached to the expense. • (1) Hover over the icon and the receipt will appear
OR • Click on the expense you would like to review. • When the details appear on the right side of the screen, click the Receipt Image tab and review the attachment.
To generate a pdf copy of the expense report and receipts attached thereto, click Print/Email and select Report - Detailed
In the new window, check the Show Itemizations box • Then, click the PDF button
If the employee must provide additional information or make any modifications, you may Send Back to Employee and include a message, by entering your comment and clicking OK • If you would like for someone else to approve the report before it is sent to accounts payable for processing, select Send to Approver and begin typing their last name • Only employees who have direct reports will be accessible. • If the report is complete, click Approve