Download
1 / 8
80 likes | 90 Views
<br>HowToDiscuss<br><br>HowtoDiscuss is a place for everyone to share knowledge & better understand the world.<br><br>Ask Questions & Get Answers On Any Topic!<br><br>- Who is it for?<br>This platform is open for everybody and for every age group.<br><br>- What can they find here?<br>You can find answers to common questions, discuss topics and events with other people on the internet.<br><br>- Why should they come here?<br><br>To learn and better understand the world we live in today. Share life hacks, tips & knowledge with others. Helps us spread awareness.<br><br>To get started, either search for a question or ask a question yourself. You can also find list of all currently used discussion tags here.

E N D
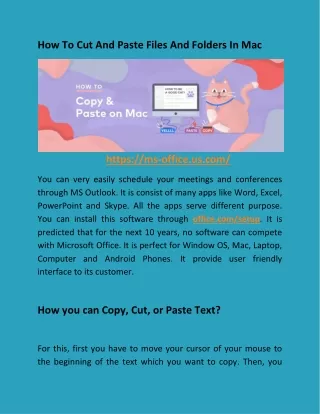
Tips for Working People - How to Take Screenshots Easily on Windows and Macos In working or writing review articles, one of the important processes (Which I use a lot) is to take a screenshot Also known as screen captures, you can put things on the monitor into a document file. Or easily uploaded to the website. And today I have a simple screen capture method focusing on convenience as quickly as possible Both the Windows platform and macOS . Screen capturing on Windows s for the method that I propose, I would how to screenshot and paste on mac like to quote from Windows 10 mainly consisting of 2 methods as follows. 1. Use the PrintScreen (PrtSc) button. This is the easiest step to take a screenshot on Windows. Just press the PrtSc key on the keyboard and the image will be on the Clipboard.
After that, open the Paint program and press the Ctrl key followed by V to paste the captured image and press Save. You will now have the image ready for use. (You can also trim images to select the desired area from the Paint program straight away.). Another case for anyone who connects an One Drive account with Windows. When you press the PrtSc button, the clipboard image will automatically link to One Drive as a PNG file extension.
For importing images from OverDrive, click on the cloud at the bottom right of the taskbar and select Open Folder. The OneDrive folder will appear. The screenshot is in the Photos> Screenshots section.
2. Use the Snipping Tool Another method that is easy to use and quite complete. That is the Snipping Tool for Windows 10. This feature is in the Notification bar to open as shown below. Then choose Screen snip and your screen will be slightly dark. With an option bar for capturing images With the following options (Sort from left to right).
Rectangle snip - Draw a square area at the desired point of the image. Freeform snip - Select freely the image capture area Windows snip - This is the selection of the rectangular area that appears on the screen. Maybe a stacked window Or can capture even the taskbar (Because it has a square) without having to draw the area of the square itself. Full-screen snip - Capture all the images that appear on the screen. Similar to using PrtSc. After getting the screenshot The image file will be on the clipboard. In which it will display a notification window on the side If you open that window The program will enter the image editing window before recording.
But if you don't want to get into the configuration window You can paste the image on Paint as if you were using PrtSc by pressing the Ctrl + V button. Screen capturing on macOS
For taking screenshots on macOS, there are 3 types of keyboard commands: 1.Capture the entire screen with Shift + Command + 3. To take a snapshot of the entire screen, press Shift + Command + 3 that looks like the picture above. After that, it will hear sparks like pressing the shutter. While showing a thumbnail of the screen You can click on the image to edit before saving. Or let the image disappear And it will appear on the desktop. 2.Take Some Custom Screenshots with Shift + Command + 4. To take a snapshot of the entire screen, press Shift + Command + 4 that looks like the picture above.
From then, the mark will appear like aiming. Lets you select the desired area in a square shape. When releasing the mouse or trackpad, it will hear sparks like pressing the shutter. While showing a thumbnail of the screen You can click on the image to edit before saving. Or let the image disappear And it will appear on the desktop But if wanting to cancel the caption, press the ESC button.