Download
1 / 16
170 likes | 271 Views
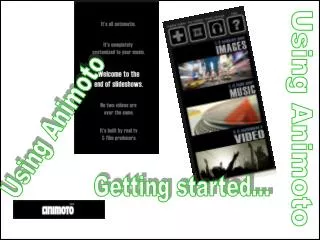
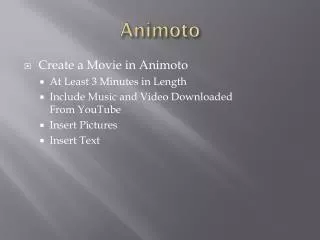
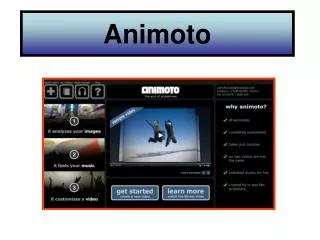
Animoto. A guide for help getting started. Sign in from here!. Enter your email you signed up with and password. Then hit Sign-in. Once you are logged in, click on CREATE VIDEO!. Now you can pick a video style from all the choices listed here. The “PRO” ones you will not be able to use.

E N D
Animoto A guide for help getting started
Enter your email you signed up with and password. Then hit Sign-in.
Now you can pick a video style from all the choices listed here. The “PRO” ones you will not be able to use. You can pick from Preview or Get started and Create.
After choosing a Style. You may get this pop up. You can skip or click on the X in the upper right hand corner
After you click on Add Pics & Vids you will be prompted to select from different spots. You can obviously choose which is easiest for you. My example will be “from your computer”.
Now a box will open for you to browse to your pictures and choose the ones you want. Wherever you have your pictures saved is where you need to go. Maybe change the drop down to browse. When you have all the pictures you want selected, hit the open button.
You can add Power Point slides that are saved as jpeg images, or Tagxedo word cloud slides. You can always add pictures as you edit your project. After you hit open on the pictures you have selected you will see them loading here like this.
Once all pictures have loaded, you can click on one, it will be highlighted, then you can rotate, spotlight, duplicate, or delete with these options on the side bar. You must select a picture to get these options. You can grab pictures and reorder them easily by dragging them around. You might try the Add Text button too.
If you hit the choose music button this box opens up. You can click a category or upload your own.
Once you select a category it will open a box of music to select from. Choose Add Song when you have you like. You can play a short clip by clicking the arrow.
Once you have your pictures ordered the way you wish, music selected, and you think you are ready to go, press the Produce Video Button.
This will be the page you see after hitting “PRODUCE VIDEO”. Be patient while it renders your video
WOW!!! Now your video is complete! And ready to be shared with whoever you would like to see it!!