Download
1 / 11
110 likes | 240 Views
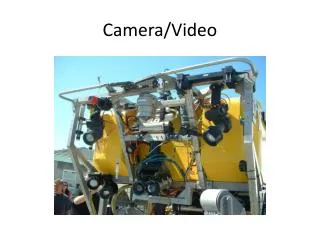
Creating a Video Using the Flip Camera. Intro to Project. In class you will be researching a topic and . . . Creating a storyboard or plan for your project Shooting video clips that support and illustrate your topic and storyboard plan.

E N D
Intro to Project • In class you will be researching a topic and . . . • Creating a storyboard or plan for your project • Shooting video clips that support and illustrate your topic and storyboard plan. • Editing your video clips to eliminate unwanted footage. • Adding titles and music to enhance your project. • Presenting your video to the class.
Rules While Using the Camera • All cameramen/women will . . . • Hold the camera by the body with the string around your wrist. • Maintain control of the camera at ALL times. • Keep your groups camera in yourpossession and separate from other groups. • Return the camera to the teacher before leaving the classroom DO NOT SWING THE CAMERA AROUND BY THE STRING!!!
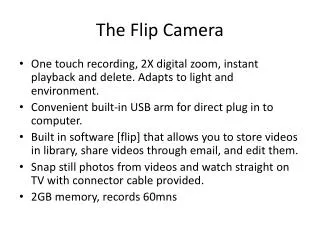
Please watch as Mr. Bell describes these parts in more detail.
Tips While Shooting Video • Keep steady- if your hands are shaky, find a way to stabilize your arm or use a tripod. • Use a table or a stack of books as a tripod if you want a really steady shot. • Keep your fingers away from the lens. • The sound only faces the front of the camera so be sure to point the camera where the sound is coming from. • Find someplace quiet to film so that you can minimize background noise.
Project Timeline/Description In groups of 4 or 5 you will . . . • Day 1: Research your topic and create a storyboard or plan for your topic. • Day 2 & 3: Begin shooting video that supports your storyboard/plan. • Day 4: Edit video and save it to a flash drive. • Day 5: Watch class videos