Download
1 / 18
180 likes | 186 Views
A comprehensive guide to installing and configuring the P-Grade Grid Portal, including step-by-step instructions and configurable items. Learn how to set up the portal, customize appearance, configure MDS2 query, and more.

E N D
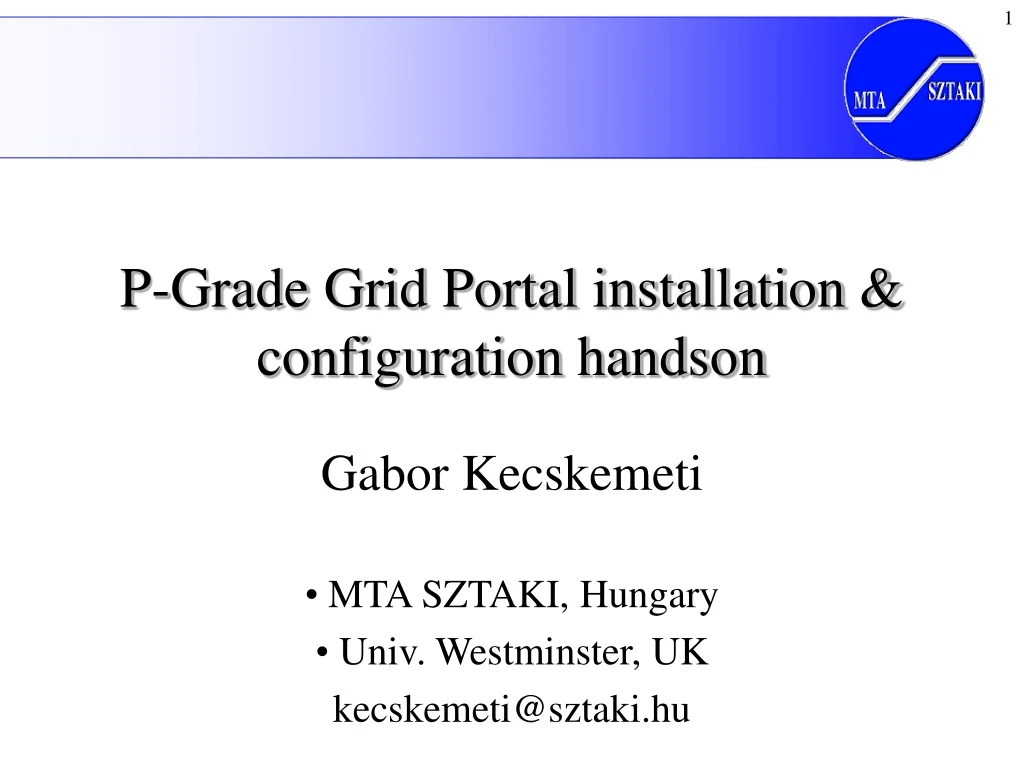
1 P-Grade Grid Portal installation & configuration handson Gabor Kecskemeti • MTA SZTAKI, Hungary • Univ. Westminster, UK kecskemeti@sztaki.hu
2 Prerequisites • Software dependencies: – Scientific Linux 3.0.8 – gLite UI 3.0.0 – GT-2 development headers (use gtp-build --nosrc gcc32dbg gcc32dbgpthr) – For further details, see: http://portal.p- grade.hu/v24/index.php?m=6&s=0 • Hardware requirements: – 1 MB memory – Strong processor (~3GHz) – 20GB disk or more depending on usage
3 Installation • Create a user for the portal: adduser pgportal • Unpack the gzipped tarball: tar zxf pgportal-2.4.1.tgz ; cd pgportal • Configure the portal installation with the portal_config.txt – Be aware that the portal interprets this file as a shell script so quoting is necessary
4 Configurable items #1 • HOSTNAME: hostname of the machine running P-GRADE Portal. Optional the installer can detect it with the hostname command. • Supporting multiple tomcat installations on the host: – DEFAULT_PORT: non-secure listening port of P- GRADE Portal – DEFAULT_SECURE_PORT: HTTPS listening port of P-GRADE Portal – SHUTDOWN_PORT: shutdown port of Apache Tomcat
5 Configurable items #2 • Portal appearance: – DEFAULT_VO: default VO of P-GRADE Portal. This VO name will appear on the welcome screen – PORTAL_NAME: name of the Portal – REG_URL: registration URL link on the welcome screen – EMAIL: support team e-mail address on the welcome screen • Automatically generated certificates: – KEYSTORE_PASS: Tomcat keystore password for HTTPS key. – JAR_PASS: Tomcat keystore password for jar-file key.
6 Configurable items #3 • MDS2 Query setup – MYPROXY_HOSTNAME: hostname of the MyProxy server for MDS2 authentication – MYPROXY_PORT: MyProxy port for MDS2 authentication – USER_NAME: user name on MyProxy server for MDS2 authentication • Example workflow store setup: – FTP_URL: URL of the example FTP repository – FTP_PORT: port of the example FTP repository – FTP_USER: login username of the example FTP repository – FTP_PASS: password of the example FTP repository
7 Configurable items #GEMLCA • PWC_ALLOWED_HOSTS: list here the allowed hosts (FQDNs or IP numbers separated by spaces) for the PWC servlet. • GT4_LOCATION: the path where the gt4 resides. (improper globus location will give security exceptions - see catalina.out)
8 Configurable files • GEMLCA - GT2 mapping: – Portal certificate setup for unified GEMLCA access – GT2 and GEMLCA service pairing for simplified Legacy Code Creation. – Named NGS_CONFIG_FILE, should be placed next to the portal_config.txt • Hibernate configuration – Called hibernate.properties next to the portal_config.txt – The necessary jars should be placed in the jars folder of the installer. – An example MySQL, and PostgreSQL setup is present in the installer.
9 The site check script • Before starting the installation, this script will test all the dependencies of the portal, and start the installer if they are met: – ./inst_check.pl – Answer the upcoming questions • The site check might be skipped - only the sites accepted by the site check script are supported by SZTAKI: – ./install.sh
10 Example Workflow store, FTP layout requirements • There should be a file called <GRIDNAME>.xml for each grid configured in the portal with demoapps described as follows: – Name - the name of the stored example workflow – Comp - the publisher – File - the filename the example workflow is stored in - should be placed next to the xml. – Desc - user friendly description of the workflow <pgportal> <demoapp> <name>LM_DEMO testuser</name> <comp>MTA SZTAKI</comp> <file>LM-9-DEMO.tar.gz</file> <desc>Env. Modeling seegrid</desc> </demoapp> </pgportal>
11 Administrative files - Multiple brokers per LCG2 VO • The portal has a job submission mechanism that can handle multiple LCG-2 brokers per a single VO – Round robin – Stops on success • The resource broker configs are stored under – ~pgportal/pgportal/poral_work/gridConfigs/edg_wl_ui. conf.<GRIDNAME>* – The format of the config file is the same as the regular EGEE VO description. - the file is passed directly to the EGEE command line utilities.
12 Administrative files - GRAM/GridFTP Map • The mapping file is located under the name of: – ~pgportal/pgportal/portal_work/GridFTP_mapfile • The portal handles this file line by line, a single line composed as follows separated by spaces: – Gridname – GRAM contact URL – GridFTP location to be used for the site
13 Portal startup • Execute ~/pgportal/portalstart.sh • Open a web browser: – http://yourhost:NOSECPORT/gridsphere – https://yourhost:SECPORT/gridsphere • Give the name of the root user and password, then login.
14 User listing in the portal
15 User adminsitration in the portal • Don’t forget to add the user to the Szupergrid portlet in the Groups tab – Users can add themselves however this is more convenient • Now the users can log in and use the P-Grade portlets.
16 User quota management • Soft quota management - no further submissions after quota exceeded • Quota setup in the settings portlet: – Default - for new users – Individual
17 Grid and VO management • Broker - naming scheme of the brokered grids: – VOname_LCG_2_BROKER, VOname_GLITE_BROKER – The Voname is the same as in the configuration of the UI machine • Resources – Contact URL and jobmanager defaults for the users – GEMLCA Services should use their URL and GEMLCA as jm • Information system integration – MDS2 • Basic info: hostname, port and baseDN of the MDS2 • Access info: username, password for the myproxy server to acces a certificate - remember MYPROXY_* configuration values. – BDII • Named LCG2 • Same basic info has to be given
18 Further information See any installed portal’s help portlet.