Download
1 / 22
240 likes | 554 Views
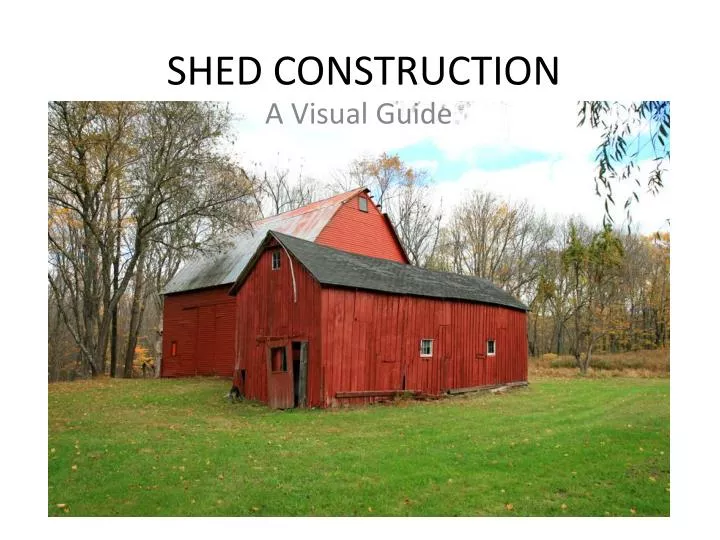
SHED CONSTRUCTION. A Visual Guide. Begin with an 8-1/2” x 6” Slab Foundation. C.A.D. Example. Use a Wall Jig To Create 3” Tall Walls. Glue the Back Wall on First. Build one Side Wall. Build and Install the Other Side Wall. Carefully Build the Front Wall. Label the Following Parts.

E N D
SHED CONSTRUCTION A Visual Guide
Label the Following Parts (On the INSIDE of the front wall with small white paper strips) Double Top Plate Header Trimmer Stud King Stud Rough Sill Cripple Stud Sole Plate
Use Tape to Make Walls Straight The front wall must be shorter than the back wall to fit between the side walls
Cut Front Siding Material Use the front wall as a template to trace windows and door openings
Attach Siding to Front Wall. Trim as necessary
Build Two Door Frames Hinge the doors with tape
Trim Windows and Doors Half a staple door handle Use a thin Sharpie marker to draw panes on a small square of clear plastic and glue to the inside of each window.
Finished Front Add two trim pieces to hide the gap between front and side wall
Add Roof One layer of black construction paper – to resemble plywood and tar paper Thin strips of sandpaper to resemble shingles. Build bottom to top.