Download
1 / 25
260 likes | 494 Views
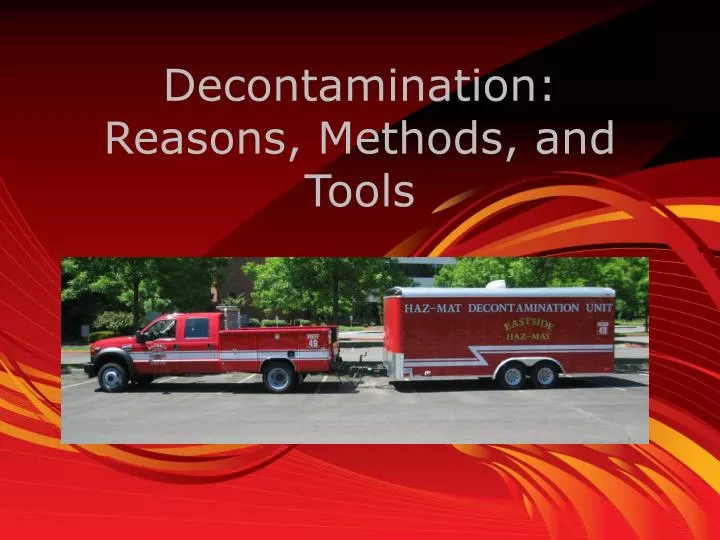
Decontamination: Reasons, Methods, and Tools. What is the best method of decontamination?. Avoid the contaminant!!!

E N D
What is the best method of decontamination? Avoid the contaminant!!! Short of hovering over it, being aware of where you step and what you touch eliminates the need for many decon situations. If the bad stuff doesn’t touch you, it is a safer environment for everyone.
ESHMT 7 Step Hazardous Materials Response 1. Management and Control 2. Identify the Hazardous Material 3. Hazard and Risk Analysis 4. Personal Protective Equipment 5. Containment 6. Decontamination 7. Termination
Decon. Terminology • Contamination: The process of transferring a hazardous material from its source to a carrier. • Exposure: The process by which the carrier is subjected to or come in contact with the hazardous material. Carriers may be exposed through numerous routes of entry. • Physical Decon: Removal or neutralization of contaminants from personnel and equipment • Gross Decon: Initial phase-Surface contamination is significantly reduced. Main method? • Technical Decon: Planned and systematic process of reducing contamination to a level that is ALARA (As Low As Reasonably Achievable). • Decon Team/Group: Section of the IMS that is responsible for set-up, performance of decon, and take-down of decon equip.
Gross Decon • Some form of this must be performed at every fire/hazardous materials incident where workers come in contact with a potentially hazardous material. • Eliminates most of the contaminant. • OK to use handline or set up ambulatory water curtain.
Technical Decon • Multistep process in which contaminated individuals are cleansed with the assistance of trained personnel. • Basic Steps • Tool Drop • Gross Decon • Secondary Decon • PPE Removal • Respiratory Protection Removal • Clothing Removal • Body Wash • Medical Eval • NOTE: Personnel involved in washing will be in PPE one level below entry team.
Non-Ambulatory Decon. “Non-ambulatory patients may be unable to comply with simple commands or directions: patients may be in shock, unconscious, or physically incapacitated and unable to remove their own clothing. The expedience of the clothing removal serves two purposes: it eliminates the probability of cross contamination and quickens medical treatment.”---ESHMT Decon Procedures
Non-Ambulatory Decon.-Cont. Set-up: • Place the patient on a stabilized platform with the appropriate number of responders on each side. • Two responders cut away clothing, while a third responder stabilizes the patient’s head and controls the operation. • Another responder will communicate to the EMS supervisor or section any change in the patient’s condition and provide support as needed. • NOTE: It may be necessary to re-triage the victim if prolonged extrication or if wait time is expected for personnel that are processing through mass-casualty decontamination due to the size of the event and number of victims.
Non-Ambulatory Decon.-Cont. • NOTE: Since most serious injuries and death from hazardous materials result from airway and breathing problems, remove the clothing that is nearest to the airway first. • Remove the shirt by cutting up the shirt’s front to the neck area, and then cut the sleeves to the neck area. Peel the shirt back from the patient and use the inside of the shirt as a barrier for the patient. If the patient is wearing a bra, remove it at this time. • Remove the patient’s pants starting at the cuff; a cut is made up to the top of both pant legs to the waist. Peel the pants away from the patient. Underwear is removed at this time. • Remove the shoes. If the shoes have strings, they may be cut. • Remove the socks. If unable to pull the socks off, cut the toe of the sock first and then up the sock’s center.
Non-Ambulatory Decon.-Cont. • Using sponges from the decontamination containers and the hand-lines that hang in the tent, decontaminate from neck to toe. • Roll the patient onto his/her side and decontaminate the patient’s back (including backboard or, if possible, move to new backboard). • Rinse from head to toe. • Decontaminate and rinse the patient’s side. • Remove the SCBA/APR face piece and rinse the patient’s face using sponges from the rinse containers.
Ambulatory (or Self) Decon. • Patients are given Deluxe Decon Kit (on Decon 49). • The Pre-decon kit includes a red personals bag, corresponding wristband, scrub brush, and personal soap. • Pt. steps into modesty closet, disrobes, and hands personals bag out the pass-through. • Pt. proceeds through ambulatory corridor washing through the first half and rinsing in the second. • Pt.’s Post –decon kit is waiting at other end with towel and robe. • Pt. exits tent to receive medical evaluation.
Ambulatory (or Self) Decon. (Cont). Ambulatory Corridors
History of Decon 49 • Truck, trailer, and tent set-up paid for by Homeland Security grant and Urban Area Security Initiative (USASI) grant. • Should be accompanied by an engine. 3-person staffing minimum • Tent/System specs: • Fire retardant and chemical resistant fabric on interior • Stores to 45" x 45" x 45" • Separates into 3 decon lines • Enables patient privacy for male and female patients; added center lane for non-ambulatory patients • On/Off capable shower nozzles on interior fabric saturate patients with 360º of spray • Four ergonomic overhead hand sprayers • Provides durability; protects exterior frame from contaminants and expedites post-use clean up • Maintains system integrity and maximizes decon capability; nozzles can easily turn on or off for user's specific needs • Effective in non-ambulatory decontamination
Basic Trailer Set Up Indv.. Decon Bags, 1”1/2 Hose Pump, curtains Pump, curtains Brass, Hose, Decon, Electrical Bins Buckets, brushes, and large trash cans DOOR Tent/Tarp Conveyor Conveyor Conveyor Backboards Conveyor Basin Basin Tent/Tarp H2O Heater Heater Generator Door/Ramp
Basic Set-up Video and Questions One minute decon