Download
1 / 6
60 likes | 66 Views
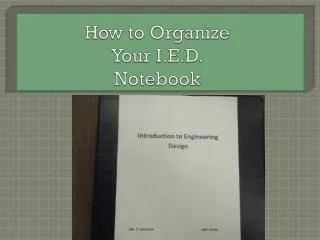
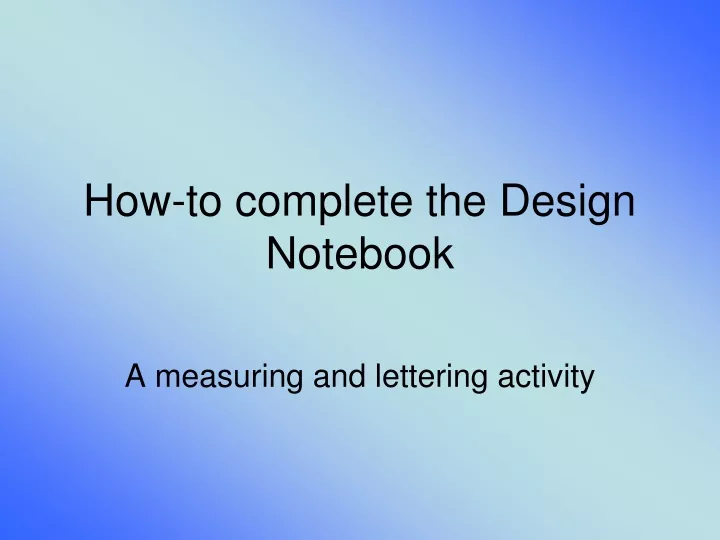
How-to complete the Design Notebook. A measuring and lettering activity. Step One – Read the directions!. You will be drawing guidelines and lettering your folder. Use the lettering skills we have practiced. Carefully measure your guidelines. Step two – study the diagram.

E N D
How-to complete the Design Notebook A measuring and lettering activity
Step One – Read the directions! • You will be drawing guidelines and lettering your folder. • Use the lettering skills we have practiced. • Carefully measure your guidelines
Step two – study the diagram • How far apart are each of the guidelines? • What is the distance for the vertical guidelines? • How tall should your letters be?
Step three – drawing the guidelines • Begin with the horizontal guidelines. • Measure from the top of your folder on both sides to make sure your lines are parallel and horizontal
Step three – drawing the guidelines • Turn your ruler and draw your line. • Repeat with each dimension given.
Measuring for horizontal guidelines: • STARTING FROM THE TOP OF YOUR FOLDER somewhere on the left, mark the following measurements: • 1 inch • 2 inches • 2 ½ inches • 3 ½ inches • 4 inches • 4 ½ inches • 5 inches • 6 inches