Download
1 / 6
60 likes | 82 Views
View all the slides to know how to setup Canon Printer TR4500.

E N D
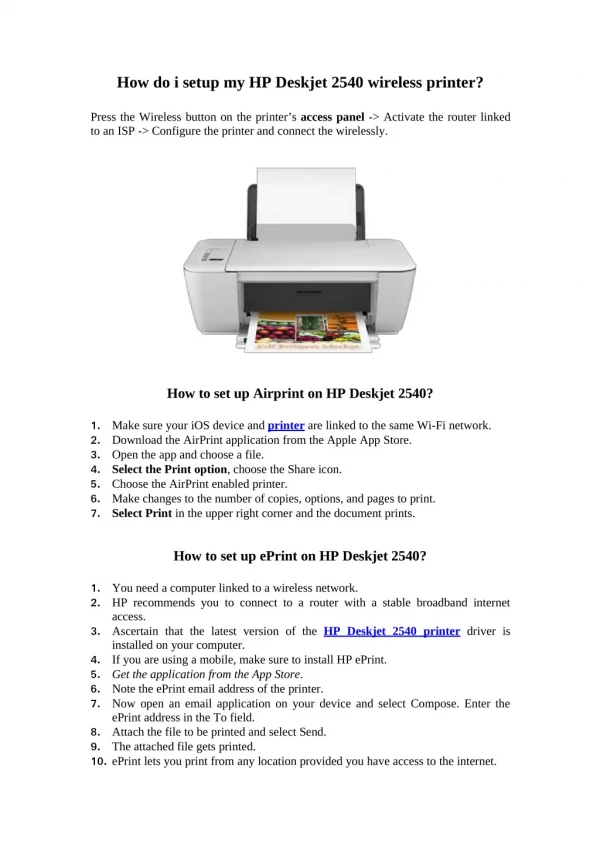
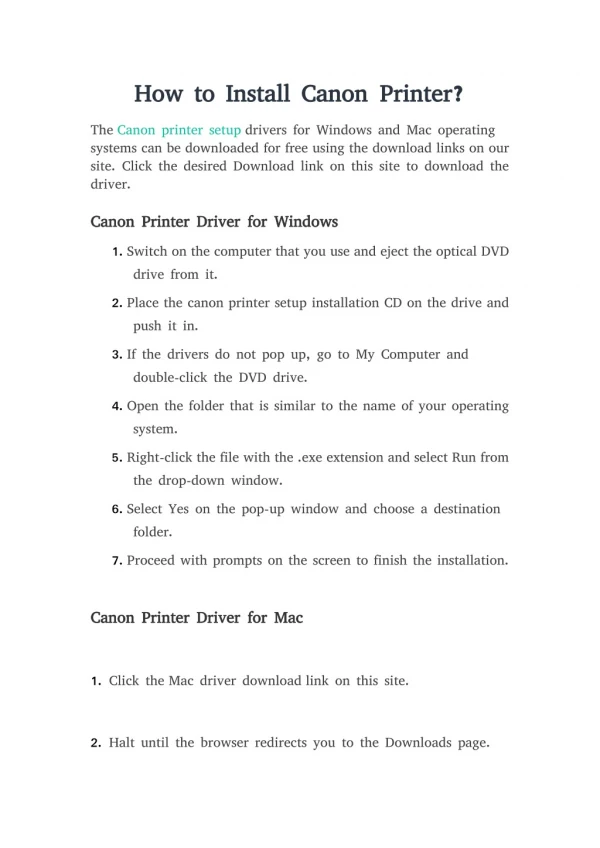
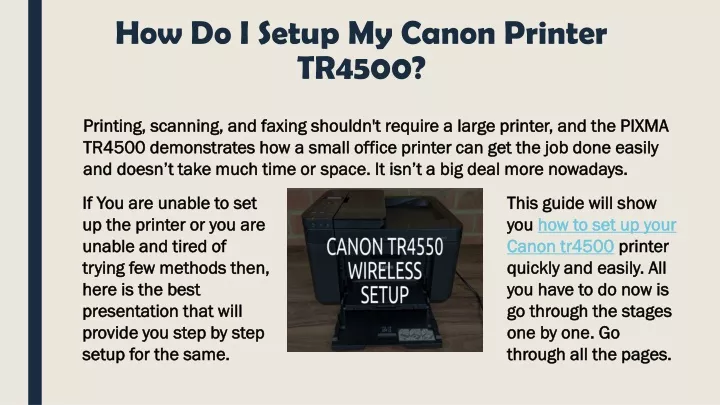
How Do I Setup My Canon Printer TR4500? Printing, scanning, and faxing shouldn't require a large printer, and the PIXMA TR4500 demonstrates how a small office printer can get the job done easily and doesn’t take much time or space. It isn’t a big deal more nowadays. If You are unable to set up the printer or you are unable and tired of trying few methods then, here is the best presentation that will provide you step by step setup for the same. This guide will show you how to set up your Canon tr4500 printer quickly and easily. All you have to do now is go through the stages one by one. Go through all the pages.
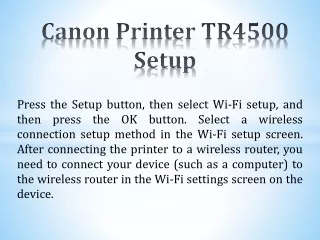
Procedure to setup canon tr4500 printer First and foremost, connect the Canon TR4500 printer to a power source. Turn on the printer. Then, on the printer's display panel, press the 'Settings‘ Button. Change the parameters using the arrow keys on the printer panel to find ‘Device settings' in the display window. Once you've found the device settings option, press Ok.
Now, using the arrow keys, seek for the ‘LAN settings' option. Once you've found it, press OK. Again, use the arrow keys to locate the ‘Wireless Direct' option. Click the OK button. Now seek for the option to ‘Switch WL direct.' Click the OK button. You will now be prompted to ‘Enable Wireless Direct.' Select yes. To continue, press OK. The text ‘Wireless Router Info Done' will now flash on the display panel.
Now you must enter your router's password and other information. To do so, go to the next screen and seek for the ‘security Protocol‘ option. A notice would appear, asking if you want to see it. If you want, select Yes. A password will appear on the screen, which you must write down. Download the Canon printer app from the app store now. Open your device's Wifi settings.
Look for your printer's name among the devices you see. That should be clicked. The password you wrote down in step 12 is now required. Carefully type the password. Now go back to step 13 and open the Canon printer application that we downloaded. Select ‘Add a printer' from the drop-down menu. It will begin looking for available printers. It may take a few of minutes, so be patient. The procedure is fully automated. When it's finished searching, it'll ask you to confirm the printer's name. Verify it.
The tr4500 has been configured. You may now print your papers and photos wirelessly using the printer. Your Canon tr4500 printer is now ready to scan, copy, and, most importantly, print. THANK YOU CONTACT US :Support@exceltechguru.com VISIT OUR WEBSITE : https://exceltechguru.com/