Download
1 / 22
220 likes | 314 Views
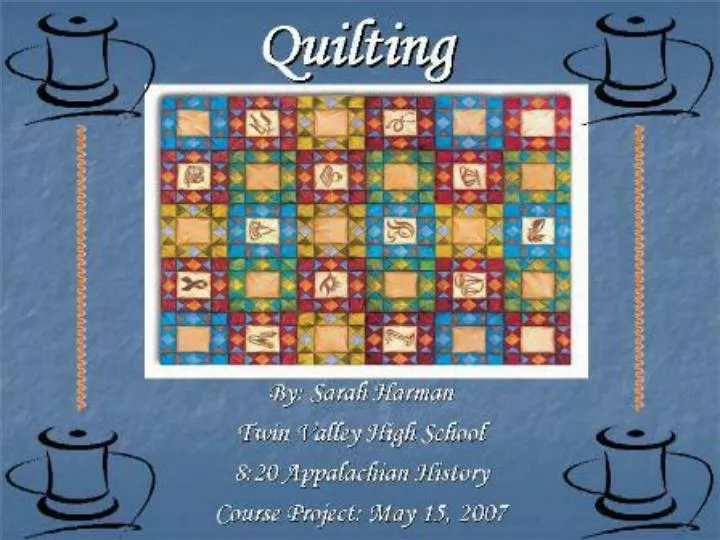
It is assumed that quilting originated in China and Egypt simultaneously. The earliest recorded quilted garment was found on a carved ivory figure of a pharaoh from the first dynasty and is dated to be from 3400 BC.

E N D
It is assumed that quilting originated in China and Egypt simultaneously. The earliest recorded quilted garment was found on a carved ivory figure of a pharaoh from the first dynasty and is dated to be from 3400 BC. • In the 11th century the Crusaders brought a form of quilting to Europe from the middle east. Knights used quilted garments under their armor for added comfort, warmth and protection.
Quilted bedding was introduced to Europe by the Romans who used a "culcita" or "stuffed sack", as their mattress. This idea was taken by medieval England and the "stuffed sack" was transformed into "cowlte" or a combined mattress and coverlet. • In the 15th century ,due to harsh winters which froze the rivers Rhine, Rhone, and Thames, Europeans developed the quilt making technique out of necessity. • The very first quilts were layers of cloth sewn together with a few strong running stitches. These primitive quilts resembled the thick and cumbersome pallets which were slept upon. Due to the difficulty in stitching the many layers together the quilting frame was invented.
Making a Flying Geese • Use a pencil or permanent marker to draw a diagonal line from one corner to the opposite corner on each of your thirty-two 2" squares. • Place a square right side down on one end of a Flying Geese rectangle, carefully aligning the edges of both pieces. Hold together with a straight pin placed away from the marked line. • Sew a seam on the marked line, and then trim off the corner, leaving about a 1/4" seam allowance past the seam line. Press the seam allowance towards the darker fabric. • Repeat to sew another square to the opposite side of the rectangle, making sure the square's marked line is aligned as shown above, so that it forms a "peak" with the first sewn corner. Trim excess corner fabric and press. • Repeat to assemble sixteen Flying Geese units. To speed things up, chain piece a square to one side of each rectangle, trim and press all, and then chain piece squares to the opposite sides of rectangles.
How to Make Jacob’s Ladder • Sew the 2-1/2" x 26" light and dark strip together lengthwise. Press seam allowance towards the darker strip. The strip set you just made should measure 4-1/2" x 26" along its entire length. • Square up one end of the strip with your rotary equipment. Starting at the squared-up edge, cut ten 2-1/2" wide segments from the strip. Square-up the leading edge again if necessary to cut accurate segments. Square up strip with the same method used to square up fabric before cutting long strips. You have one extra inch to play with as you cut segments; trim off only what's necessary. • Sew two segments together as shown in the drawing to make a four-patch unit. Lights and darks will be adjacent to each other. • Press the seam allowance either direction. The four-patch unit should measure 4-1/2" square. • Make four more four-patch units from the strip pieced segments.
How to Make a Photo Quilt • When creating a photo quilt, you will want to keep the design simple. Plot the design around the number of photos that you will use. For example, if you have 24 photos saved as 2x3-inch JPEG files, you will obviously need 24 squares of pale fabric to use as a background for them. If you want to make the quilt with alternating squares of color, then you will need an equal number of contrasting squares. • It may help to draw your quilt out on grid paper with two different color pencils to give yourself an easy pattern to follow.
How to make a Flower Basket • Press both long edges of the 7/8" x 13" blue plaid bias strip 1/4" toward the wrong side. Trim 1/8" from each long edge to reduce bulk, if desired. • Place the prepared bias strip on the large muslin triangle, aligning the ends of the strip with the raw edge of the triangle and keeping them 5 7/8" apart. Pin the strip to the triangle, forming a curve. • Appliqué the strip to the triangle to make the handle section. Set it aside. • Sew a small blue plaid triangle to a 2 1/2" x 7" muslin strip. Make a reverse unit. • Sew the pieced units to the large blue plaid triangle to make the basket unit, as shown. Trim the end of the muslin strips even with the long side of the large blue triangle.
The End The End