Download
1 / 7
70 likes | 160 Views
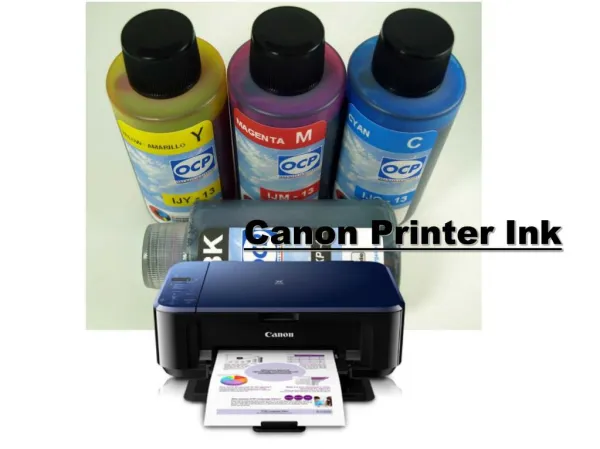
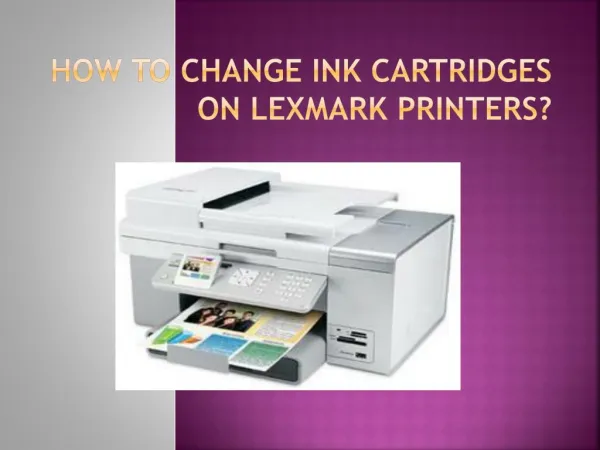
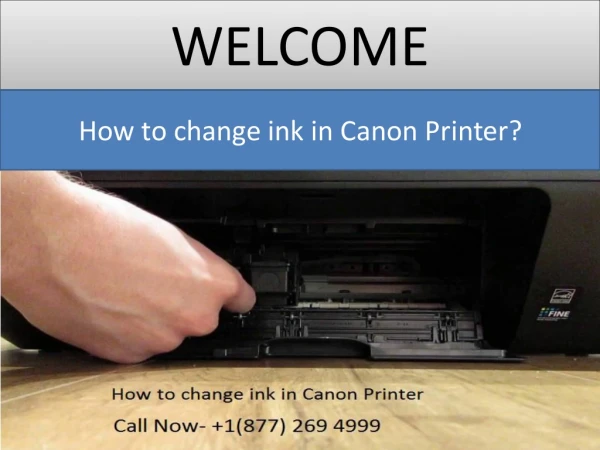
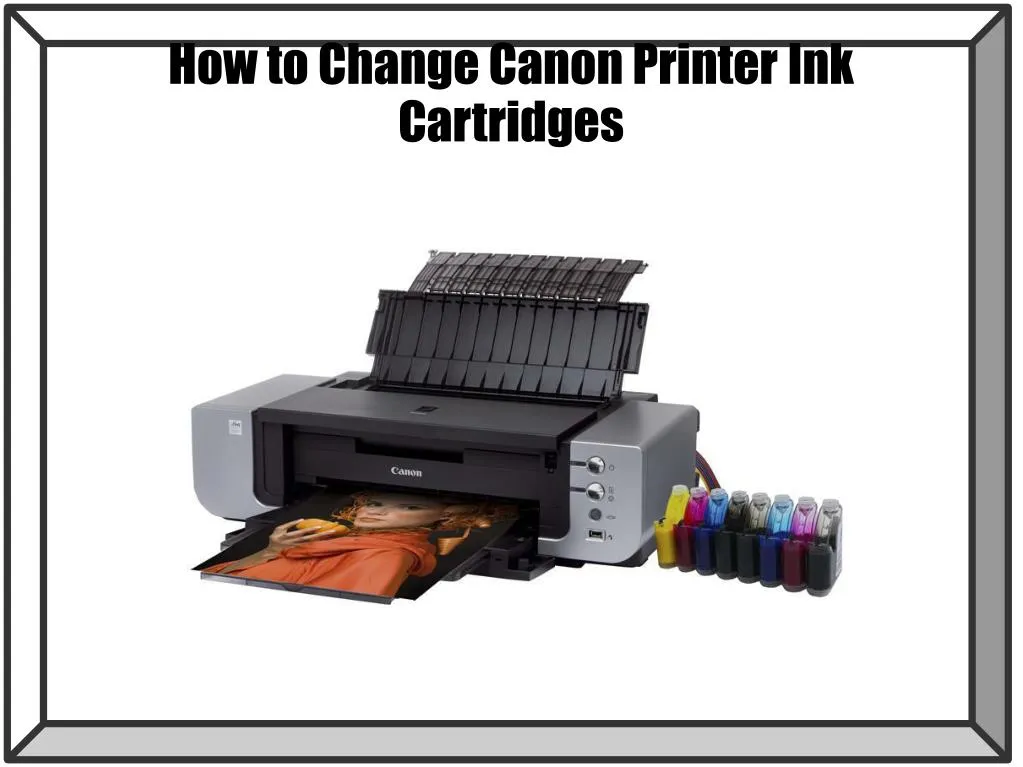
How to Change Canon Printer Ink Cartridges

E N D
It is not that difficult to change the printer ink cartridges in a Canon printer. All you need to do is to ensure that you are buying the right ink for the particular model of your Canon printer. You have the option of getting the original Canon-branded inks or the cheaper compatible inks available from third-party suppliers. Whatever type of printer ink cartridges that you get for your Canon printer, here are the step-by-step instructions for replacing these cartridges into the printer.
1. Access the cartridges. The first step that you need to do is to remove the empty printer ink cartridges from your Canon printer. You do this by turning your printer on and then lifting the access lid. When you lift the lid, your printer will move the Canon printer cartridges right to the center automatically. Without replacing the lid, unplug the printer's power cable so that you will not have to experience electric shocks as you change the printer ink cartridges.
2. Replace the cartridges. Once you have unplugged your printer and minimized the risk for shock, you should take the empty printer ink cartridges out of their cradle. To do this, you need to press down gently on the cartridge house. This will cause the cartridge to be lifted and loosened from the cradle. Pull the empty cartridge out and set them aside.
3. Put in the new cartridges. Take your new printer ink cartridges out of their packaging and then pull the orange tape off each cartridge. These orange tapes are the safety tapes and are supposed to prevent the printer ink from leaking out of the printer cartridge. Try not to touch the chips on the cartridge so that your printer can easily recognize the cartridges. Just put the new cartridge into the cradle with the chip facing the printer head.
4. Align the cartridges. After you have replaced the cartridges, the next step would be to align it. Pull the lid of your printer back down and plug it. And then, turn the printer on. Afterwords, access the Canon printer maintenance software from your computer. On the maintenance application, choose the "Clean and Align" option from the Print Properties menu. Before you press OK, make sure that you have a few sheets of paper in your printer's tray. The printer will then print a few pages; after it is done, it will pop up a message on your screen that confirms that the printer cartridges have been aligned.