Download
1 / 16
170 likes | 360 Views
Jacob Bayless Mo Chen Bing Dai. Wire-embedding 3D printer. Outline. Introduction to the Replicating Rapid Prototyper ( RepRap ) Project goals and motivation RepRap Details Our contribution: Wire embedding module. RepRap Specifications. 0.5 mm resolution in the X&Y directions

E N D
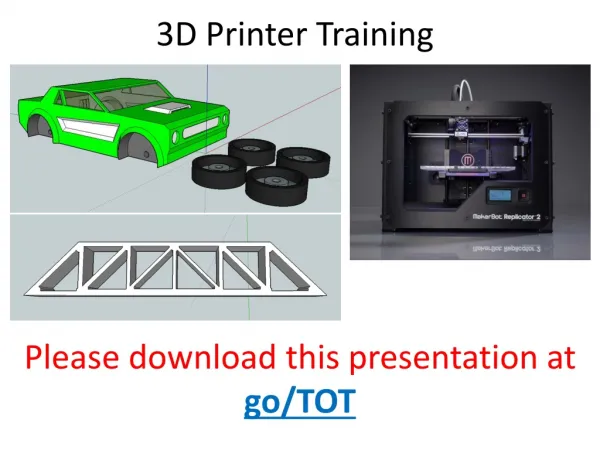
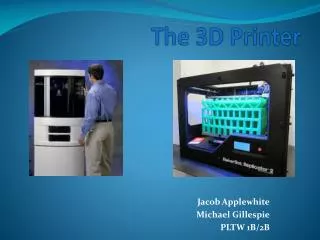
Jacob Bayless Mo Chen Bing Dai Wire-embedding 3D printer
Outline • Introduction to the Replicating Rapid Prototyper(RepRap) • Project goals and motivation • RepRap Details • Our contribution: • Wire embedding module
RepRap Specifications • 0.5 mm resolution in the X&Y directions • 0.1 mm resolution in the Z direction • Material: Biodegradable plastic
Why RepRap? • 3D printing • Cost: $800 vs. >$15,000 • Can print itself • Open source project
Project goals • To build a RepRap • To add 2D solid wire embedding capability to RepRap • To document the new design on the RepRap wiki according to open-source standards
RepRap Plastic Extruder • Melts plastic filament and pushes it through a small nozzle • Plastic is squeezed between a motor shaft and a bearing
RepRap Mechanical Design • Each axis controlled by a stepper motor • Extruder moves in X-Y plane • The Z platform moves down after each layer
Wire Embedding Module • Tasks: • Feed wire • Bond wire to part • Cut wire
Feed Wire • Same method as plastic extruder • Pinch wire against motor shaft
Bond wire to part • Create a “hot zone” on the plastic surface
Wire Embedding Module Electronics • Off-the-shelf Arduino controller outputs: • 2 high current switches • 1 high current pulse-width modulation (PWM) output • 2 H-bridges • 2 Servo outputs • One controller for each print head
Please visit us in Hennings 208 Special thanks to Wade!