Download
1 / 12
120 likes | 296 Views
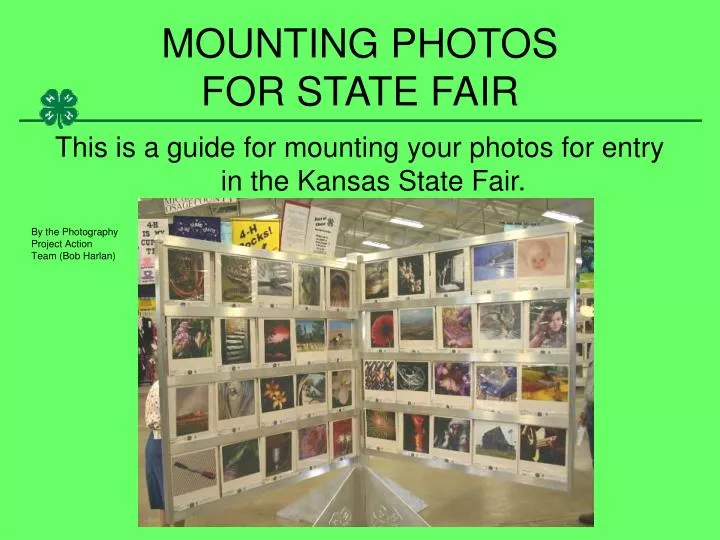
MOUNTING PHOTOS FOR STATE FAIR. This is a guide for mounting your photos for entry in the Kansas State Fair. By the Photography Project Action Team (Bob Harlan). MOUNTING PHOTOS FOR STATE FAIR. WHAT YOU NEED Your photos Photo mount boards Tools to trim with Ruler or guide Pen or pencil

E N D
MOUNTING PHOTOSFOR STATE FAIR This is a guide for mounting your photos for entry in the Kansas State Fair. By the Photography Project Action Team (Bob Harlan)
MOUNTING PHOTOSFOR STATE FAIR WHAT YOU NEED • Your photos • Photo mount boards • Tools to trim with • Ruler or guide • Pen or pencil • Adhesive • Drop cloth or paper • Clean white paper • Two gallon zip-lock bag • State Fair entry label
MOUNTING PHOTOSFOR STATE FAIR • Photos may be either vertical or horizontal format. • Trim all white boarders from photo. • The long dimension must be between 9” – 10”. • The short dimension must be between 7” – 8”.
MOUNTING PHOTOSFOR STATE FAIR • Use a paper cutter or straight edge and utility knife to trim photos. • Be sure to trim all boarders from photo. • Crop photo as desired while maintaining the correct size.
MOUNTING PHOTOSFOR STATE FAIR • Photo must be mounted 1” down from the top of the board and centered side to side. • Board should be placed with the 11” dimension horizontal and the 12-1/2” vertical.
MOUNTING PHOTOSFOR STATE FAIR • Using the ruler and pencil mark the location on the board for the photo. OR • Use a guide to position the photo on the board.
MOUNTING PHOTOSFOR STATE FAIR • Place photo face down on drop cloth or paper. • Apply adhesive to back of photo.
MOUNTING PHOTOSFOR STATE FAIR • Carefully lift photo and place on mounting board. • Position photo per marks measured or to mounting guide. • Be sure to cover pencil marks with photo.
MOUNTING PHOTOSFOR STATE FAIR • Cover photo with clean white paper and press down for good contact. • Remove paper and guide if used. • Allow adhesive to dry before placing in bag.
MOUNTING PHOTOSFOR STATE FAIR • Fill out entry label and tape to front of mount. • Label should be the full width of the mount board. • Place tape on the ends of the label and wrap around the edges of the board. • Tape should not be stuck to front of board.
MOUNTING PHOTOSFOR STATE FAIR • Place completed exhibit in the two gallon zip-lock bag.
MOUNTING PHOTOSFOR STATE FAIR • Entries in the computer enhanced class must have a second board included. • Mount a 3x5 or 4x6 copy of the original on this board and include a brief description of what was done to enhance the photo.