Download
1 / 36
380 likes | 715 Views
Vectors. By the end of this lesson you should know the difference between a scalar and a vector quantity and will understand some fundamental concepts behind vectors representing mechanical quantitates. Self- Check.

E N D
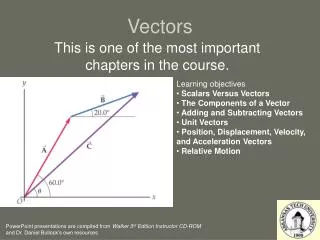
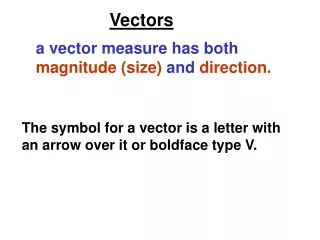
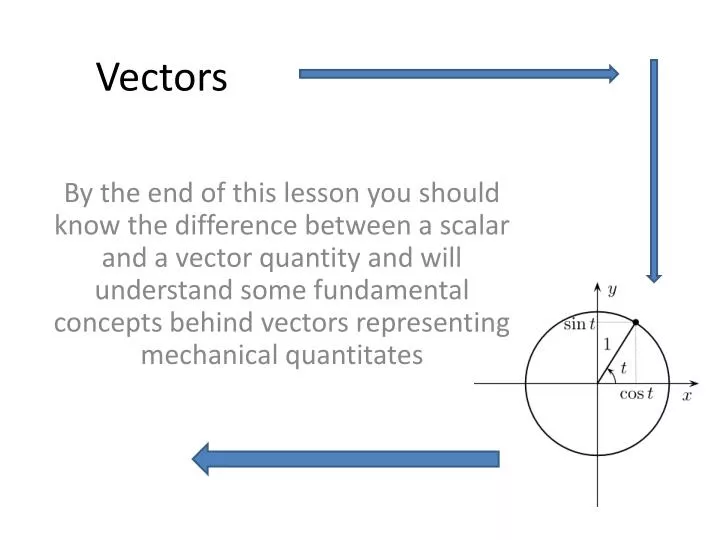
Vectors By the end of this lesson you should know the difference between a scalar and a vector quantity and will understand some fundamental concepts behind vectors representing mechanical quantitates
Self- Check • Try the following problems… If you are successful you probably don’t need to continue with this lesson. If not please continue to learn about vectors. • What are the x and y components of a displacement vector having a magnitude of 60 m at an angle of 50o to the +x axis? • What are the x and y components of a velocity vector which is 130o from the +x axis and has a magnitude of 20 m/s? • What is the magnitude and direction of the vector that results when a displacement of 50 m, 25o N of E is added to a displacement of 30 m, 30o W of N? • Kevin goes for a walk to his friend’s house. He travels 200 m due north, then 100 m due east, then 50 m due south. What is the final straight-line distance that Kevin is from his house, and at what angle is that straight line distance from due east?
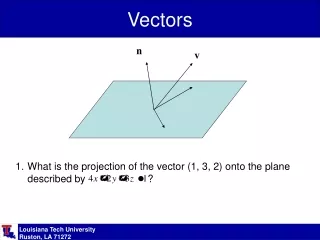
Describing Vector Quantities If you move your coffee cup along the tabletop 10.0 cm to the east and then 10.0 cm to the north, you will have displaced your cup 14.1 cm to the northeast. That is, the final position of the coffee cup is 14.1 cm to the northeast of where it started. The displacement is a vector quantity. However, if you look at the distance the cup traveled, you note that the coffee cup will have traveled a total distance of 20.0 cm. This distance does not have direction associated with it, only magnitude. Such a physical quantity is called a scalar quantity. A scalar quantity is completely specified by a number and its proper dimensional unit.
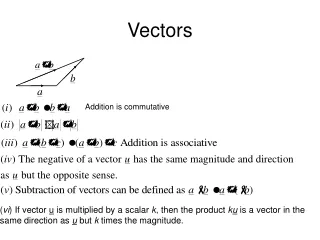
Describing Vector Quantities cont’. • When writing the symbol for a vector quantity, an arrow is added over the chosen symbol to indicate the vector nature of the quantity. For example, the vector A would be symbolized by an A with an arrow above it. If you are only concerned about the magnitude of the quantity and not its direction, you use the same symbol without the arrow.
Addition of Vector Quantities • The addition of distances (scalars) follows the usual rules of addition. The addition of displacements (vectors) must take into account the directions of the displacements involved. In this example the first displacement (from your home to the physics building) and the second displacement (from the physics building to your home) are in opposite directions. The addition of these two vector displacements gives a zero net displacement – you ended up where you started.
Addition of Vector Quantities cont’. Scalar addition vs. Vector addition • Add the two displacements 3 km east and 3 km east. What is the net displacement result? _6 km east_ Now add the two displacements, 3 km east and 3 km west. What is the net displacement? __0 kM__How can you add two displacements, each of which has a magnitude of 3 km, and obtain a final displacement whose magnitude is 3 km? __ADD THEM AT AN ANGLE OF 120 DEGREES AN EQUALATERAL TRIANGLE WILL BE PRODUCED_____
As an example of how to add together vector quantities, imagine that you rolled a marble 10 m across the floor in a direction 37o north of east. The marble then struck a wall, and rolled back 8 m in a direction 30o west of north. What is the resultant displacement of the marble?
Read your textbook for additional examples. Vectors are a great way to describe forces acting on an object including both the direction and the magnitude of the forces. Vectors also are good for describing kinematic conditions such as displacement, velocity, and acceleration. Each of these will be discussed in future lessons.
Assessment: You should be able to do the vector capstone problems built into the course now. But if you are still having trouble you should read on.
Vector Force Addition Objective: By the end of this lesson you should learn to use a box diagram to make force calculations. This is a conceptual tool for applying force diagrams and the associated mathematics to real world physics problems.
Useful Mathematical Equations • Example with math not counting!
Practice Examples Using the trigonometric example previously discussed above try and solve these problems.
Statics Statics and Equilibrium Newton’s First Law summarizes this by saying: An object at rest will remain at rest, and an object in motion with constant velocity will remain in motion with constant velocity, unless the object is acted on by a net external force.
Statics – Applying the First Law • Draw the real-world representation of the problem situation (a sketch). On the sketch, circle the system or object of interest. Show a coordinate system on the sketch. This shows the orientation of the coordinates and where the center is located. • Transfer the situation to the physics representation. This is the force diagram. To do this, begin by identifying the forces on the system or object. Give each force a symbol and put the statement “caused by ______” next to each symbol. Assume that the object or system is a point particle, and place the point object at the center of a coordinate system that shows all forces. If there is motion, draw a motion diagram showing the direction of the motion. • Set up the mathematics representation, listing the known and unknown quantities the symbols that represent them. • Solve the problem and analyze the answer. To do this, determine the x and y components of each force. Apply one or both of the two independent equations, and , to get the necessary equations to solve for the unknown quantity. If required, combine the two components of the unknown quantity to determine the total magnitude and direction.
Applying Free body diagrams and forces to real world scenarios. This lesson is completed and you should now be able to draw free body diagrams.Understand that balanced forces imply constant velocity motion.Understand that unbalanced forces imply an accelerated motion.Good luck with drawing your free body diagrams and analysis of motion types and equilibrium conditions while doing your capstone exercises and any additional homework problems you seem necessary.