Download
1 / 8
80 likes | 229 Views
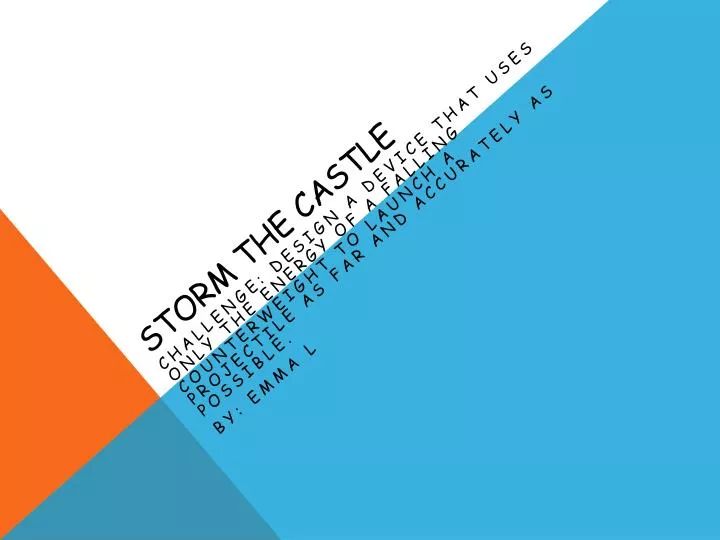
Storm the Castle. Challenge: Design a device that uses only the energy of a falling counterweight to launch a projectile as far and accurately as possible. By: Emma L . Launch Sac. (Remember that the whole trebuchet must fit in a 65.0cmx 65.0cmx65.0cm cube .)

E N D
Storm the Castle Challenge: Design a device that uses only the energy of a falling counterweight to launch a projectile as far and accurately as possible. By: Emma L.
Launch Sac (Remember that the whole trebuchet must fit in a 65.0cmx 65.0cmx65.0cm cube.) Launch Sac: For the launch sac an easily bendable material should be used (cloth, leather, etc.). You get a strip of material you are using and punch two holes onto either side of the material. Tie string (must be a heavy duty string maybe elastic would work because it is relatively strong and bendable ) to either hole and attach it to the arm through a hole on the top. That attaches the sac. Then you must get the triggering device attached. Punch a hole in the middle of the sac and tie string to the hole. Then loop the string and attach is with a nail through the loop to the triggering device. When launched you just remove the nail and the arm with the sac will fly up and launch the ball.
Launch SAC Cont. • There are two ways to connect the launch sac to the arm. One is to connect the sac to the hole in the same place that you connected the other string from the sac. The ball may not launch as far and maybe not even at all. But it would save some time that may be important. Another way to connect the launch sac is to get a hook nail and connect it to the top of the trebuchet and each time you launch connect the string to the hook. It launches farther but, takes more time. • Pros: Cloth and leather would be good because the material grips around the ball and holds it in place but also easily releases the ball. Also cloth or leather is primarily used in models. • Cons: This might be hard to attach or keep all together when it is attached to the arm of the trebuchet.
Arm Arm: The arm is attached to the launch sac and is the main part of the trebuchet. On one side of the arm place a weight (not to heavy but, heavy enough to fall down fast) to it. This will get the arm to fall down and release the sac. On the other side of the arm make a hole closer to the top and tie the string with the launch sac to that and then drill in a hook to the top to launch the ball farther. Or don’t and risk no length. You will need a thick enough wood that allows the hook to stay in but, that will also be light enough to launch. Plywood may be good but, is usually thin. The arm attaches to the body by having two wood poles on either side of the base and making a hole close to the weight to connect the two poles to the arm. If you choose to use a heavy wood the ball may not launch as far because of the access wood. But the hook will stay in better. If you have a light wood arm the weight may snap it but, it will launch relatively farther.
Pivot Point The Pivot Point is also known as the fulcrum and is where the arm balances. It is important that the pivot point is strong and does not break so a heavy duty wood is required to build this. Plywood specially tested for strength would be good. The pivot point should be closer to the counterweight then the projectile (the definition is a missile or bombshell so we know that is the launch sac) and the point should pivot or turn. You have to experiment with that and the distance and what works best for you. In a very helpful video the pivot point is relatively close to the weight but, it really depends on how you will build your trebuchet. A close-ish pivot point: Pros: The pivot points will control the arm and make sure it stays in place and doesn’t snap and will fully swing. Cons: It may be hard to drill in and would need to take into consideration the weight’s placement. A far pivot point: Pros: It will be easier to drill in and setup Cons: The trebuchet arm will not be controlled and would need to be held in place.
Triggering Device Triggering Device: This triggers the trebuchet. One way to build a triggering device is to attach two small pieces of wood to the back of the trebuchet. Make a hole on the sides of the wood and make sure that the nail can fit in the hole. We already made a loop on the string connected to the launch sac so you can put the nail through the loop and the two pieces of wood. When you remove the nail the trebuchet will make a big loop and fire. If you do it this way with the nail as the trigger it will fire but may be a little sharp and dangerous and the rules don’t want anything to hurt somebody. So you could use a dowel stick (keeping in mind that the dowel must be hard and not easily broken), make sure that whatever stick you do decide to use make sure it fits the hole. Dowel stick: Easily broken but, is safe and thin. Nail: Against the rules, sharp, tiny, but works fine and is strong.
Helpful videos and pictures • http://www.youtube.com/watch?NR=1&v=Cm-AZSkzdxo • http://www.ehow.com/info_8151339_science-projects-trebuchets.html • This will be replaced by an anactual counterweight.
Sources http://www.youtube.com/watch?NR=1&v=Cm-AZSkzdxo http://library.thinkquest.org/05aug/00627/phy.html • http://www.bing.com/Dictionary/search?q=define+projectile&qpvt=projectile+defintion&FORM=DTPDIA